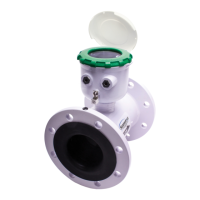
AG3000 INSTRUCTIONS
Seametrics • 253.872.0284 Page 12 seametrics.com
CONNECTIONS
Cable Installation (Wiring)
DC Version or Battery Only Version with external pulse
output.
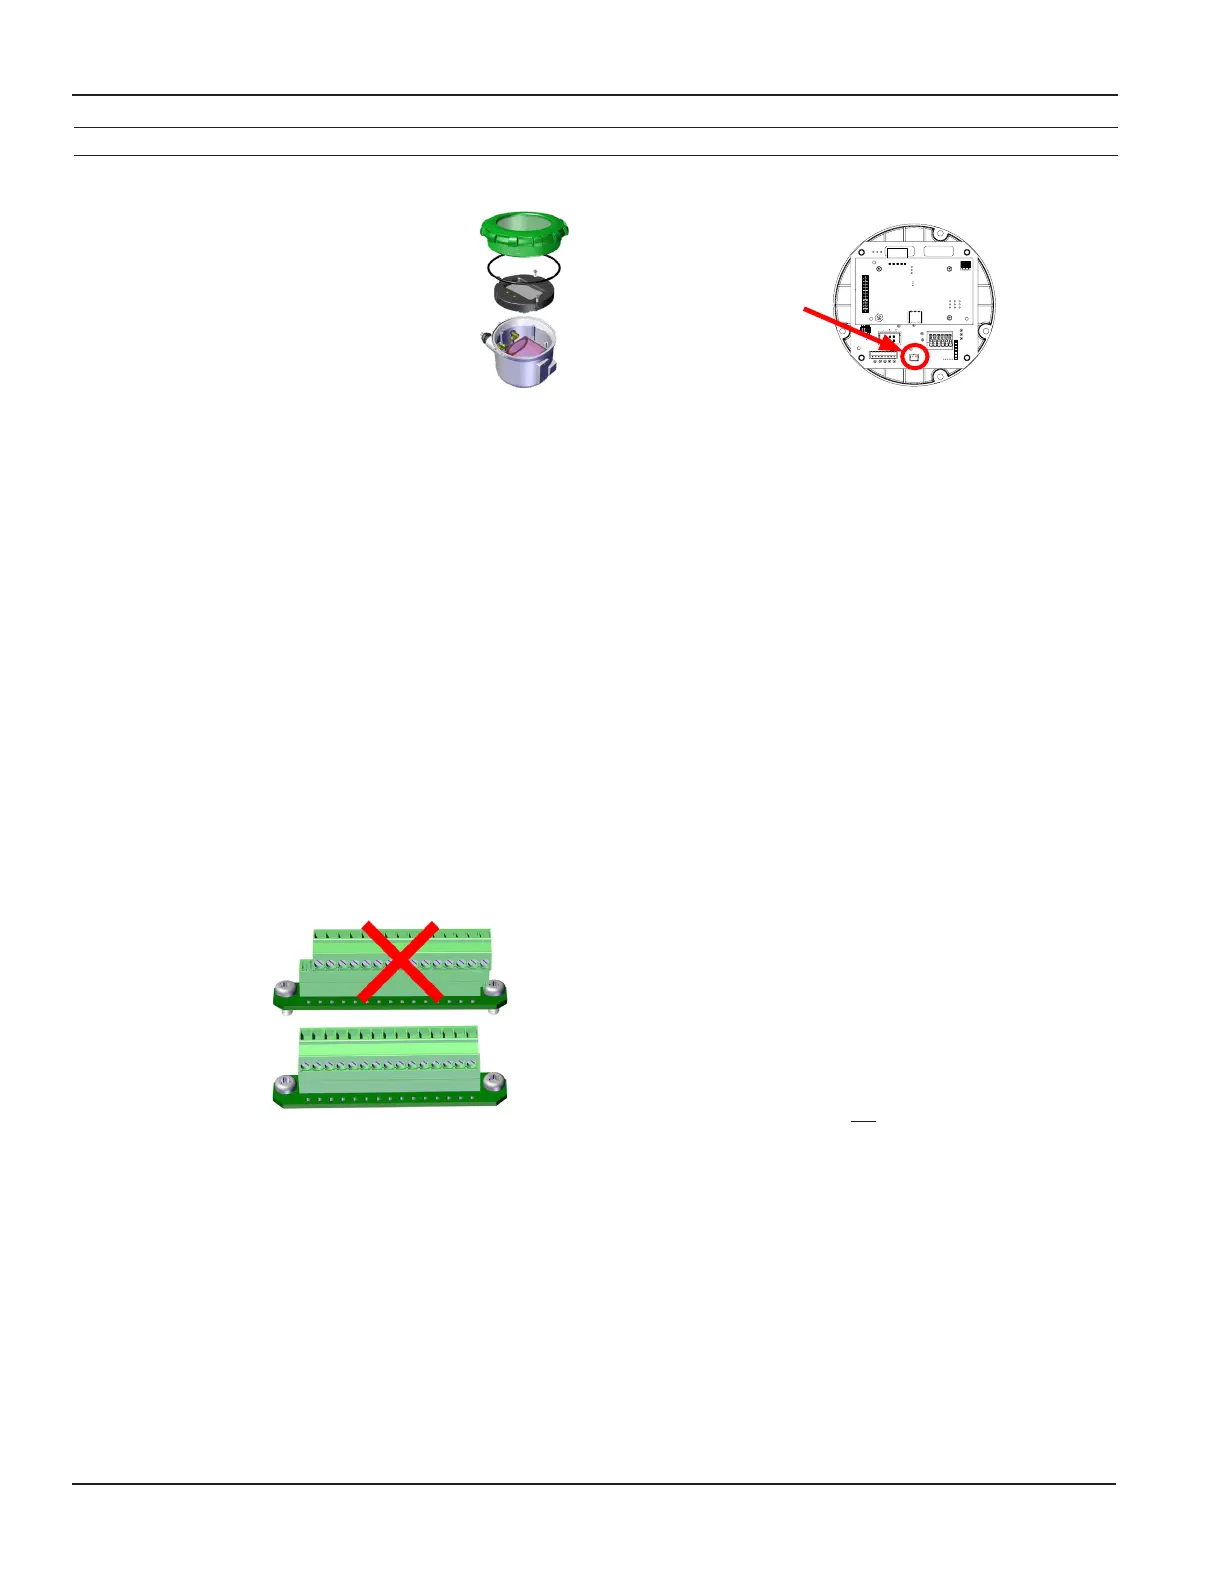
1. Unscrew the display lid and remove it.
2. The display assembly is held in with 3
fasteners. If those fasteners are steel
screws (silver) remove them with a
T-15 Torx driver and lift the display out
of the meter. If the fasteners are white
Nylon tabs with exposed straight slots,
simply grasp the two nger recesses in the display,
then pop the display up and out of the housing.
This will expose the internal connectors. Be sure
NOT to undo any connections to the display
assembly as you remove it.
3. The DC version comes with a 15 pin screw
connector. Remove this from its bag. (On the
battery version, there are two 2-pin connectors
already installed.)
4. Remove the plug and o-ring from the cable port(s)
where you want to insert the cable(s).
5. Install cable gland(s) and insert cable end(s).
6. Strip cable jacket and conductors and install
the wires into the connectors in their respective
locations for your options, Modbus
®
, pulse, HART,
etc. (See Cable Wiring Table for details.)
7. If using the 15 pin screw connector, plug it into its
socket. Be sure all pins align properly and that
the connector has not slipped to one side.
Improper
alignment
Proper
alignment
8. Plug the battery cable into the circuit board, as
shown:
9. Secure the cables inside the internal strain relief clip
and tighten the cable gland sealing nut securely
(torque nut to 22 in-lbs). A loose nut could cause
moisture ingress and compromise the meter head’s
IP68 rating, voiding the warranty.
10. Remount the display assembly, being careful to not
pinch any wires, and install the display assembly
screws.
11. Reinstall the display lid, being sure to avoid cross-
threading the lid.
Battery
connection
Battery Only Version with no external pulse output
No wiring is needed.
 Loading...