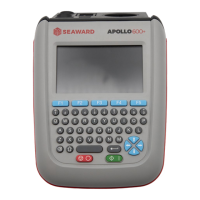
QUICK START GUIDE
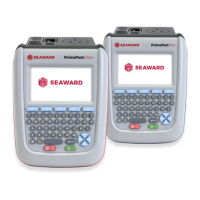
SEAWARD PG 15
1. Select View Data, by selecting
number 1.
2. Select an asset using the arrow keys
and function key F4.
3. Select a full test result (PAT_Results)
using F4 again to display the Test
Details for the asset.
4. Select Menu / Options, function
key F4, to display the Test Results
Option.
5. Highlight and select Print Label
using the arrow keys and function
key F4, a virtual image of the current
label is shown on the instrument.
6. To setup the printer that was paired
in the earlier steps use the tools
function key F2.
7. Using the arrow keys to highlight
the bottom line Printer and, from
the dropdown, select the Bluetooth
printer paired earlier. Note: This
will add / remove fields depending
upon the selection made
8. Using the arrow keys, select the
various options applicable with the
printer / instrument.
9. Finally, save these settings by using
function key F3.
10. A virtual label image will be
displayed, which may show
a Company Logo or QR code
depending upon previous selections
(and instrument), and is now ready
to be printed. Alternative versions of
the label can be selected using the
function key F3.
MAIN MENU WINDOW PRINTER SETUP
Note: You will require test data to be already stored on the instrument and the
printer to be stored as a Bluetooth favourite before you attempt the following steps.