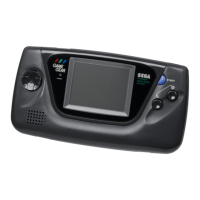
CONTROL UNIT
75
11
3
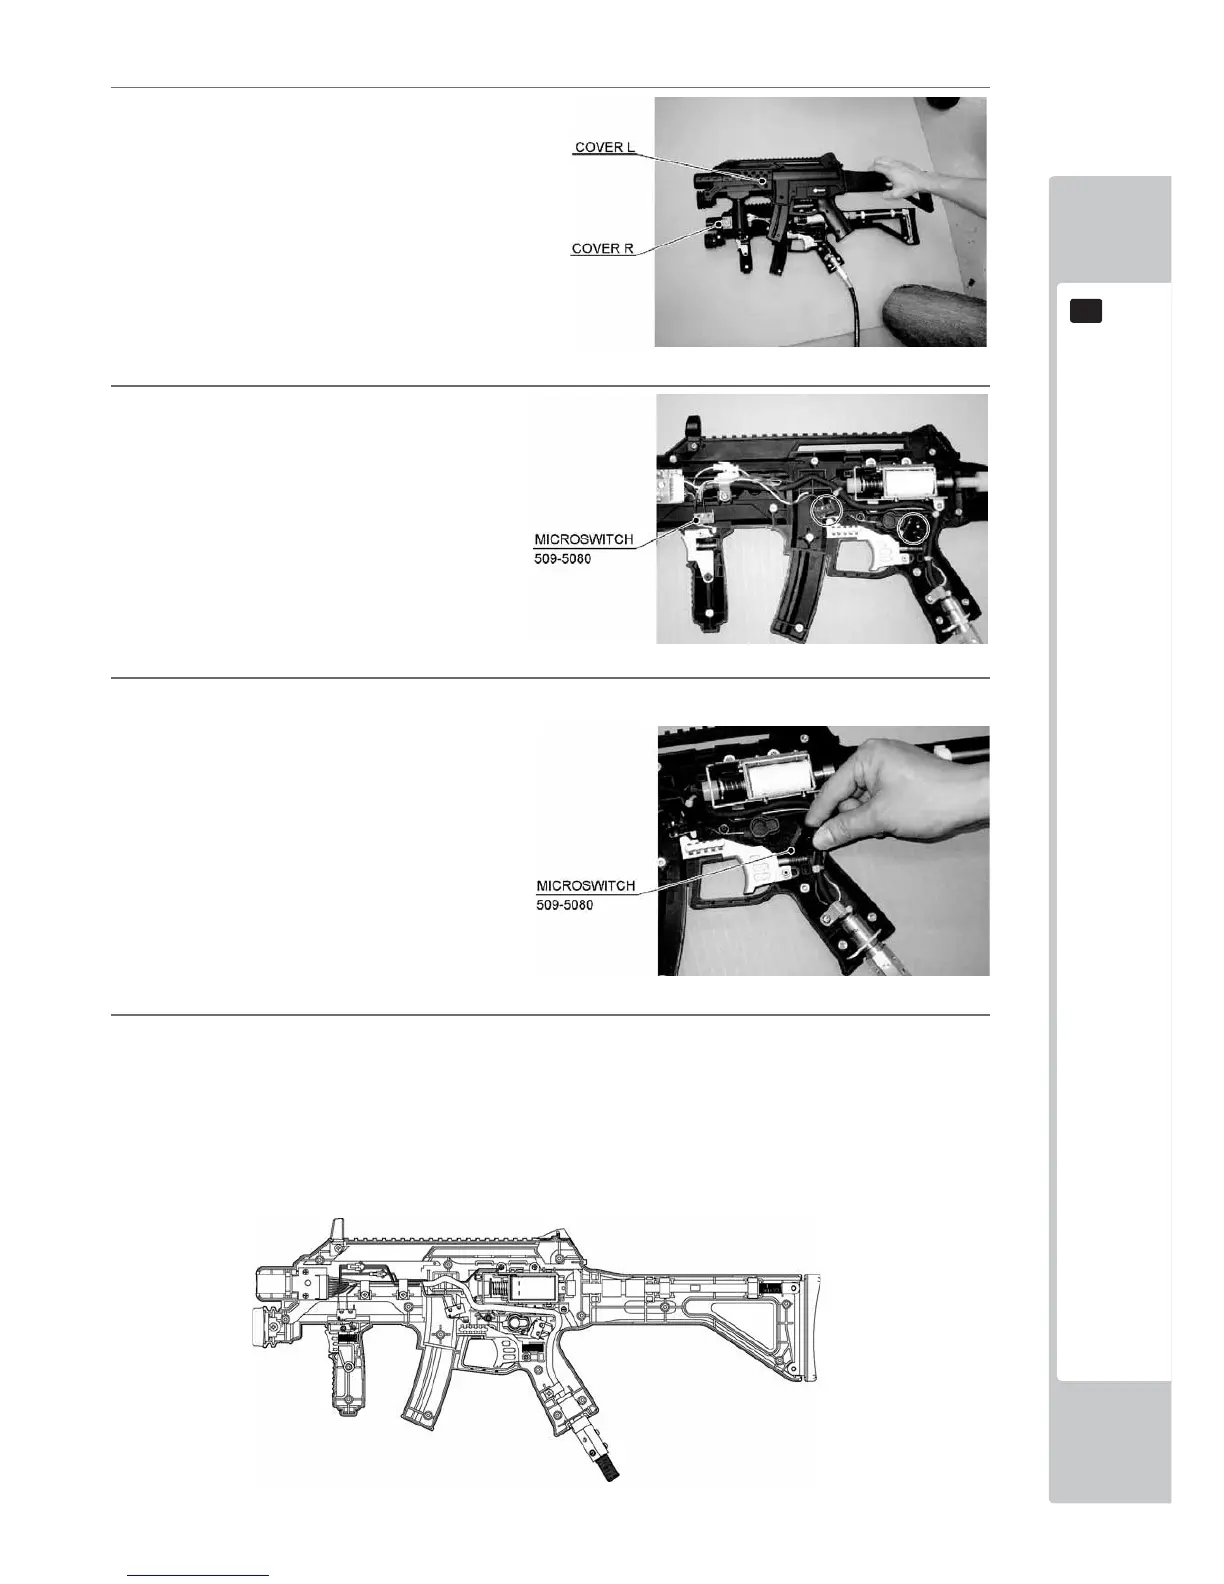
With the right side shell lying flat, carefully lift
the left shell from the right shell.
FIG. 11-1c
4
Remove the microswitch to be replaced
from cover R. There are a total of three
microswitches.
FIG. 11-1d
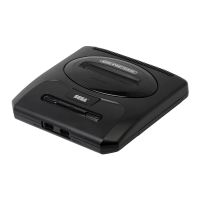
5
Remove the soldering to take out the microswitch.
FIG. 11-1e
6
Solder the new microswitch in place to reconstruct the gun controller. When performing this step, verify the
points listed below before reattaching Cover L and Cover R.
• The wires and connectors are laid out correctly in Cover R.
• The bearing holder is securely in place when the pad assembly spring is compressed.
• The selector is laid out horizontally.
• The selector joint and selector spring are properly set.
FIG. 11-1f