Do you have a question about the Seko OPL BASIC and is the answer not in the manual?
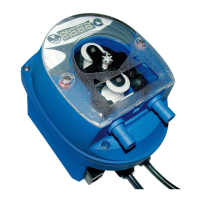
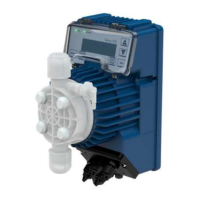
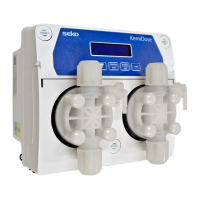
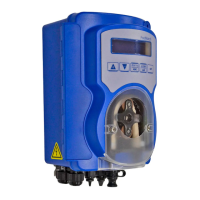
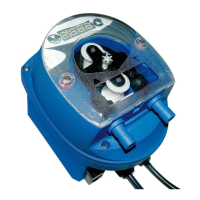
Introduction to the OPL Basic system, highlighting its new look and ease of use.
Lists the items included in the OPL Basic system package.
Details power supply, consumption, fuse rating, and system protection.
Crucial safety information regarding voltage checks and electrical connections.
Lists necessary materials like wires and tubing for installation.
Instructions for mounting the OPL Basic system to a wall using brackets and screws.
Visual guide to the OPL Basic circuit board components and their functions.
Guidance on verifying all electrical connections with a meter, including main power and other connections.
Steps for connecting the main power supply, including voltage checks and jumper settings.
Details on connecting float switches, consoles, and external trigger signals.
Instructions for connecting liquid product tubing from pump to injection point and source.
Guidance on connecting a solid product feeder using water solenoid valve and tubing.
Setting pump/solenoid run time, delay time, and lock-out time using circuit board controls.
Procedure for calibrating the run time for pumps or solenoids.
How to set the delay time between activation and pump/solenoid run.
Configuring the interval that prevents consecutive dispensing of product.
How to manually or automatically activate the OPL Basic system.
Activating the system using the 'Start Dosing' button or remote switch.
Using a 20-240 VAC trigger signal for automatic system activation.
Explanation of the independent lock-out time for dual dispenser systems.
Using a jumper to disable manual activation or enable remote-only activation.
Understanding the LED and buzzer indicators for level alarm status.
Interpreting the meaning of different LED colors displayed by the system.
Guidelines for routine preventive maintenance of the OPL Basic unit.
Step-by-step instructions for replacing the squeeze tubes in the pump.
Information on connecting an optional level float switch to the system.
Troubleshooting steps for when the power light is off.
Diagnosing issues when the pump or solenoid fails to activate.
Troubleshooting steps for dispensing excessive amounts of detergent.
Troubleshooting steps for dispensing insufficient amounts of detergent.
Diagnosing and resolving slow pump operation.
| Material | PVDF; PP; Stainless Steel (depending on model) |
|---|---|
| Frequency | 50/60 Hz |
| Tube Material | Viton |
| Control | Manual |
| Voltage | 230V AC; 115V AC; 24V DC (depending on model) |