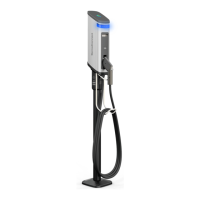
1.9. Wall/Pole Mount Installation
Wall/Pole Mount Installation Procedure
• Install the circuit Breaker, run the electrical conduit
• After circuit breaker is installed, make sure it is turned off.
• Attach Wall/Pole Mount Bracket
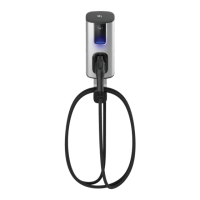
• * If Wall-Mount: – Attach Wall Mount Bracket to wall with 4 bolts.
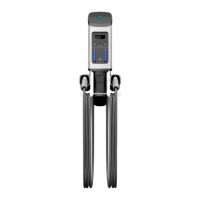
• * If Pole-Mount: – Attach Pole Mount Bracket with three straps.
• In both cases electrical conduit can run from the back or the side.
• Make sure that the wall mount is level.
Preparing the Head Unit
• Loosen the Set screws (4 nos) in the head unit(s) and attach Cable rack to charging Station.
• Remove the access panel from the head unit.
• Place the J1172 in the holder and hang the cable in the cable rack.
Assembly onto Bracket
• Now Slide the head unit onto the bracket and attach it with four mounting screw.
• Make sure that the wires are not pinched between the bracket and charging station
• Connect three electrical supply wires.
• Strictly adhere to the wire color codes to ensure proper installation (Green-Green). And use wire nut
and Insulation tape for safety
• Carefully push the wire in and attach the access plate
Installation Manuals Series 6 EV Charging Station - 1
Copyright ©2021 SemaConnect, Inc. All rights reserved. Page 23 of 25