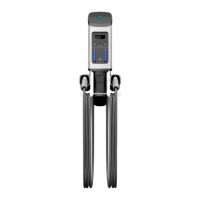
1.5.3. Charging Station Head Installation
Mount the Charging Station Head Unit
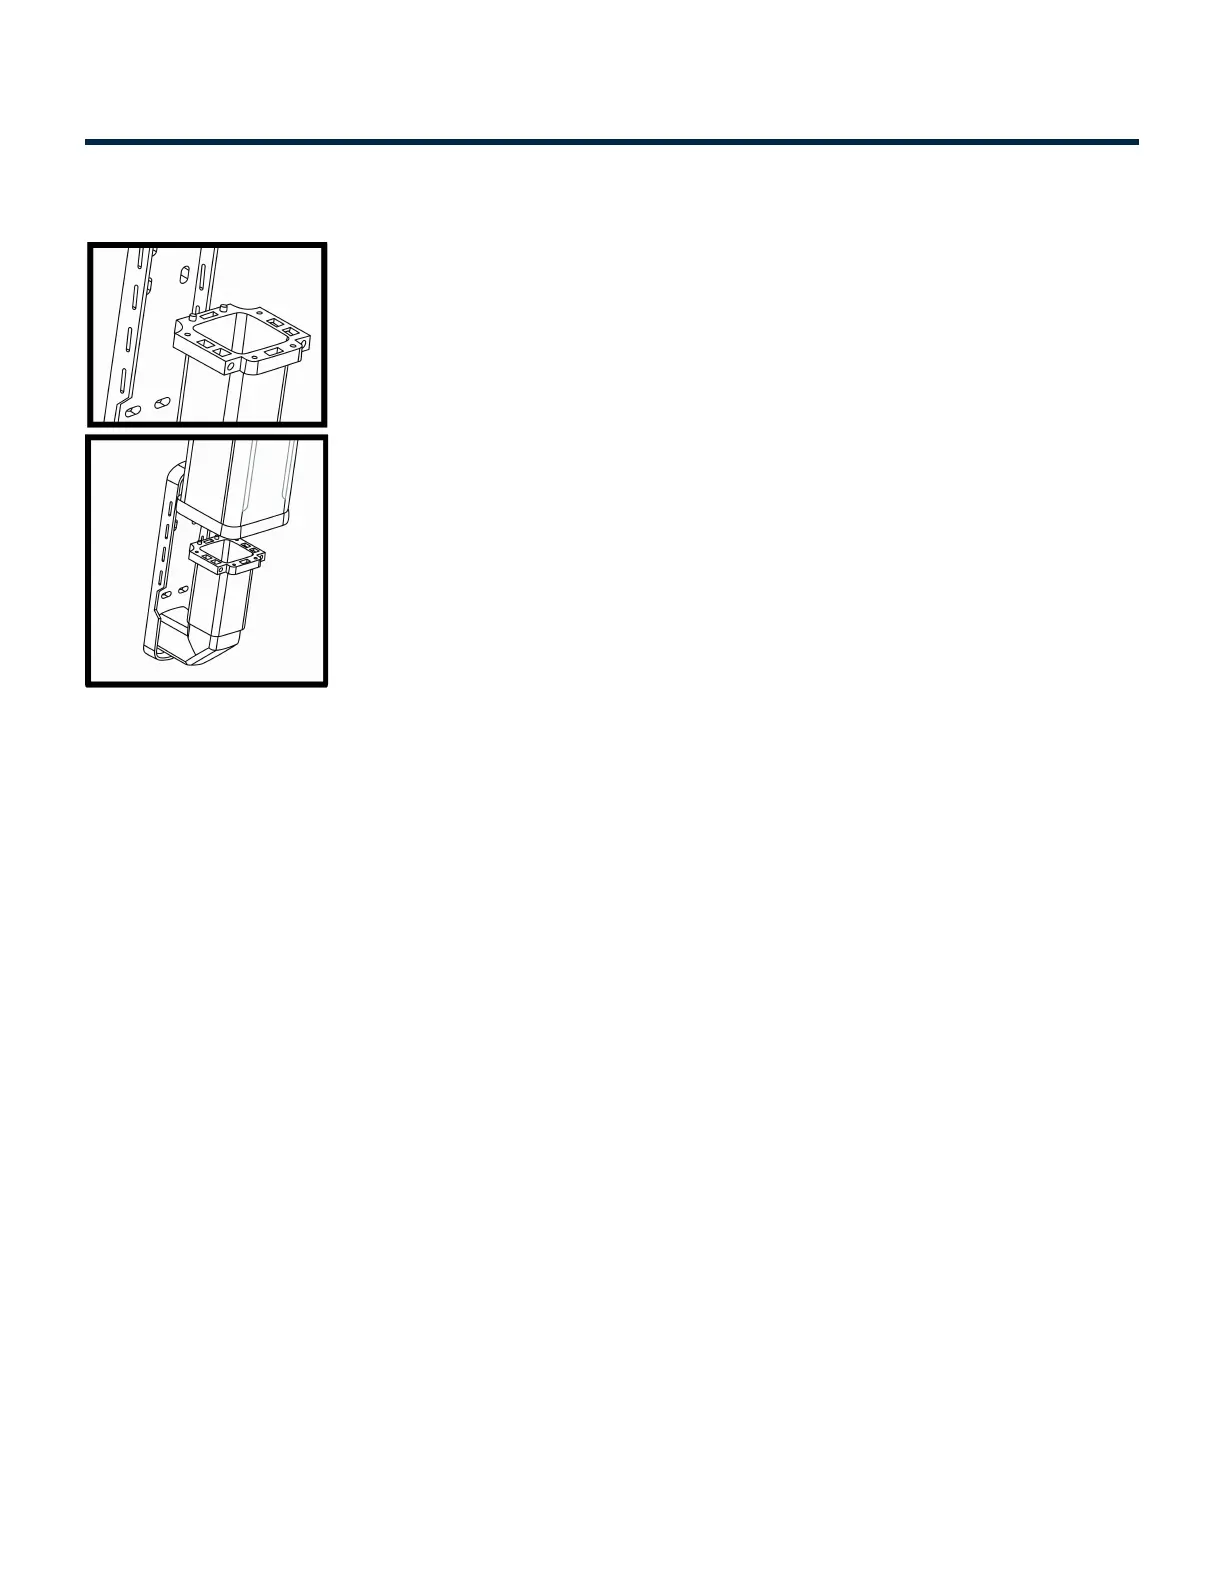
• Carefully place the charging station head unit on top of the pedestal as shown in the illustration.
• Align the Guide poles in the pedestal with the base of the head unit.
• Secure Charging station Head Unit to the Pedestal Unit with the help of four mounting screws
provided (two on front and one on each side).
• Ensure the charging station is plumb using a level. Check that the Head Unit is now securely fastened
to the Pedestal.
Connecting the Wires: Series 7
• Open the Access Panel by removing the four screws.
• Locate and access the wires inside.
• Carefully pull these wires a few inches outside of the access panel, to reveal 5 wires coming from the
Charging station Head Unit, Figure 21 (for Level-2 charging stations the color codes are Red, Black,
Red with Black stripe, Black with White stripe and Green) and 5 wires from the Pedestal with the
same color combination.
• Remove the insulation on each wire and prepare to connect those using wire-nuts.
• Match the wires using the colors (Black-Black, Green-Green & Red-Red) and connect them using wire
nuts as illustrated above.
• Also make sure that the striped wires are connected to the left side of the power source.
• Once connected, slowly insert the wires into the device and replace the access panel cover using the
screws previously removed.
Installation Manuals Series 7 / 7 Plus EV Charging Station - 1
Copyright ©2021 SemaConnect, Inc. All rights reserved. Page 24 of 26