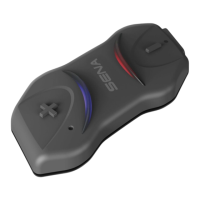
SPIDER RT1 Motorcycle Mesh Communication System | 9
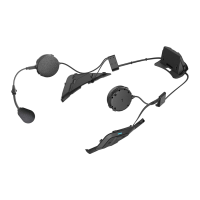
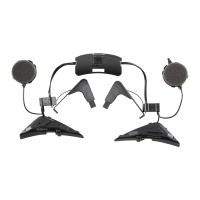
2 INSTALLING THE HEADSET ON YOUR HELMET
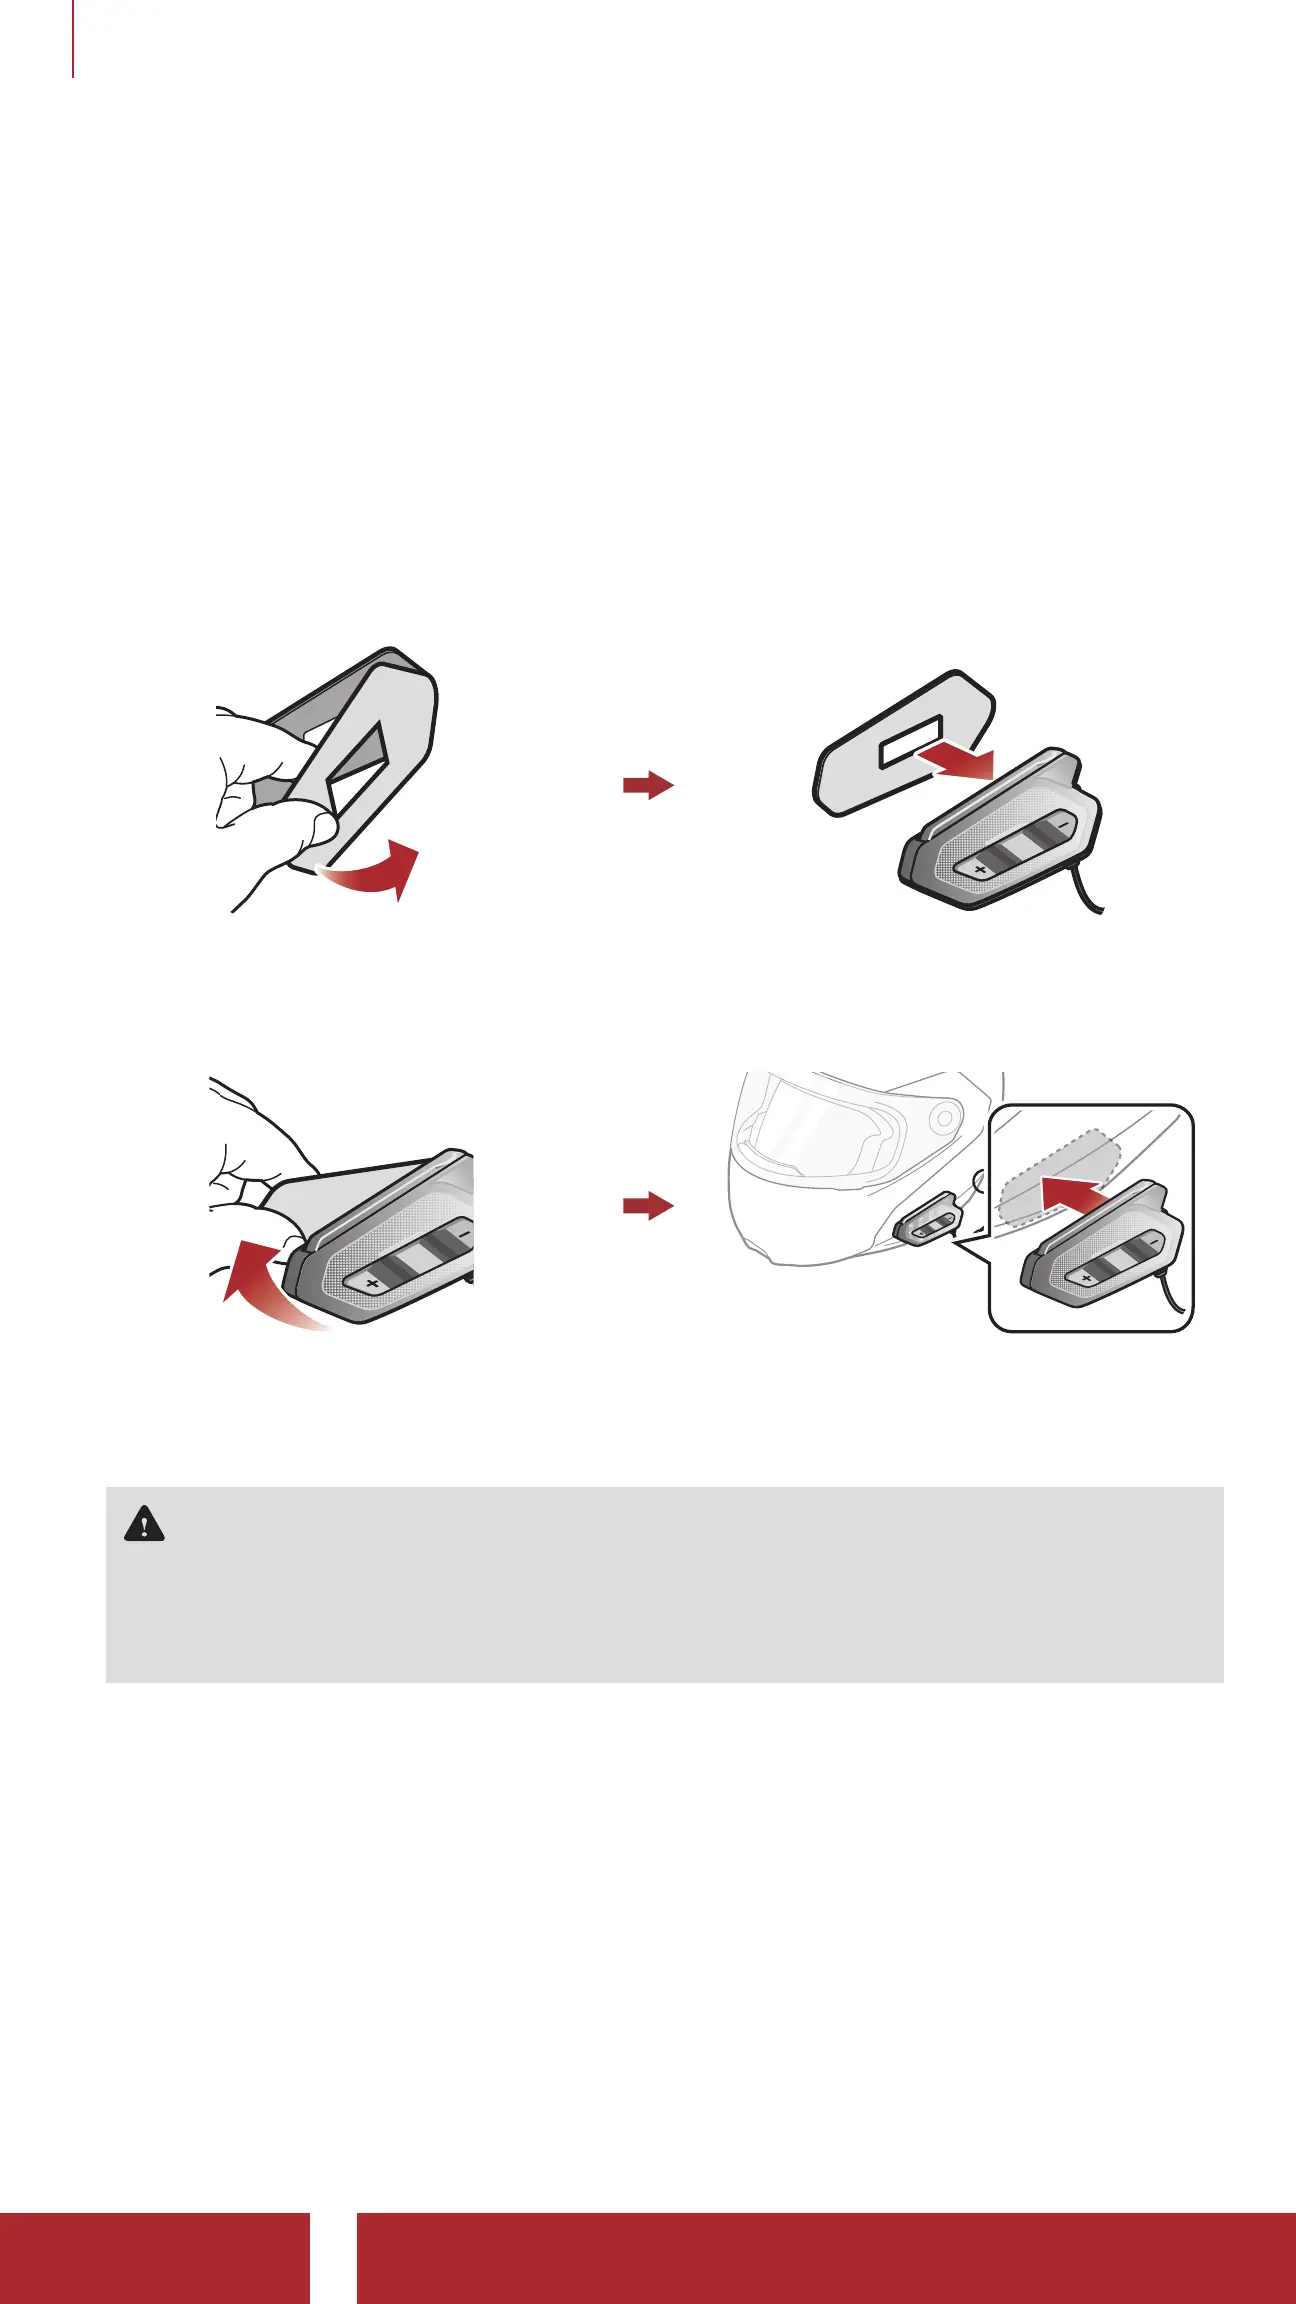
2.1.2 Using the Double Sided Adhesive Tapes for Main Unit
If you cannot attach the hook and loop fasteners to the helmet, you can
use double sided adhesive tape.
1. Clean the area on the left side of the helmet where you will attach
the double sided adhesive tapes with moistened towel and dry
thoroughly.
2. Peel off the cover from one side of the double sided adhesive tapes
for main unit and attach it to the back plate of the main unit.
3. Peel off the cover from the other side of the double sided adhesive
tapes and attach the main unit on the left side of your helmet.
4. Make sure that the main unit sticks on the helmet firmly. Maximum
adhesion occurs after 24 hours.
Caution: Sena recommends using the hook and loop fasteners
for main unit. The double sided adhesive tape is provided for
convenience, but is not the recommended mounting method. Sena
is not responsible for its use.
2.1.3 Using the Clamp for Main Unit
1. Clean the area on the back plate of clamp where you will attach
the double sided adhesive tapes with moistened towel and dry
thoroughly.