MT4412E Rev.3 15/10/2019 Page 7 of 30
2) INSTALLATION
2.1) Assembly and connections
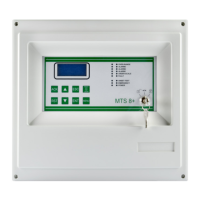
Remove the 4 screws at the 4 corners of the box and remove the front part of the central unit box.
It is now possible to choose where to place the cables. We recommend placing the cable for entry
by using a suitable cable press.
Secure the back of the central unit to the wall by using its appropriate holes.
Fig. 2.1 a) Central unit box
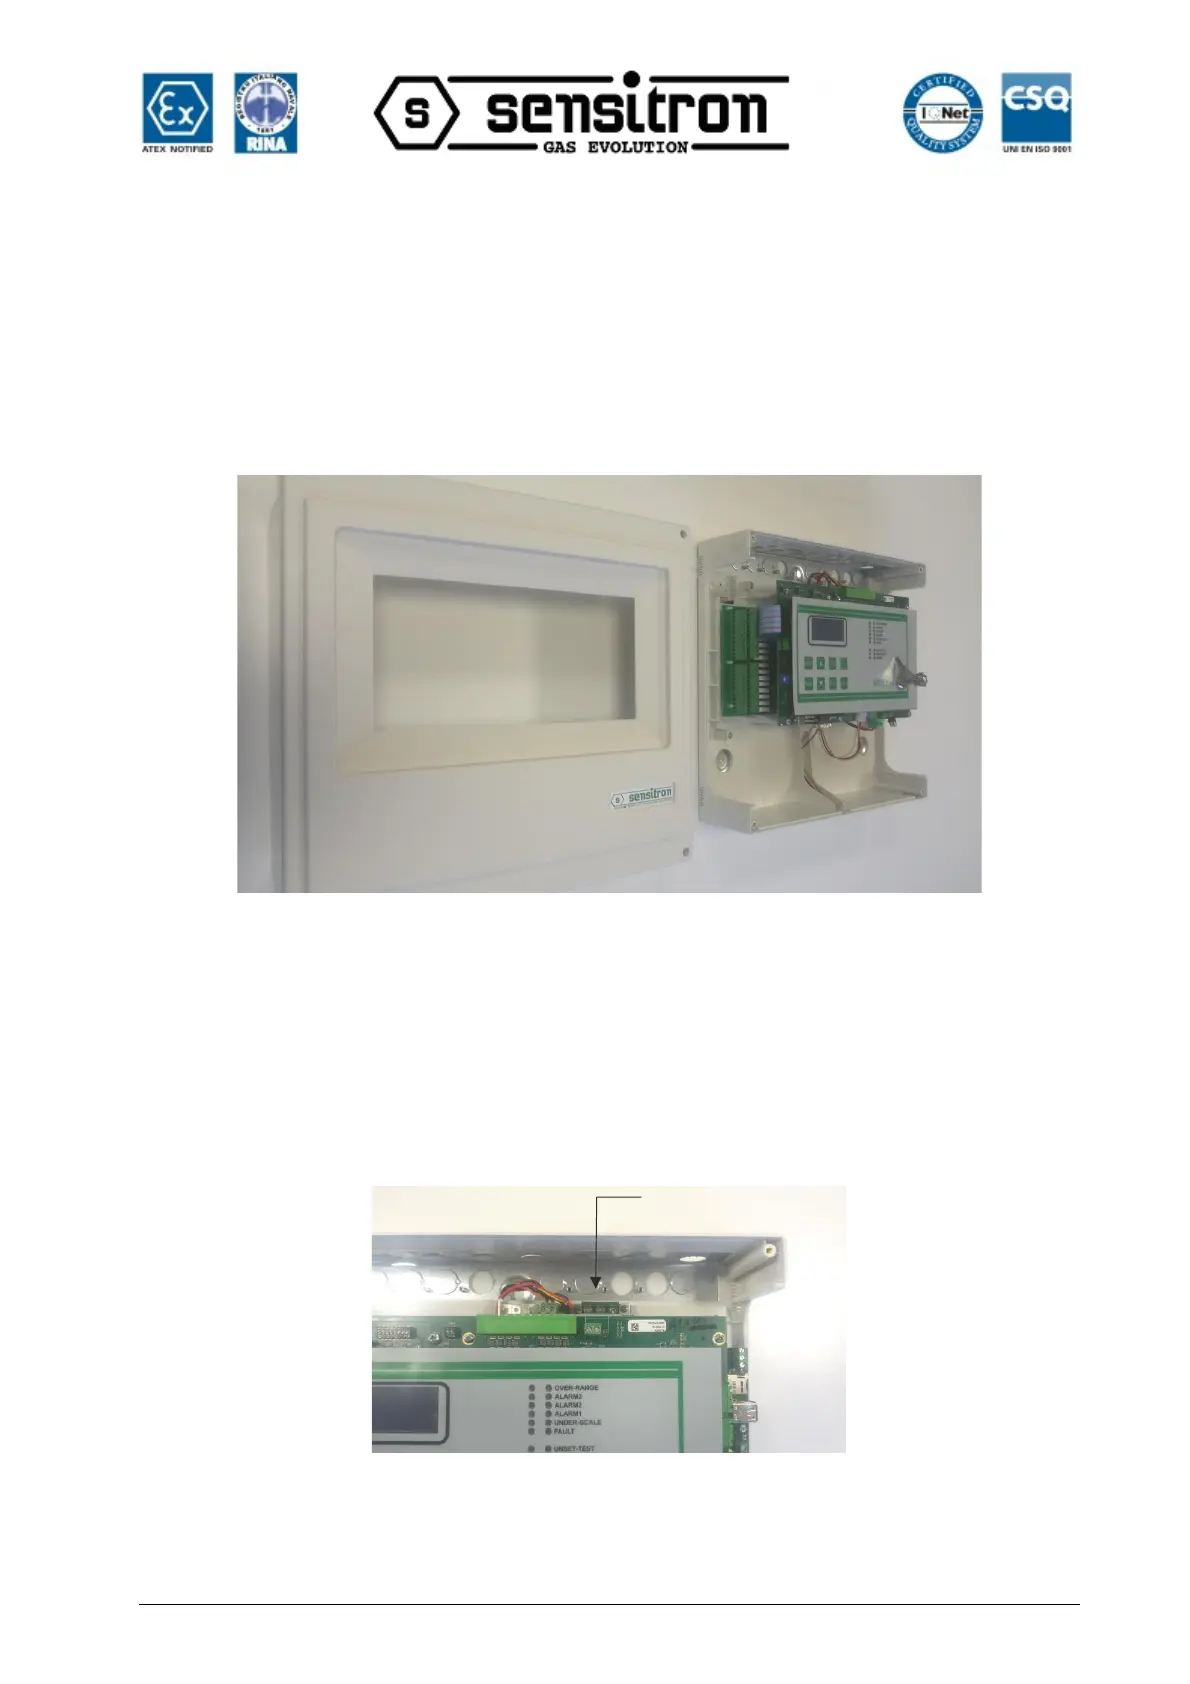
Connect the tri-polar network cable to the power supply (minimum 1.5mm
2
per pole) and
secure it with the specific wire clamp.
Power on the central unit, and connect the red and black fastons of the power supply to
the two 12 V 7 Ah lead buffer batteries, in a series
Fig. 2.1 b) Vac network connection