Setup
Page 32 UltraWave Product Guide
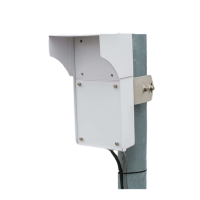
Connect the UCM and specify the Locale
1. Remove the lower cover from the UltraWave transmitter unit enclosure and use a USB cable
to connect the UCM computer to the USB port on the PCB.
2. Start the UCM application and establish a connection.
3. Select the Config tab and specify the Locale (FCC or ETSI).
4. Repeat this procedure for the receiver unit.
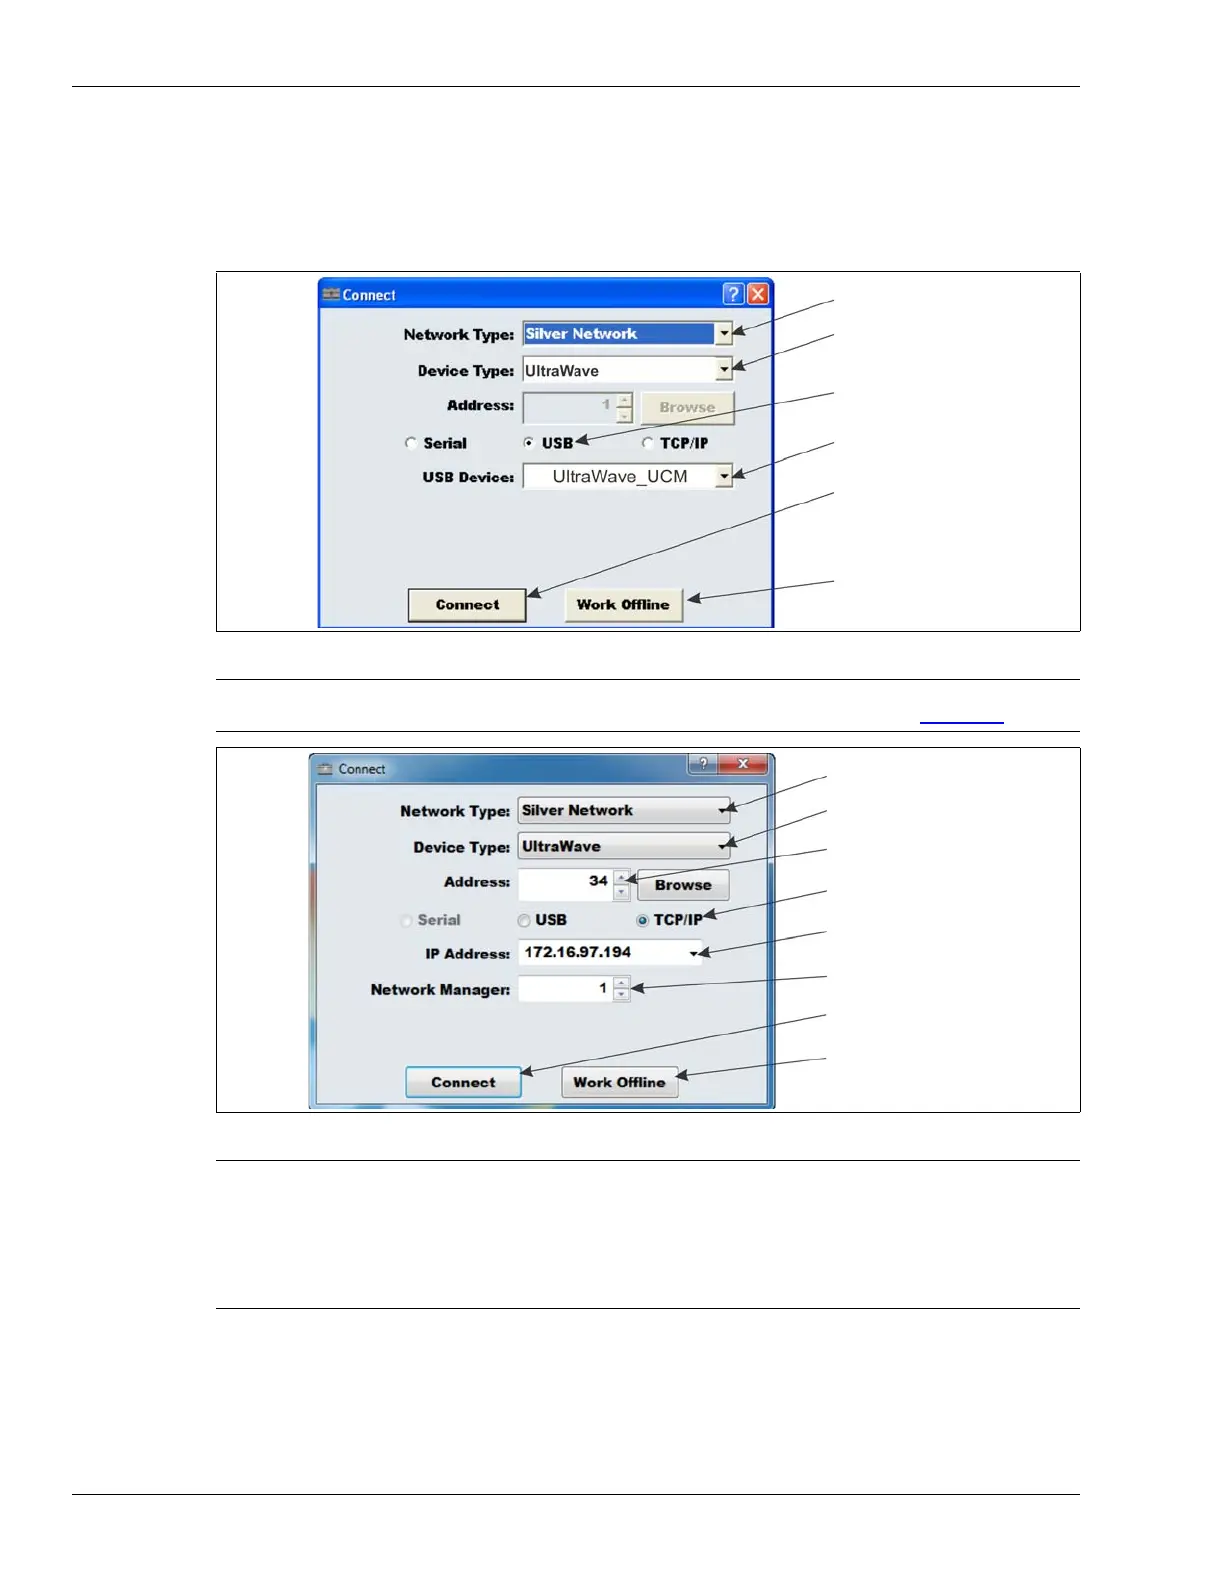
Figure 28 Connecting the UCM
Note It is also possible to connect the UCM to the UltraWave receiver
remotely through the Silver Network Manager (see Figure 29
).
Figure 29 Connecting the UCM
Note The first time the UCM connects to the transmitter/receiver units, you
are prompted to select the sensor’s Locale (region of operation - FCC
for North American operation, or ETSI for European operation). Make
the selection based on the country in which the unit is installed. The
UltraWave will not operate until both the transmitter and receiver have
the Locale specified.
select the Network Type
select the Device Type
specify the connection
select Connect to establish
the device ID displays
a UCM connection to the
UtraWave unit
select Work Offline to setup
parameters in a UCM file
select the Network Type
select the Device Type
specify the connection
select Connect to establish
select the IP address of
a UCM connection
select Work Offline to setup
parameters in a UCM file
specify the device Address
the Network Manager PC
select the Network Manager ID