21
20
DEUTSCHESPAÑOL ITALIANO ENGLISHFRANCIS
7) block the stop screws of the previously re-
moved bars
8) reinstall the closures and belt protections
9) lower the hood
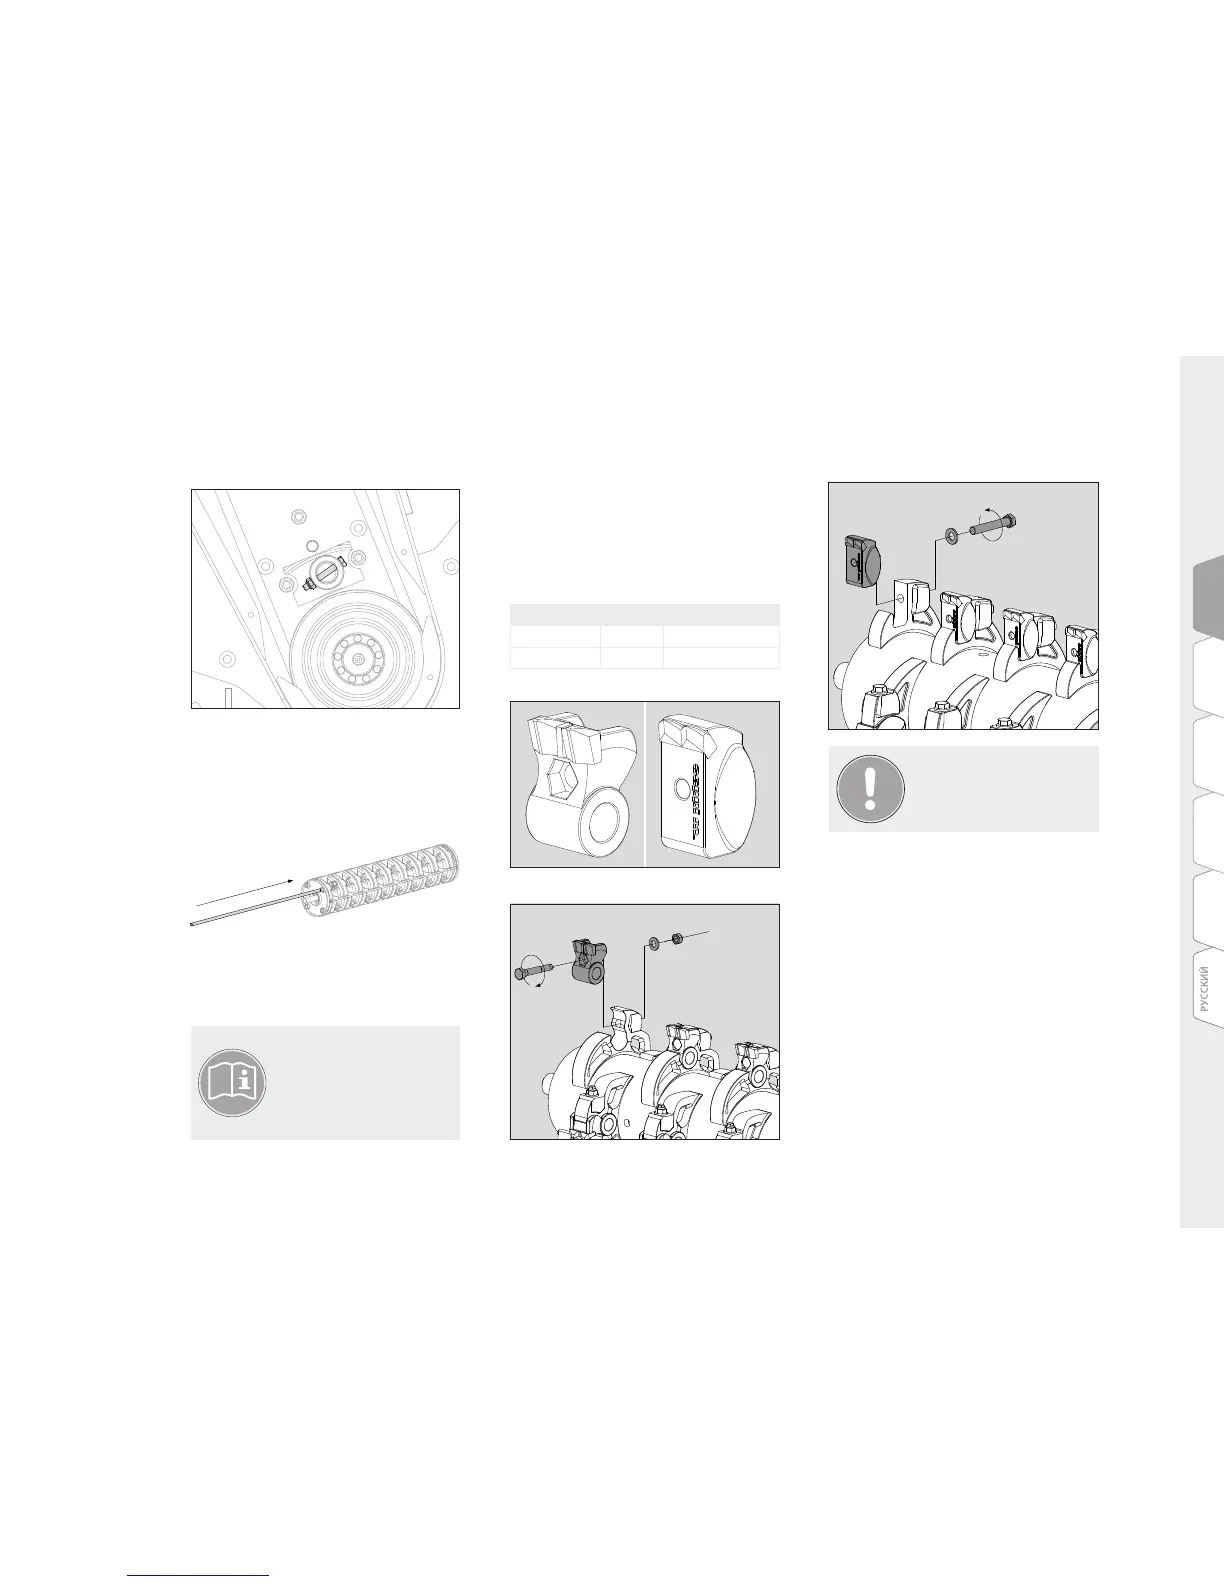
4) remove the stop screws of the bars
OPT 214 OPT 228, 141
5) using a round bar with a diameter 5 mm less
than that of the hammer support bar, pull them
off by hitting one of the two ends. If the bars are
warped, they must be cut in pieces.
6) re-insert the bars in the rotor, inserting the
new hammers one by one
If only one hammer needs to be
replaced (e.g. broken), it is ad-
visable to use hammers already
worn, with a shape and weight
similar to those mounted.
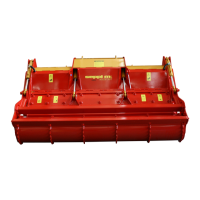
6.5.2 Replacing fixed knives
To remove and replace the fixed knives, proceed
as follows:
1) remove the fixing screw from the knife
2) remove the knife from its seat
3) replace the knife, screw, nut and tapered wash
-
er (if present)
4) tighten the screw at the following torques:
Rotor Screw Tightening torque
OPT 214 M16 350 NM (258 lb ft)
OPT 228, 141 M16 350 NM (258 lb ft)
After about one hour of work,
check that the new hammer is
tightened properly.
Assembling OPT 214
350 NM
(258 lb ft)
Assembling OPT 228
350 NM
(258 lb ft)
6.6 Replacing anti-wear frame
The anti-wear frame must be checked after
each day of work. Change it when worn to avoid
wearing the main frame.
6.7 Checking screws
Frequently inspect the machine, making sure
that all components are properly fastened and
that all screws and nuts are well-clamped.
Before starting particularly heavy duty work,
check the maintenance status.
6.8 Troubleshooting
The following are the main, reasonably fore-
seeable, malfunctioning conditions in relation
to the individual operational functions of the
machine.
(> see next page)