How to use the appliance
23
Before loading your first load of
laundry
Your new appliance was tested before leaving the
factory. This process involves running various wash
cycles. As a result, a small amount of water may
remain in the tub and drainage system. Run a Drum
Clean cycle with no laundry and no detergent to
clean the system before your first load of laundry.
Daily use
Preparing the laundry
EMPTY POCKETS
Coins, paper clips, etc. could damage the load and
the washing machine components.
Tissues will break down during the wash cycle and
the fragments will have to be subsequently
removed by hand.
CLOSE ALL ZIPPERS, BUTTONS, AND HOOKS. TIE ALL
RIBBONS OR BELTS
Insert the smaller garments (e.g. nylon hosiery,
belts, etc.) and garments with hooks (e.g. braziers)
into a fabric bag or a pillowcase with zipper.
Remove any rings from curtains, or else place the
curtains inside a fabric bag together with the rings.
FABRIC TYPE/SYMBOL ON THE WASH LABEL
Cottons, mixed fibres, easy care/synthetics, wool,
hand wash items.
Color
Separate colored and white items. Wash new
colored articles separate.
Size
Wash items of different sizes in the same wash
load, to improve washing efficiency and
distribution of the articles in the drum.
Delicates
Wash delicate items separately; they require
gentle treatment.
How to use the appliance
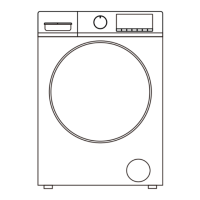
1. Load laundry
Open the door and load the laundry. Load the
articles one at a time loosely into the drum,
without overfilling. Observe the load sizes given in
the “Table of wash cycle”, overloading the
machine will result in unsatisfactory washing
results and creased laundry.
2. Close door
Make sure that no laundry gets stuck between
door glass and rubber seal. Close the door so that
you can hear it click shut.
3. Open the tap
Make sure that the appliance is connected to the
water mains. Open the tap.
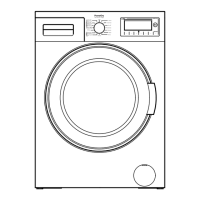
4. Set the desired program
Select the required program with WASH CYCLE
SELECTOR knob. The duration of the wash cycle is
shown on the display. The washing machine
automatically displays the default temperature
and spin speed settings possible for the selected
program. Adjust the temperature and/or spin
speed setting if needed with the relative buttons.
Change temperature, if needed
Press the TEMP. button to progressively lower the
temperature setting until cold wash has been set
(all temperature value indicator light go out on the
display). Pressing the button again sets the highest
possible setting.
Change spin speed, if needed
Press the SPEED button to progressively decrease
the spinning speed until the spin cycle is turned
off (all spinning speed value indicator light go out
on the display). Pressing the button again sets the
highest possible setting.
Select options, if needed
Press the button(s) to select the option; the
corresponding option indicator light is on.
Press the button(s) again to cancel the option, the
corresponding option indicator light goes out.