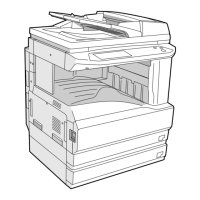
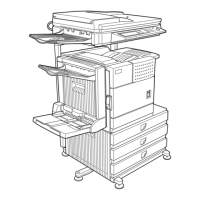
AR-M236/M276/M237/M277 UNPACKING AND INSTALLATION 5 - 5
5) Select the type of paper that is loaded in the tray.
Touch the appropriate paper type key.
6) Touch the [OK] key.
You will return to the tray settings screen.
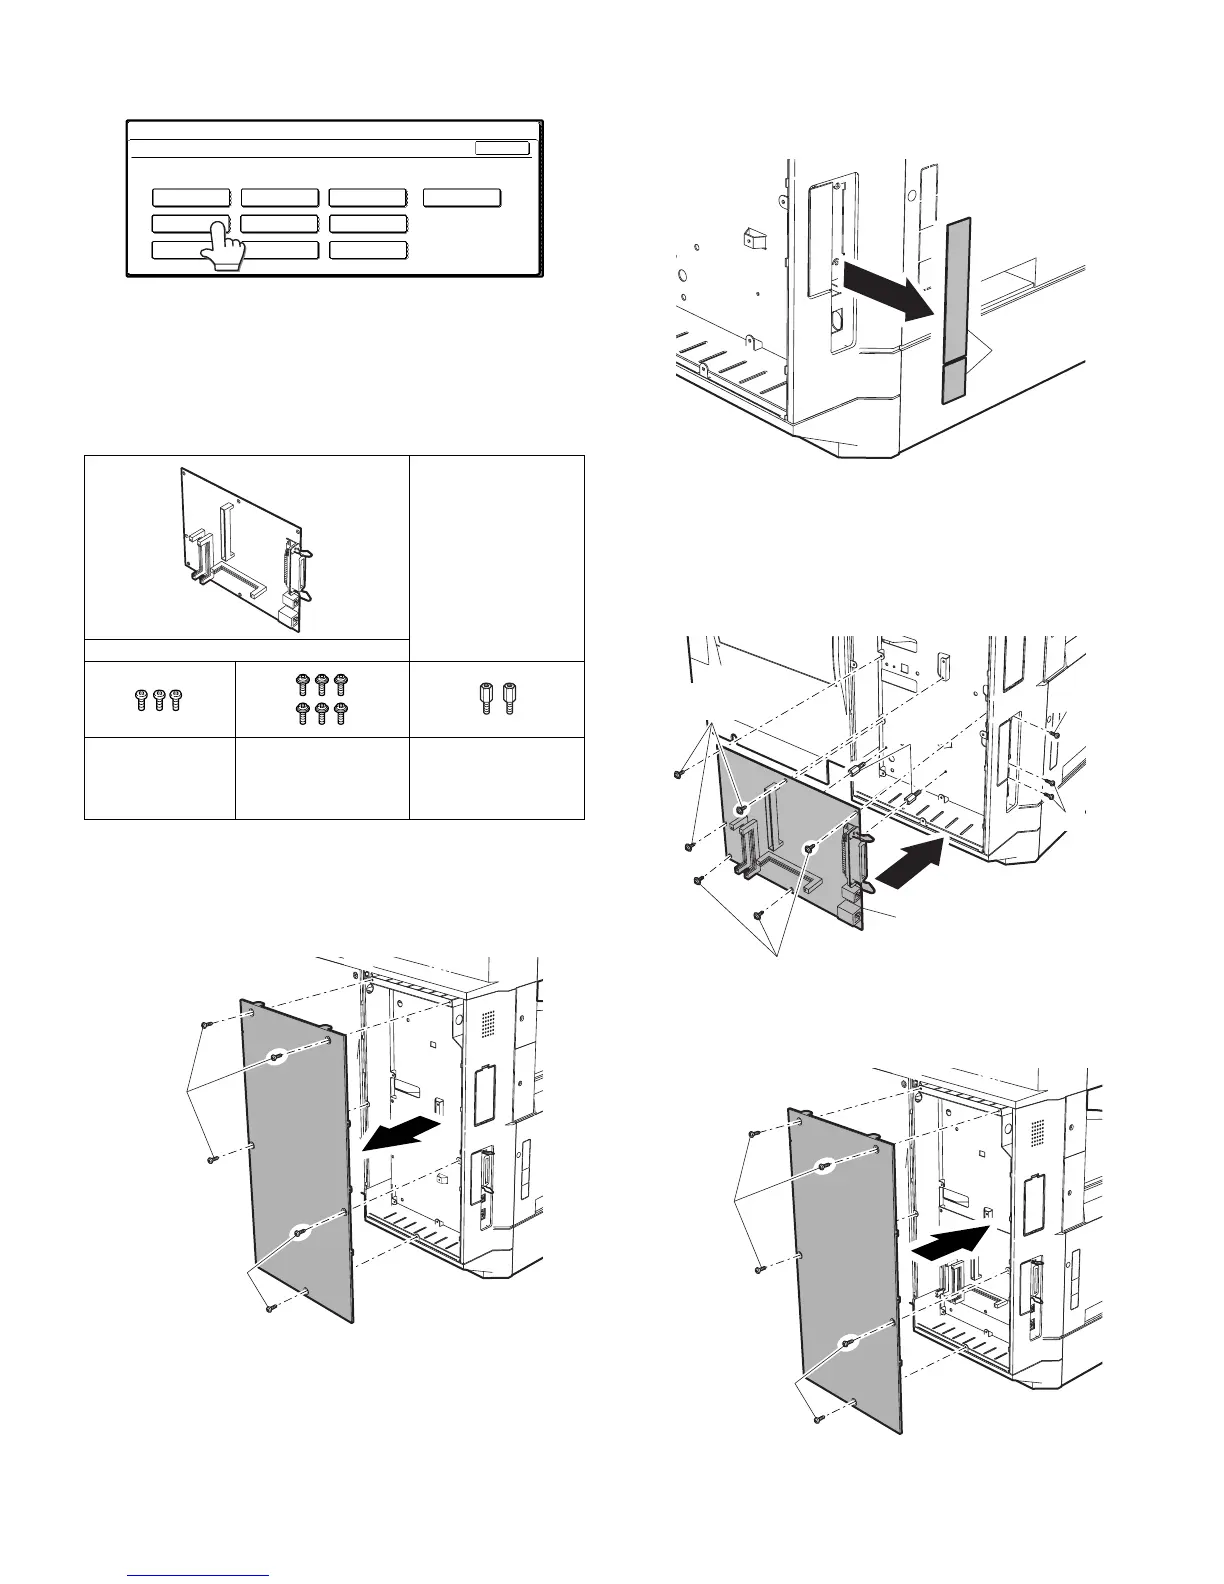
8. Installation of options
A. AR-P17
(1) Parts included
(2) Installation procedure
Turn off the main switch of the copier and then remove the power
plug of the copier from the outlet.
1) Remove the shielding plate.
Remove five screws and remove the shielding plate.
2) Cut and remove the cut-out portion from the left rear cabinet.
Cut and remove the cut-out portion from the left rear cabinet using
a tool such as nippers. (Be careful about the direction of the tool so
that the cut surface is flat.)
3) Attach the PCL PWB unit.
Attach the support post to the mounting plate of machine options.
Then connect the PCL PWB connector to the mother board con-
nector and fit the PCL PWB with the six screws with M3 spring
washer (packed with the unit).
Then, attach the parallel and USB connector portion using the sup-
plied three screws.
4) Attach the shielding plate.
Attach the shielding plate using five screws.
CD-ROM: 1 pc.
Operation manual
Installation caution
sheet
PCL PWB: 1 pc.
M3 screws: 3 pcs.
(For installation of
the parallel and the
USB connectors)
M3 screws with
spring washer: 6 pcs.
(For installation of the
PCL PWB)
Support post: 2 pcs.
CUSTOM SETTINGS
BYPASS TRAY TYPE SETTING
SELECT THE PAPER TYPE.
RECYCLED
PLAIN
COLOR
HEAVY PAPER THIN PAPER
LETTER HEAD
LABELS
TRANSPARENCY
ENVELOPE JAPANESE P/C
OK
Screws
Screws
Cut-out portion
Support
post
PCL PWB
M3 screws with
spring washer
M3 screw
M3 screws
M3 screws with
spring washer
Screws
Screws