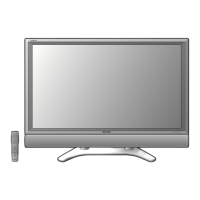
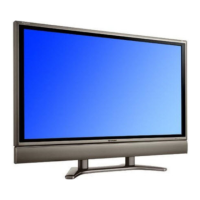
LC-65D90U
13
REMOVING OF MAJOR PARTS
1. Remove the terminal covers (top and bottom).
2. Remove the edge cover fixing screws (4 pcs.).
3. Remove the speaker fixing screws (4 pcs.).
4. Remove the decoration screws (4 pcs.).
5. Remove the stand fixing screws (6 pcs.).
6. Remove the operation button cover fixing screws (2 pcs.).
7. Remove the terminal screws (13 pcs.).
8. Remove the cabinet B fixing screws (26 pcs.).
9. Remove the cabinet B after opening from the direction of an arrow.
10. Disconnect all the connectors from all the PWBs.
Cabinet A
Cabinet B
Operation Button Cover
Stand
Speaker
7
8
1
1
6
5
2
2
3
3
3
3
7
7
4
9
Terminal Cover
(Bottom)
Terminal Cover
(Top)
P7309
P7310
PG2
P7701
P7407
PD1
CO501
PP
P101
P5003
P5405
P2204
UNT1101
P5402
P2501
SC1800
SC7200
P1800
SC6202
P6903
SC6302
P202
P6902
P6901
P6101
P6103
P6102
PG1
PO
PD1
C0001
PP
P7509
P7510
P7309
P7811
AC
SC4701
SC4702
P2204
SC4002
SC4001
P5703
P6201
SC5502
SC6201
SC5501
P7309
P4804
P2205
P2206
P1702
P154
SC6801
SC6802
P1105
P6100
P7501
P7502
P7503
P7504
P7505
P7506
P7601
P7602
P7603
P7604
P7605
P7606
P7801
P7802
P7803
P7804
P7805
P7806
P7301
P7302
P7303
P7304
P7305
P7306
P7401
P7402
P7403
P7404
P7405
P7406
P7701
P7702
P7703
P7704
P7705
P7706
10
10
10
10
10
10
10
10
10
Main Power unit
R/C,LED unit
Sub Power unit
Ext-SP unit
TCON Bottom unit
Line Filter unit
Inverter-2 unit
Inverter-4 unit
Inverter-6 unit
Inverter-1 unit
Inverter-3
unit
Inverter-5
unit
 Loading...
