12
INSTALLING THE SOFTWARE (THAT ACCOMPANIES THE MACHINE)
Windows 2000
1
Click the "Start" button, select
"Settings", and then click "Control
Panel".
2
Double-click the "Scanners and
Cameras" icon.
3
Select "SHARP MX-xxxx" and click
the "Properties" button.
4
In the "Properties" screen, click the
"Events" tab.
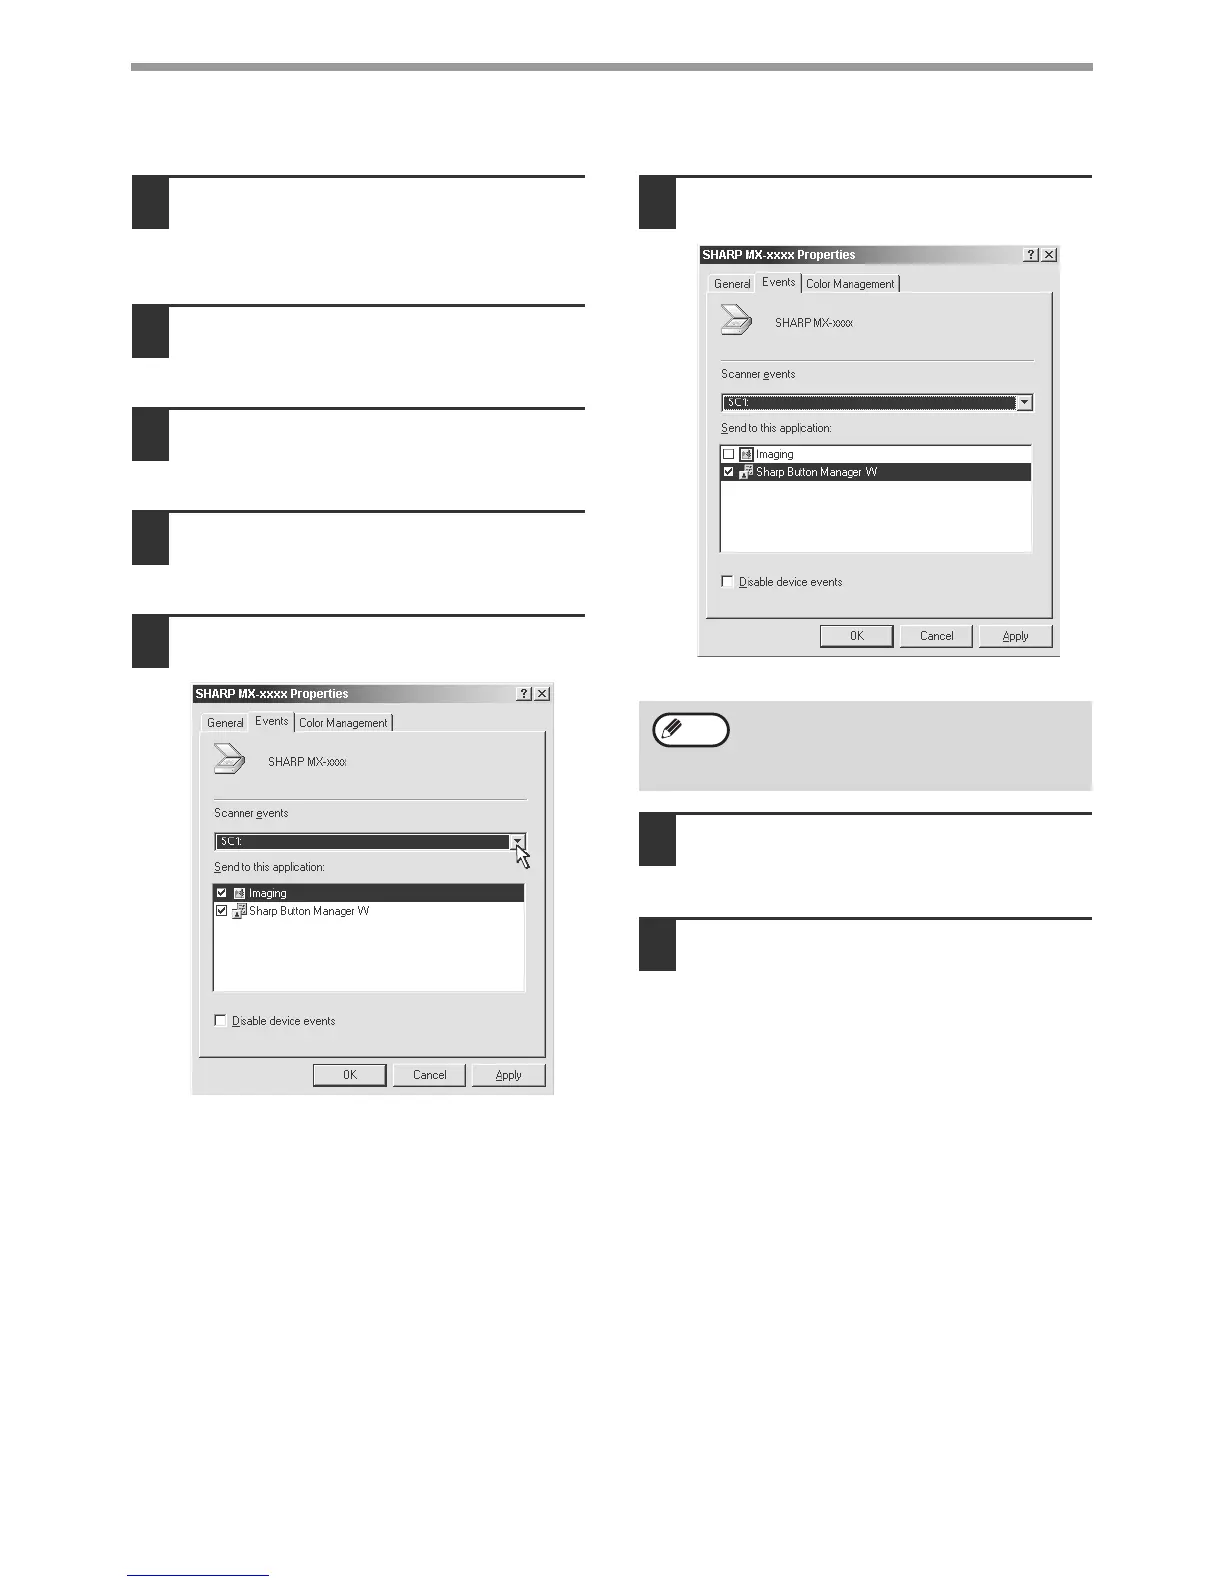
5
Select "SC1:" from the "Scanner
events" pull-down menu.
6
Select "Sharp Button Manager W" in
"Send to this application".
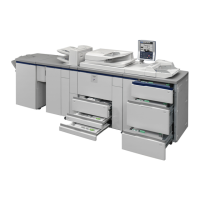
7
Click the "Apply" button.
8
Repeat Steps 5 through 7 to link
Button Manager to "SC2:" through
"SC6:".
Select "SC2:" from the "Scanner events"
pull-down menu. Select "Sharp Button Manager
W" in "Send to this application" and click the
"Apply" button. Do the same for each ScanMenu
through "SC6:".
When the settings have been completed, click the
"OK" button to close the screen.
Button Manager is now linked to the machine
scan destinations SC1: to SC6:.
The scan settings for each of scan destinations
SC1: through SC6: can be changed with the
setting window of Button Manager.
For the factory default settings for destinations
SC1: to SC6: and the procedures for configuring
Button Manager settings, see "BUTTON
MANAGER SETTINGS" in "Operation Manual
(for printer and scanner)" in the "Software
CD-ROM" that accompanies the machine.
If other applications are shown, deselect the
checkboxes for the other applications and
leave only the Button Manager checkbox
selected.
Note