MX-M182 FLASH ROM VERSION UP PROCEDURE 12-5
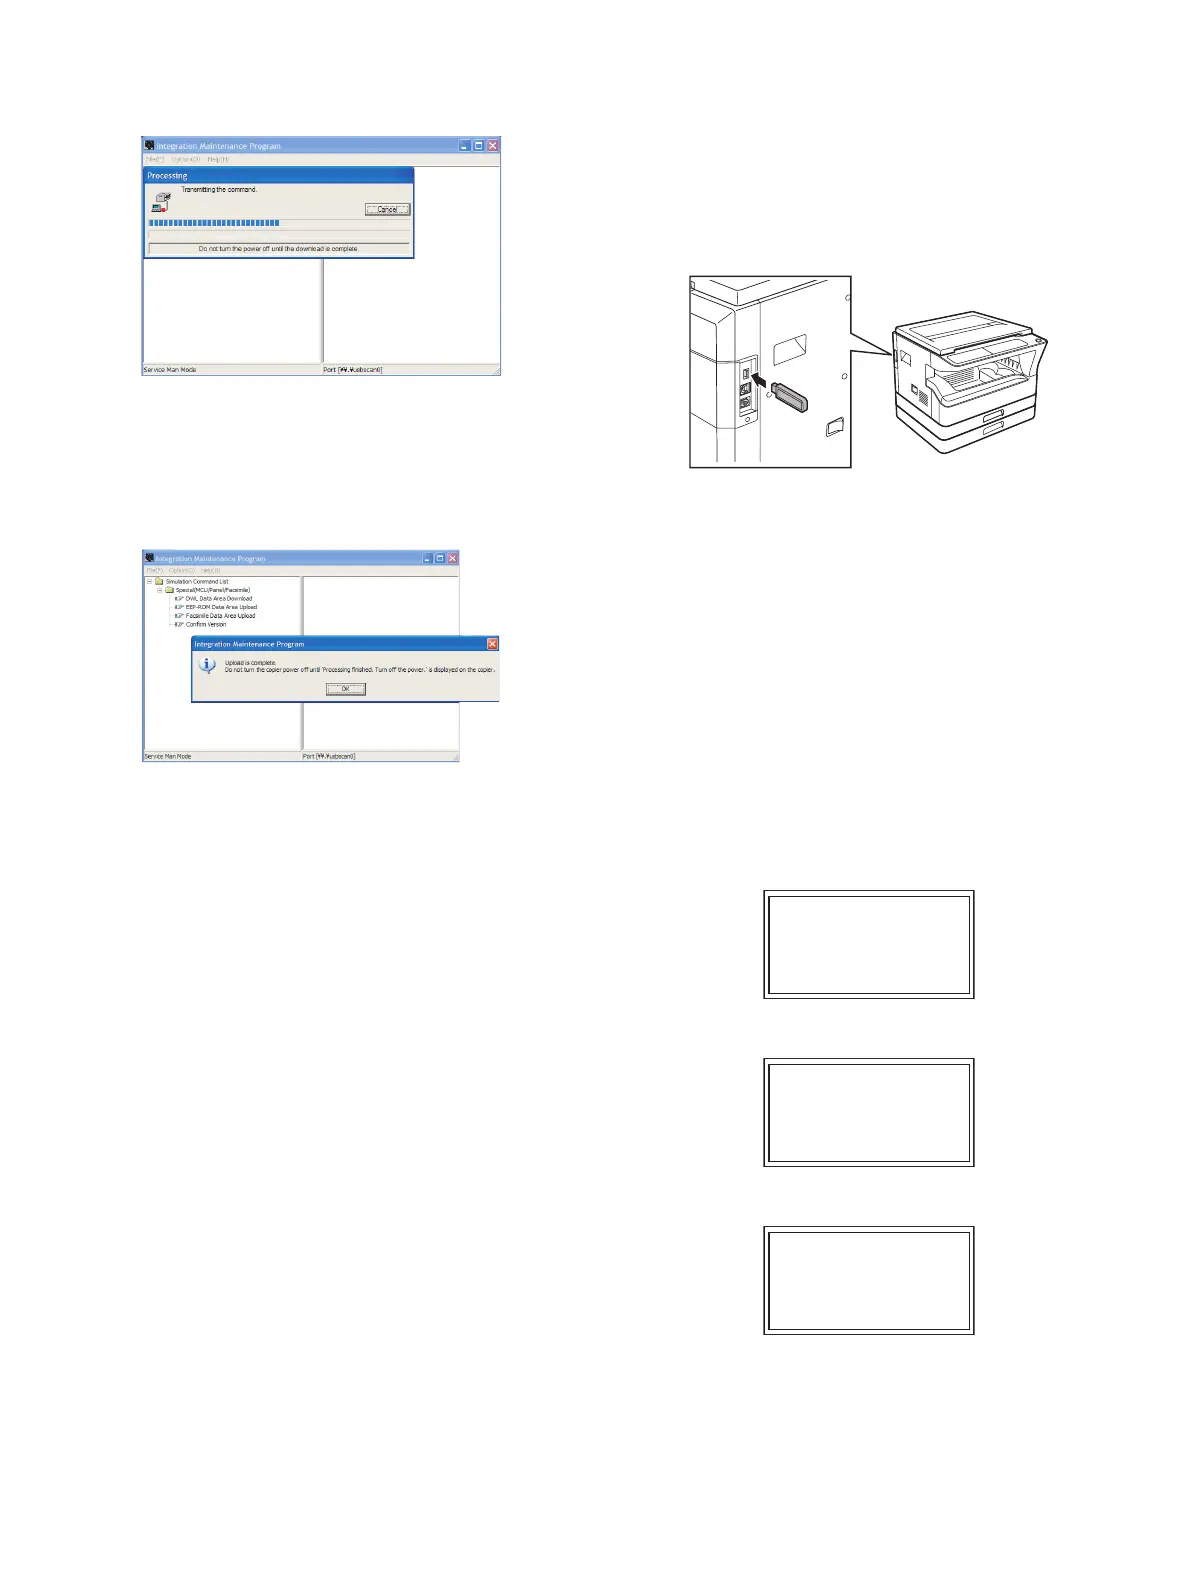
9) PC side:
The following message is displayed, and uploading the FAX data is
started.
10) PC side:
When the message below is displayed, upload is completed.
Completion message:
Upload is completed. Do not turn the Machine power off until
"Processing finished. Turn off the power." is displayed on the
Machine.
11) Main body side:
Wait until the message of "Processing finished. Turn off the power."
is displayed. The above message indicates completion of uploading
the FAX data. Then turn OFF the power and disconnect the USB
cable.
With the above procedures, uploading the FAX data is completed.
The data acquired in "FAX data upload acquisition procedure" are saved
in a file with the extension of ".fdt".
NOTE (Important):
• Do not perform uploading the FAX data with a machine which has no
FAX PWB installed.
If uploading the FAX data is tried with the machine which has no FAX
PWB installed, the message of "Do not turn the power off." is kept
remained on the main body side.
[Canceling procedure] Turn OFF/ON the main body to cancel.
PC side: "Command sending" is displayed. Two minutes later,
"Communication error occurs." is displayed.
[Canceling procedure] Disconnect the USB cable. Check to confirm that
"Communication error occurs." is displayed, then click "OK." The error
is canceled by the above procedures. Since write/delete process is not
performed on the MCU, the PANEL, and the Flash ROM of the FAX,
they will not affect the following operations.
5. Updating the MX-NB12 firmware
A. Preparation
Write the firmware (file with extension of brn) into the MX-NB12.
Necessary items for updating
• *.brn (Firmware)
• USB memory
Caution: The firmware (*.brn) must be copied to the root directory in the
USB memory in advance.
B. Updating procedures
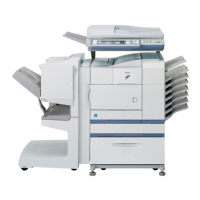
1) Insert the USB memory into the machine.
Caution: Once the USB memory is inserted, never remove it until the
procedure is completed.
The operations are enabled only when the MX-NB12 is active.
It takes 30 seconds for the MX-NB12 from turning ON the
power to activating. When turning ON the power, therefore, wait
for 30 seconds before executing SIM49-02.
Once the process is started, never disconnect the USB
memory until the end of the process.
It is allowed to save only one NNB download file (*.bm file) in
the root directory of the USB memory.
2) Machine side
Execute the service simulation No. 49-02 (Network board firmware
download mode). (Check to confirm that the display below is
indicated on the screen.)
3) "Download mode" is displayed on the operation panel display.
4) "Do not turn the power off." is displayed, and downloading of the
firmware is started.
5) When downloading is completed, "Processing is finished. Turn off
the power." is displayed.
During execution of the simulation, do not perform a key operation of
the operation panel.
6) Turn OFF the power of the machine.
7) Check to confirm that the machine is turned OFF, and remove the
USB memory from the machine.
Updating is completed with the above operation.
Download mode.
Do not turn the
power off.
Processing finished.
Turn off the power.