SAVING A DOCUMENT IMAGE FILE
7-11
7
11
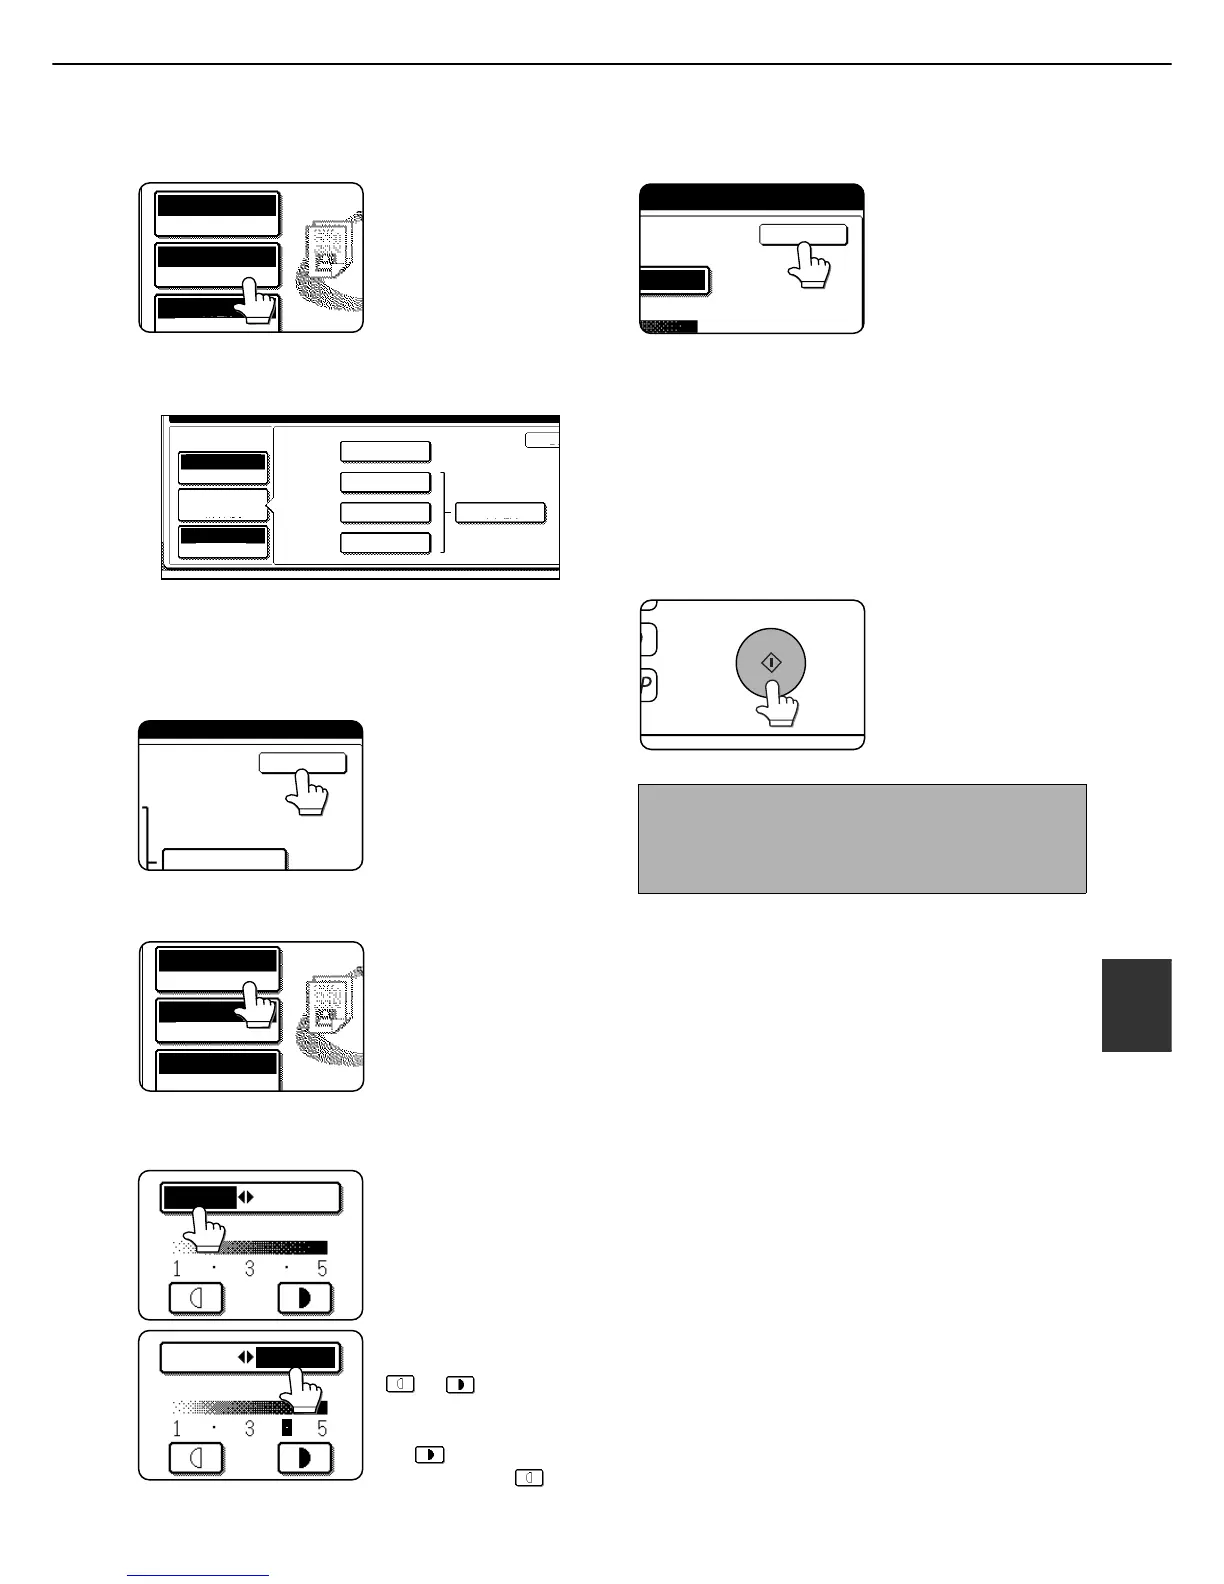
Touch the [RESOLUTION] key.
12
Touch the key of the desired resolution.
Select one of four resolution levels as appropriate
for the original.
The selected resolution key is highlighted.
13
Touch the [OK] key.
You will return to the
screen of step 11.
14
Touch the [EXPOSURE] key.
15
Select [AUTO] or [MANUAL].
To have the exposure
adjusted automatically,
select [AUTO].
If you selected
[MANUAL], touch the
or key to adjust
the exposure.
(For a darker image, touch
the key. For a lighter
image, touch the key.)
16
Touch the [OK] key.
You will return to the
screen of step 14.
17
Place the original and touch the [START]
key.
[Placing the original]
●For information on placing the original, see
"NORMAL COPYING" in chapter 4.
●If you selected the "Card Shot" special function,
the document glass must be used.
●If you selected job build mode, the automatic
document feeding function must be used.
Scanning begins.
If you are using the
document glass, touch
the [READ-END] key
after all pages have
been scanned.
18
The saved image can be called up using
the file name, folder name, or user name,
or from the filing folder.
●To call up the image by entering the file name,
folder name, or user name, see "Searching for
and calling up a saved file" on page 7-13.
●To call up the image from the filing folder, see
"Calling up and using a saved file" on page 7-
15.
19
The following operations can be
performed on the image that was called up
in step 18:
●Print the image (page 7-17)
●Transmit the image (page 7-20)
●Change the attribute ((page 7-21)
●Move the image (page 7-22)
●Delete the image (page 7-22)
●Check details on the image (page 7-22)