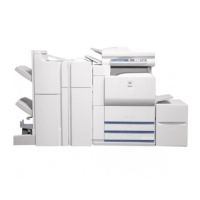
FINISHER AND SADDLE STITCH FINISHER
3-12
11
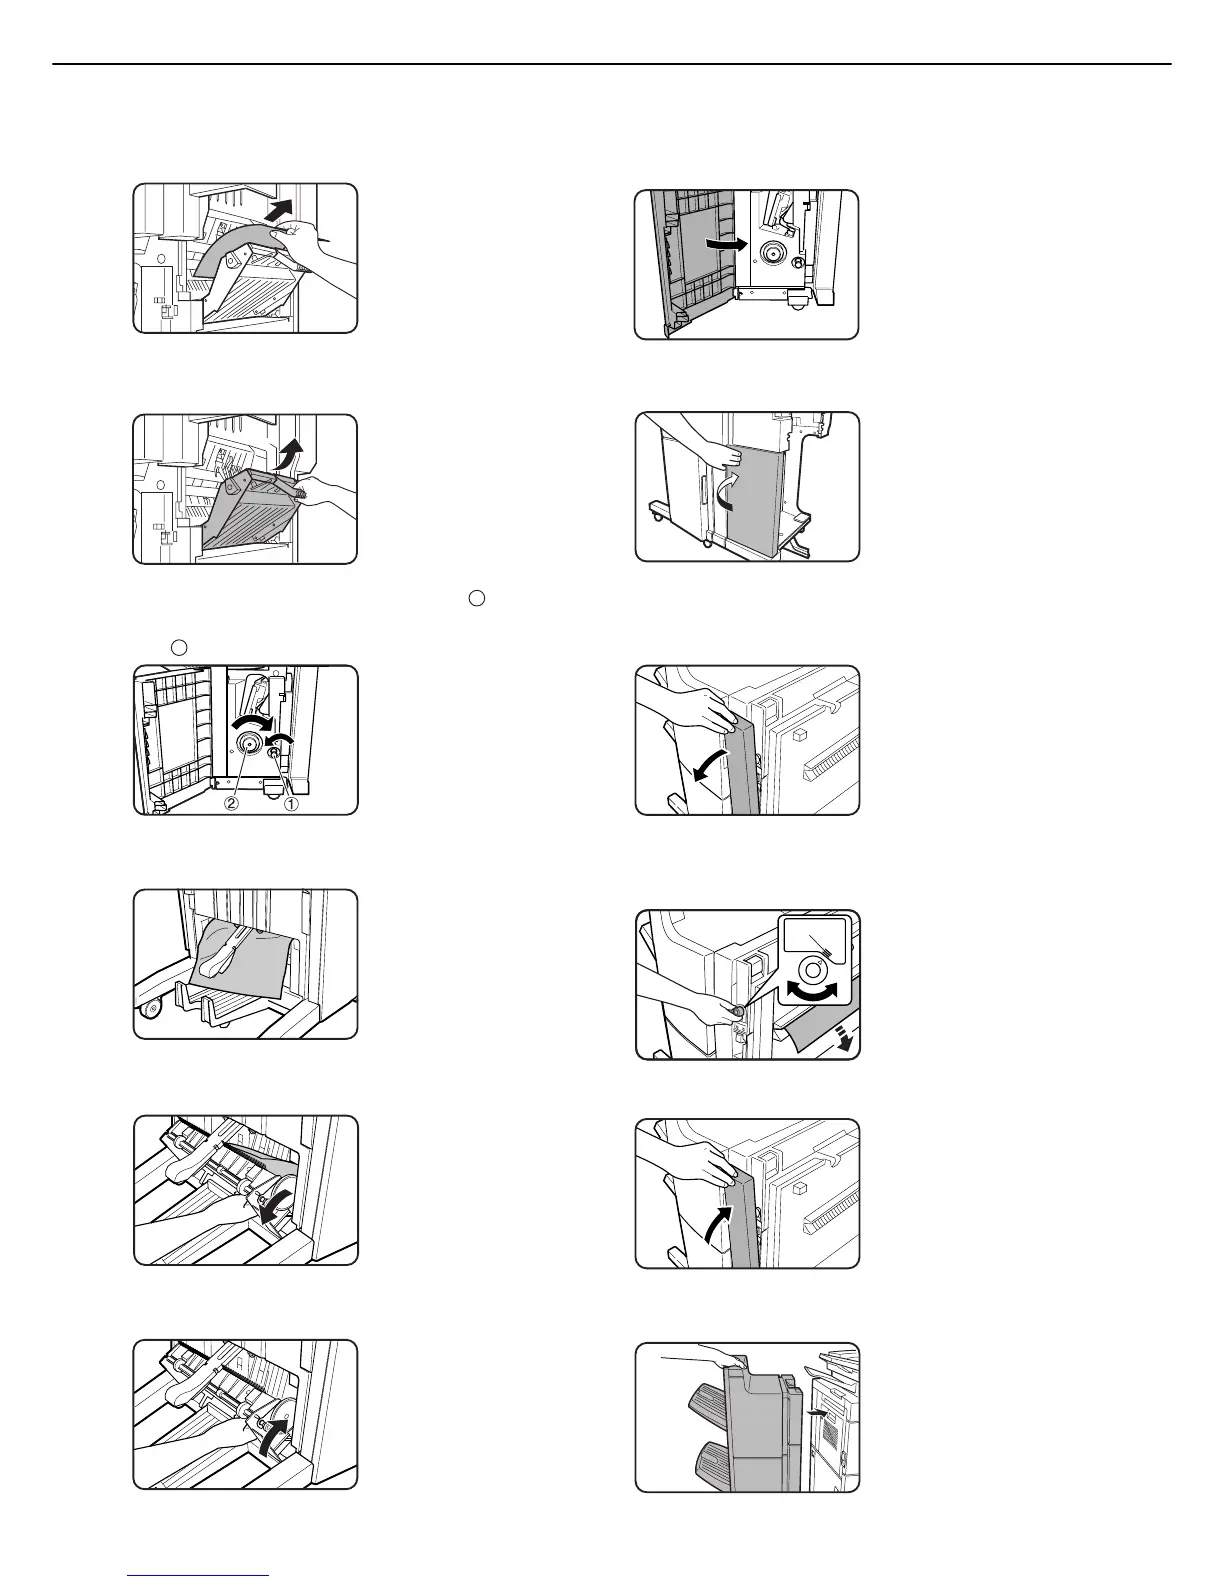
Remove the misfed paper.
Be careful not to tear the
misfed paper during
removal.
12
Close the entrance cover of the saddle
stitch unit.
13
Turn the right-hand knob counter
clockwise. Then, push the left-hand knob
and turn it clockwise.
14
Remove any paper misfed on the exit side
of the saddle stitch unit.
Be careful not to tear the
misfed paper during
removal.
15
Open the exit cover of the saddle stitch
unit and remove any misfed paper.
Be careful not to tear the
misfed paper during
removal.
16
Close the exit cover of the saddle stitch
unit.
17
Close the lower cover of the saddle stitch
finisher.
18
Close the front cover of the inserter (only
when an inserter is installed).
■ When a punch module is installed
19
Open the cover of the hole punch module.
20
Rotate the green knob until the arrow is
within the range (A) on the label, and
remove the misfed paper.
Be careful not to tear the
misfed paper during
removal.
21
Close the cover of the hole punch module.
22
Push the finisher back against the main
unit.
1
2
(A)