XL-E75H_OM_EN.fm
E-8
2009June 1
Changing the setup menu
Turn on the TV, and switch the input to the “VIDEO 1”, “VIDEO
2”, etc. accordingly.
Notes:
z During playback, “PREFERENCES” settings cannot be
changed.
z Settings are stored even if the unit is set to the stand-by mode.
z The backup function protects the stored settings for a few hours
should there be a power failure or the AC power lead
disconnection.
z If the startup screen is blurred, change the TV type in the setup
menu.
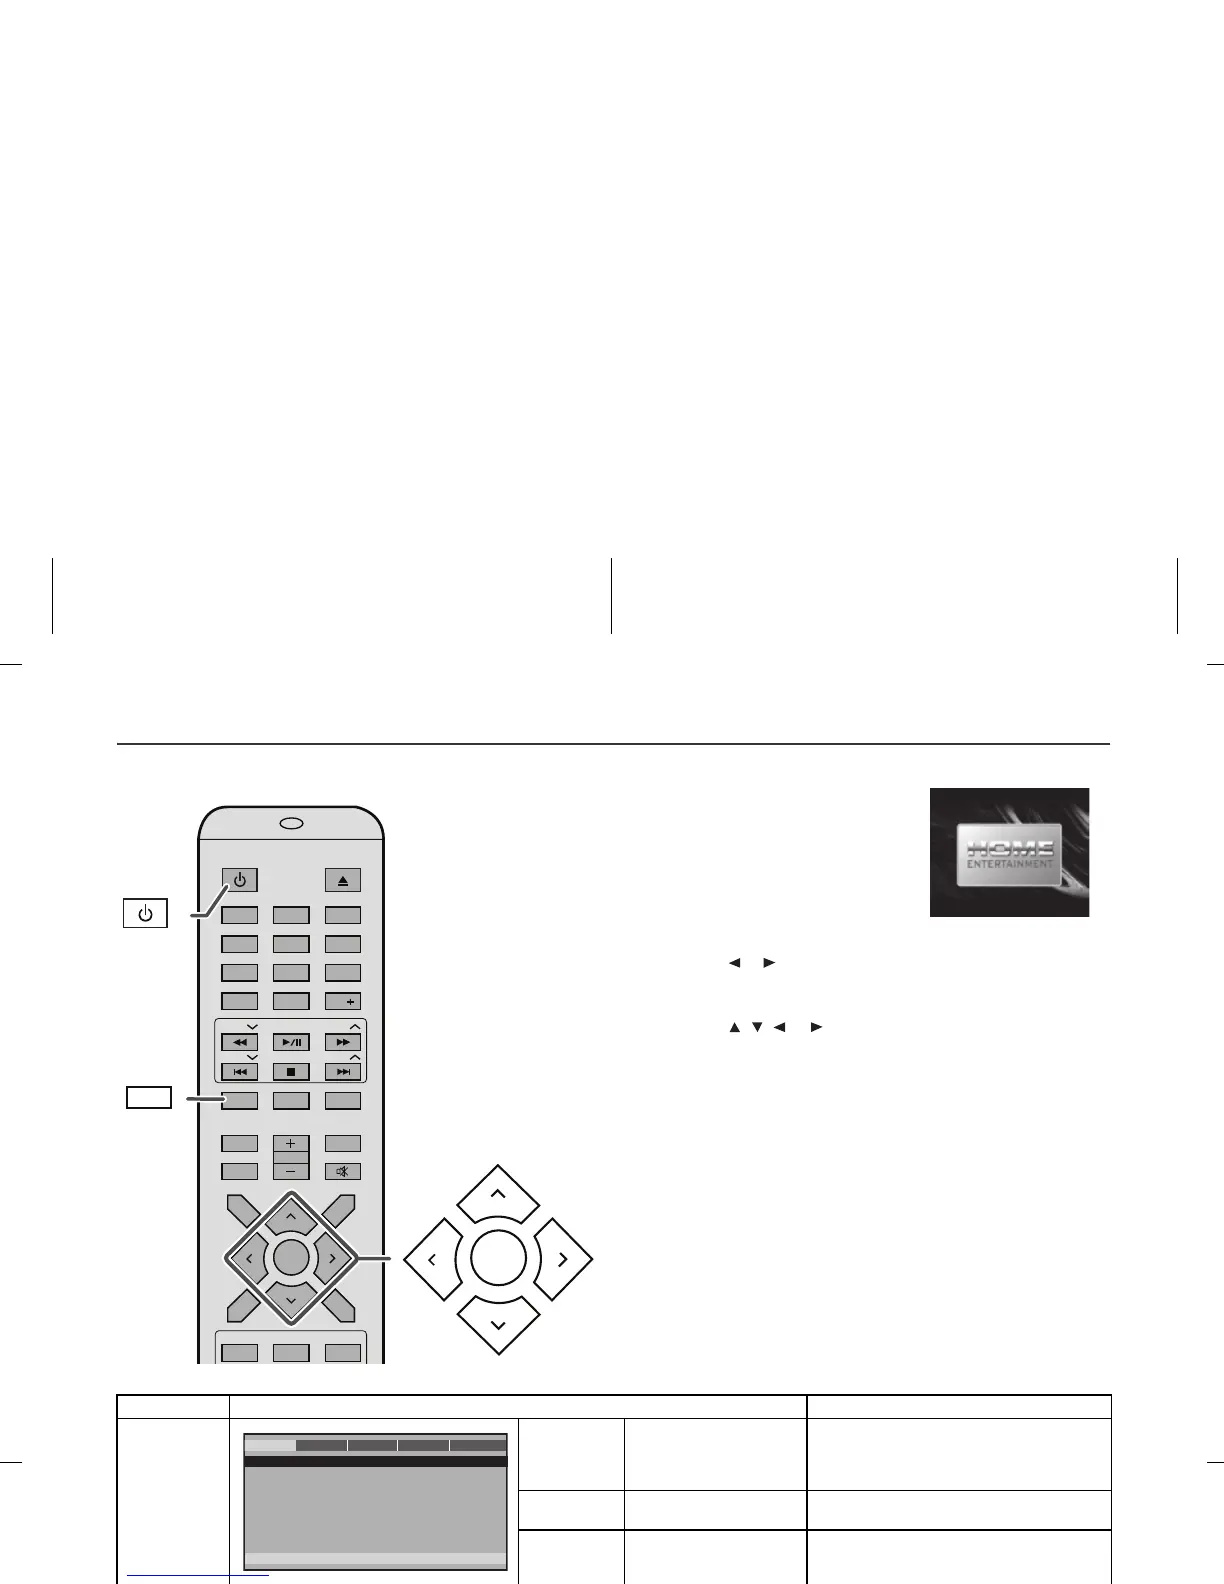
DIRECT
1 Press the ON/STAND-BY button to turn the power on.
z The startup screen appears.
z The startup screen does not
appear when the input is not
set to the disc mode. Press the
FUNCTION button to select
DVD/CD mode.
2 Press the SETUP button.
3 Press the or button to select a menu and press the ENTER
button.
z See the list on pages 8 - 10 for setup menu.
4 Press the , , or button to change the setting and press
the ENTER button.
z See the list on pages 8 - 10 for the selectable parameters.
5 Press the SETUP button.
z The setting is completed.
z To change other settings, begin from step 2.
Setup menu Selectable parameters (* indicates default setting) Description
General TV
DISPLAY
4:3 PANSCAN*
4:3 LETTERBOX
16:9
WIDE SQUEEZE
The screen mode should be set
according to the connected TV type (for
details, see page 10).
ANGLE
MARK
ON*
OFF
OSD
LANGUAGE
ENGLISH*
POLISH
CZECH
SLOVAK
ROMANIAN
HUNGARIAN
You can select the desired OSD (On
Screen Display) language for the setup
menu or playback control screen.
SCREEN
SAVER
ON* A screen saver appears.
OFF The screen saver disabled.
LAST
MEMORY
ON* If accidentally push ON/STAND-BY or
OPEN/CLOSE or FUNCTION button
during playback mode, you can resume
playback from the point playback is
stopped after power on back or you push
the OPEN/CLOSE button to close the
disc tray.
OFF Last memory not function.
Audio ANALOG
AUDIO
DOWNMIX
LT/RT
STEREO*
DIGITAL
AUDIO
DIGITAL
OUTPUT
SPDIF
OFF
SPDIF/
RAW*
SPDIF/
PCM
Useful whilst using HDMI cable. When
playing a disc recorded with Dolby Digital
or DTS, the corresponding digital signals
will be output from the HDMI Output
socket.
z PCM : Choose this setting if the
HDMI TV cannot support Dolby
Digital or DTS to avoid noise or mute
from the TV.
z RAW : Choose this setting if the
HDMI TV can support Dolby Digital or
DTS.
LPCM
OUTPUT
48K*
96K
Select the sampling frequency at 48 kHz/
16 bit or 96 kHz/24 bit capability after you
select SPDIF/PCM at SPDIF SETUP.
TV DISPLAY
ANGLE MARK
OSD LANGUAGE
SCREEN SAVER
LAST MEMORY
GO TO GENERAL SETUP PAGE
- - GENERAL SETUP PAGE - -
AUDIO DOLBY VIDEO
PREFERENCE
PS
ON
ENG
ON
OFF
GENERAL
ANALOG AUDIO
DIGITAL AUDIO
GO TO AUDIO SETUP PAGE
- - AUDIO SETUP PAGE - -
DOLBY VIDEO
PREFERENCE
GENERAL AUDIO