Notice
Please ensure that this instruction manual is given to the final user of the instrument.
Preface
This instruction manual is meant for those who will be involved in the wiring, installation, operation and routine maintenance of the SR60
series (SR62, SR63, and SR64).
This manual describes the care, installation, wiring, function, and proper procedures for the operation of SR60 (SR62, SR63, SR64) series.
Keep this manual at the work site during operation of the SR60 series. While using this instrument, you should always follow the
guidance provided herein.
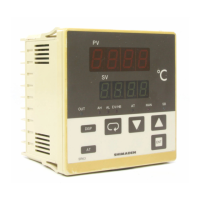
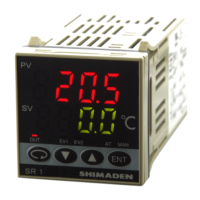
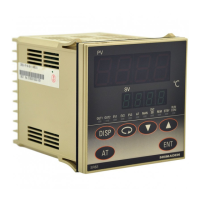
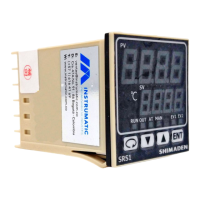
SR60 (SR62, 63, 64) Series
Digital Controller
Instruction Manual
Thank you for purchasing the Shimaden SR60 Series. Please check that the delivered product is the
correct item you ordered. Please do not begin operating this product until you have read this instruction
manual thoroughly and understand its contents.
Contents
1. The Matters regarding Safety.....................................................................................................................................................................2
2. Specifications.............................................................................................................................................................................................3
3. Introduction................................................................................................................................................................................................5
3-1. Check before Use ..........................................................................................................................................................................5
3-2. Handing Instruction.......................................................................................................................................................................5
4. Installation and Wiring...............................................................................................................................................................................5
4-1. Installation Site..............................................................................................................................................................................5
4-2. Mounting .......................................................................................................................................................................................5
4-3. How to Take the Controller out of the Case..................................................................................................................................5
4-4. External Dimensions and Panel Cutout.........................................................................................................................................5
4-5. Wiring............................................................................................................................................................................................6
4-6. Terminal Layout............................................................................................................................................................................6
4-7. Terminal Arrangement Table ........................................................................................................................................................6
5. Names and Functions of Parts....................................................................................................................................................................6
6. Parameter Operating Procedure, Flow, and Functions ..............................................................................................................................7
6-1. Operating Procedure......................................................................................................................................................................7
6-2. Parameter Flow and Functions......................................................................................................................................................8
7. Operation..................................................................................................................................................................................................10
7-1. Power ON and Initial Screen Display .........................................................................................................................................10
7-2. Function Selection Screen "Mode 2-1".......................................................................................................................................10
7-3. Measuring Range Scaling "Mode 2-2" (For voltage or current input)........................................................................................11
7-4. Setting of set value "Mode 0-0" ..................................................................................................................................................12
7-5. Setting of alarm action point "Mode 0-2/0-3" (Optional) ...........................................................................................................12
7-6. Execution of Auto Tuning (AT) Action......................................................................................................................................12
7-7. Operation by Manual Control "Mode 0-1"..................................................................................................................................13
7-8. Setting of Set Value Bias (Sb) "Mode 0-5" (Optional) ...............................................................................................................13
7-9. Setting of Current Values for Heater Break and Heater Loop Alarms (Optional).....................................................................13
7-10. Operation of Keylock ( ) "Mode 1-18"..............................................................................................................................14
7-11. Automatic Return of Display Screen...........................................................................................................................................14
8. Error Messages.........................................................................................................................................................................................14
8-1. Problems with Process Value Input.............................................................................................................................................14
8-2. Problems with CT Input for Heater Break Alarm (HB)..............................................................................................................14
SR60F-1EJ/E jun. 2000