INSTALLING THE HANDLEBARS
STEP 6
ITEMS REQUIRED
Parts Bag #6
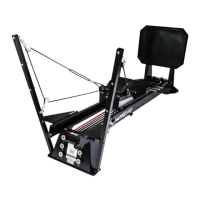
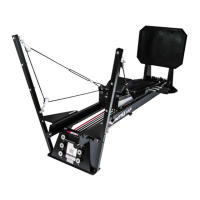
Carriage
30” Long Handlebars
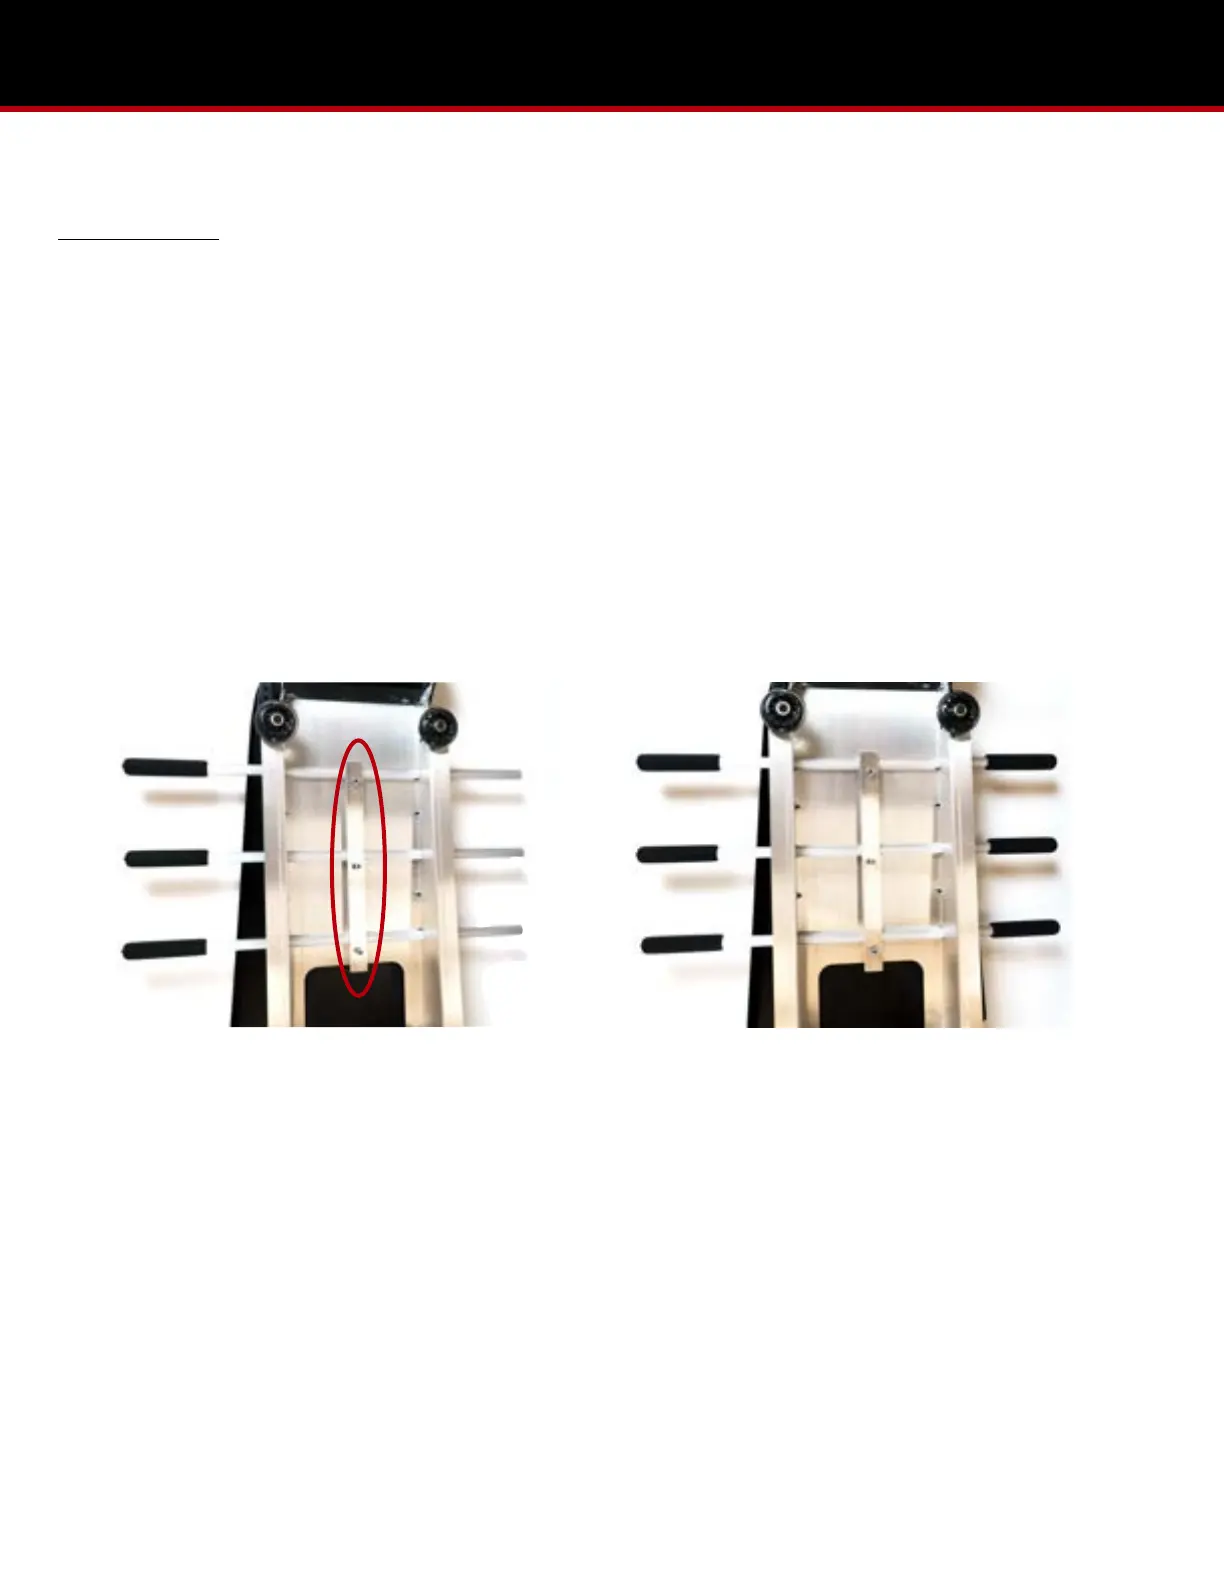
1. Turn the carriage upside down. Cut the zip-ties to remove the three, 30” long handlebars. Lift up on the retainer plate
and slide the three handlebars through a side hold of the carriage, under the plate, and out through the corresponding
hole on the other side. (Pic 6.1)
2. 2. Apply the foam handle grips from parts bag #6. To assist with easing them onto the handlebars, lubricate the inside of
the foam hand grips with a little hairspray.
3. Adjust the handlebars so they is they appear even on each side of the carriage. Tighten the three lock nuts on the
retainer plate. (Pic 6.2)