EasyManua.ls Logo

Shuttle MVP - Assembly of the MVP

Shuttle MVP
24 pages
Print Icon
To Next Page IconTo Next Page
To Previous Page IconTo Previous Page
Loading...
Page 3
Assembly of the MVP requires two people
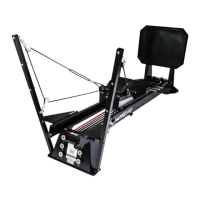
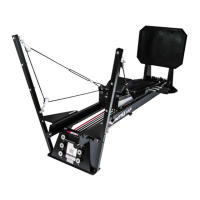
Keep in mind that the following images pertain to just one of the four available MVP models, your parts may appear slightly
different than those in the included images but the required steps remain the same.
Tools Needed: 7/16 inch socket and/or wrench, 1/2 inch socket and/or wrench, 9/16 inch socket and/or wrench.
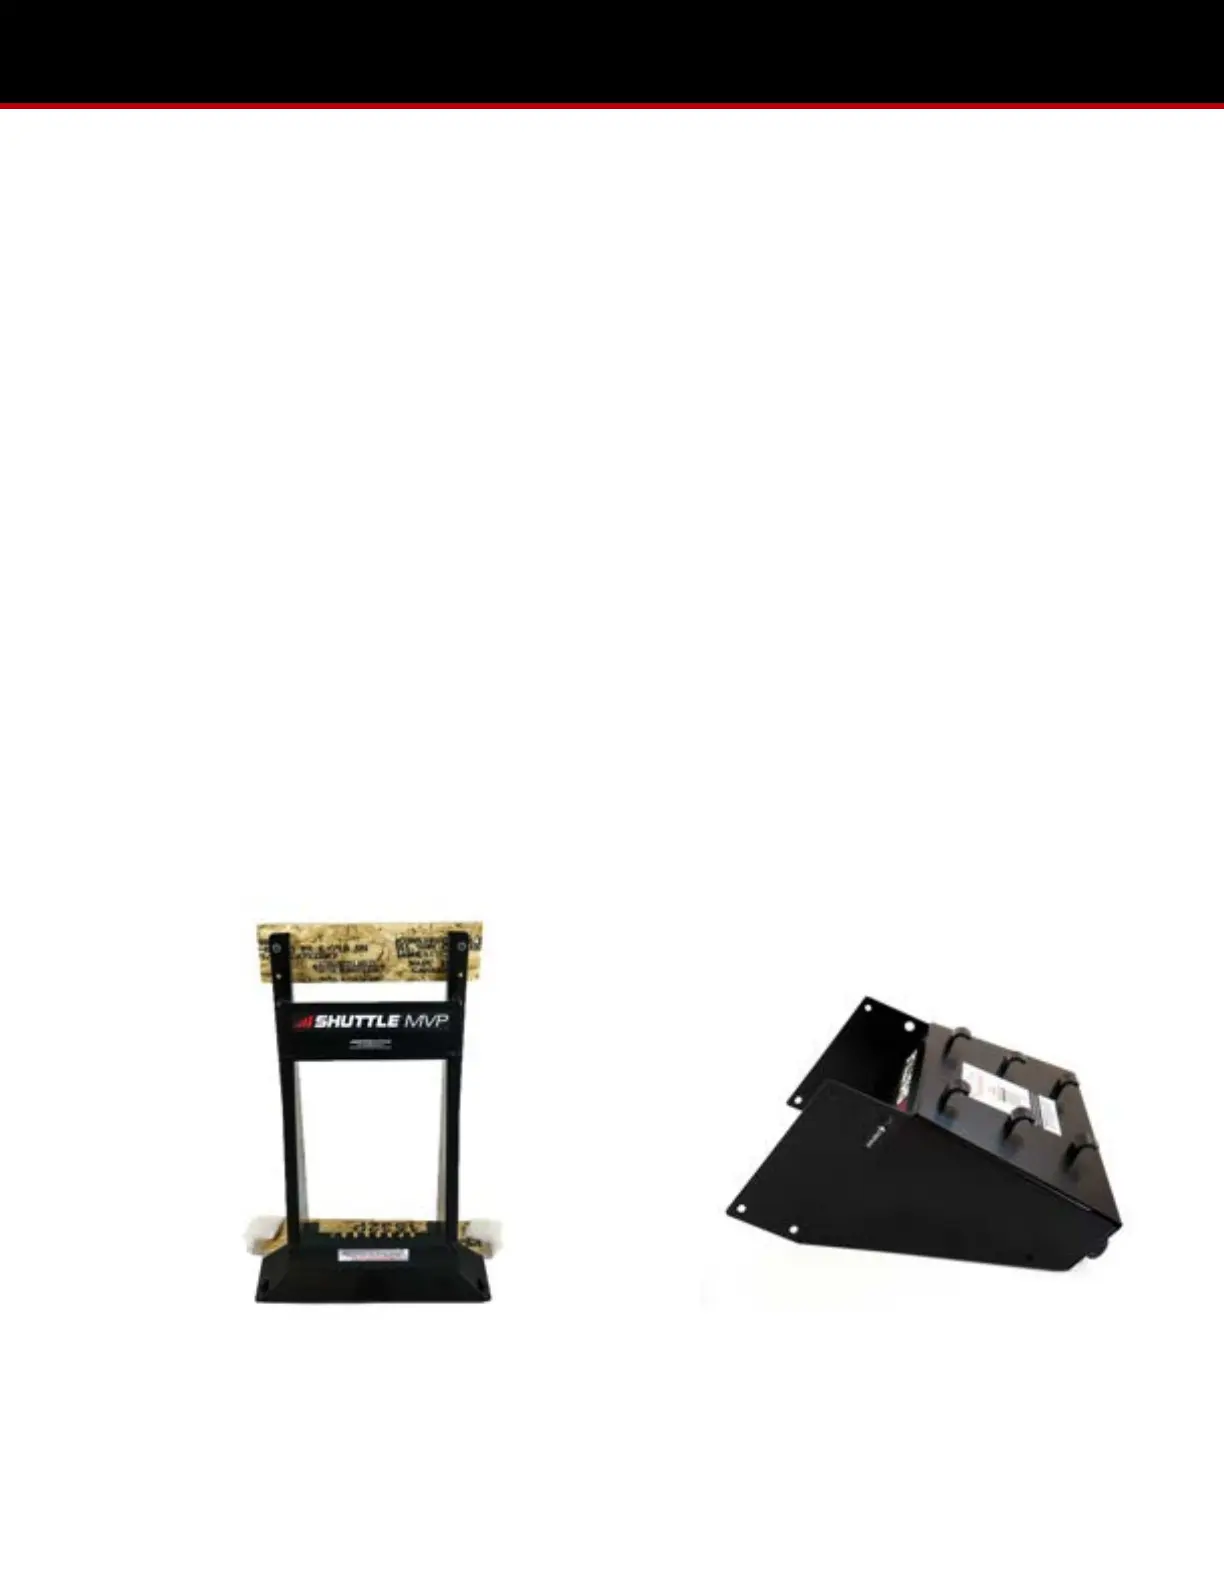
The MVP will come in four boxes:
1. Head-End Stand
- Head-End Stand
- Connector Plate
- Parts Bags (1-7)
- User Manual
-Accessories
3. Kickplate Structure
- Kickplate Structure
- Backrest Extension Pad &
Bib Headrest
- Elasticords (small box)
- Kickplate Board
2. MVP Rails
- Two 9 foot Rails
4. Carriage
- MVP Carriage
- Three Handlebars
It is important to become familiar with the expressions “foot-end” and “head-end”, as they indicate orientation for the
various steps and structures.
Head-End Stand
(Head-End)
Kickplate Structure
(Foot-End)
ASSEMBLY OF THE MVP

Other manuals for Shuttle MVP

Related product manuals