ATTACHING THE KICKPLATE STRUCTURE
STEP 3
ITEMS REQUIRED
Kickplate Structure
Parts Bag #3
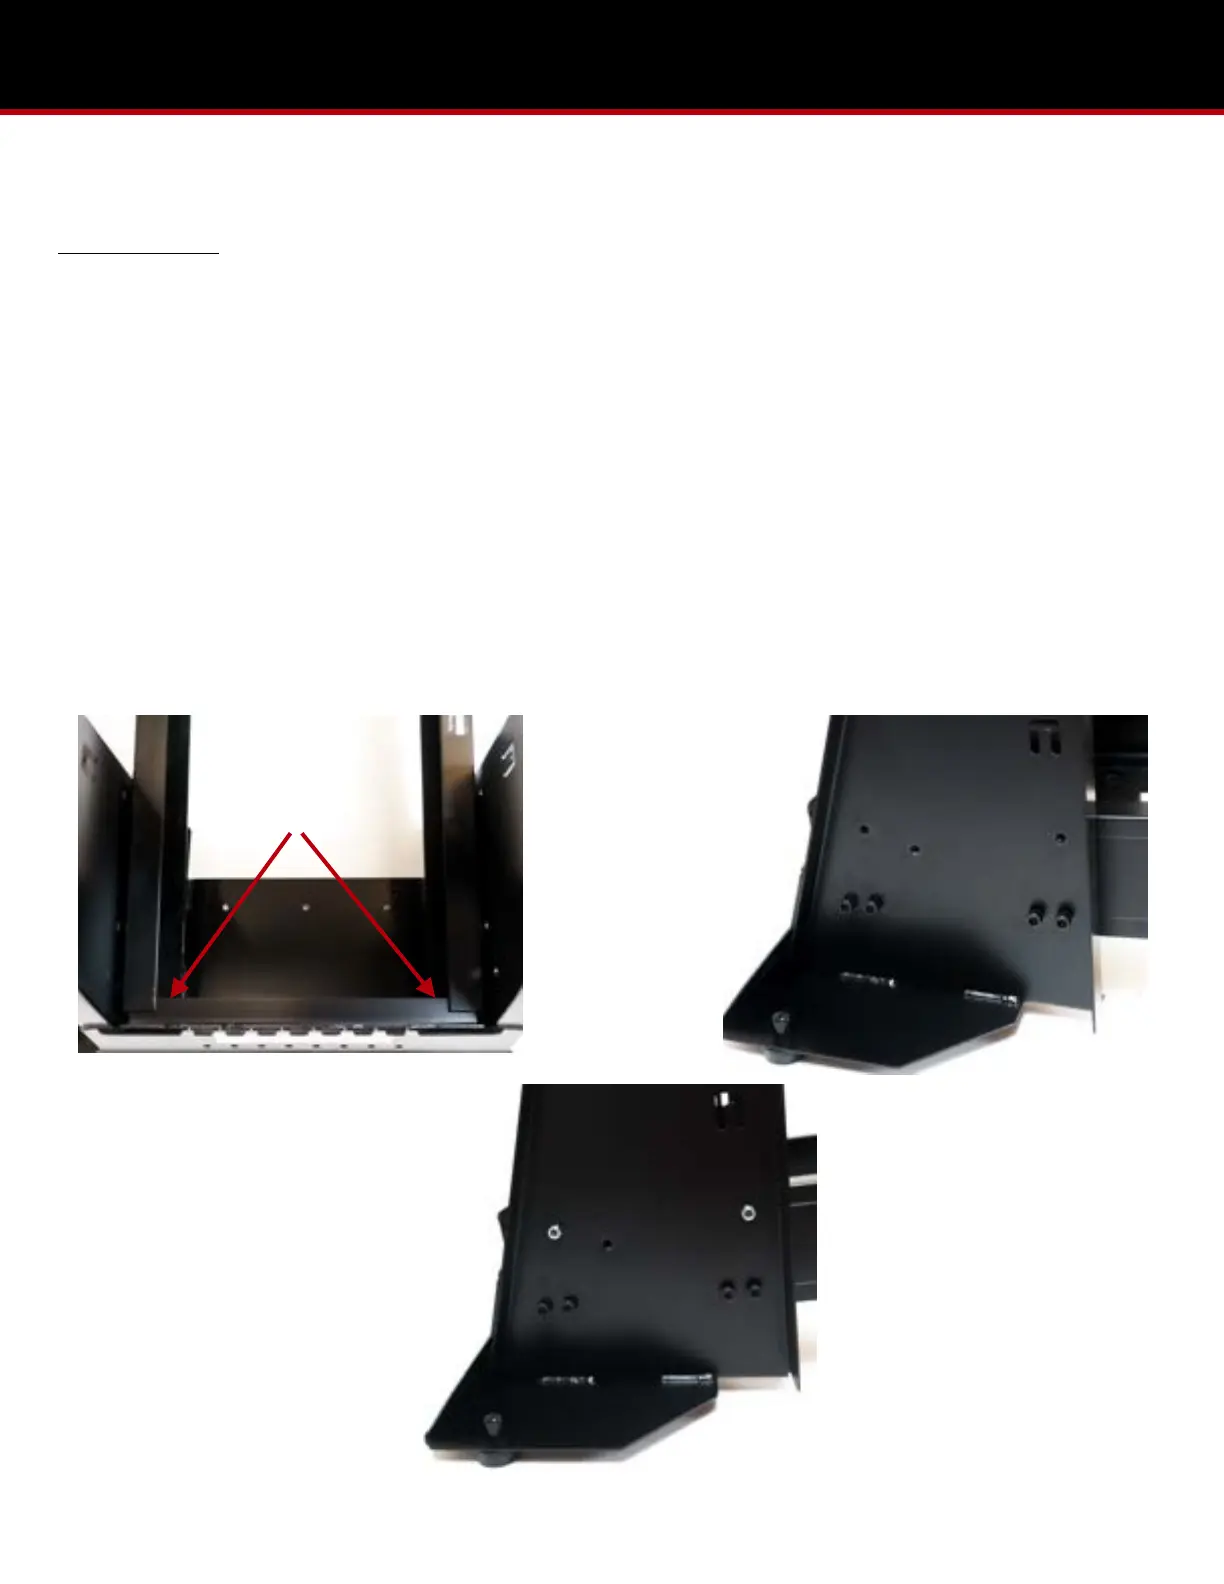
1. Remove the plywood attached to the bottom and back of the kickplate structure. Dispose of the plywood along with the
nuts and bolts that held it together.
2. Position the foot-end of the MVP rails to the inside of the kickplate structure. Align the holes and place the MVP rail
ends on the flange of the kickplate structure. (Pic 3.1)
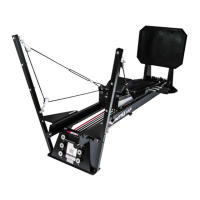
3. From outside the kickplate structure, insert the 3/8”x 2” socket head bolts into the bottom eight holes (four on each
side) and through the rails. Gently rock the stand to align the remaining four exterior bottom holes and insert the bolts.
Once all eight bolts are in, place the 3/8” washers, then the lock nuts, onto the bolt ends and hand tighten. (Pic 3.2)
4. From the inside of the MVP rails, insert the 5/16”x 5/8” button head bolts into the top four parallel bolt holes (two on
each side) and out through the kickplate structure. Add the lock nuts to the bolt ends and hand tighten. (Pic 3.3)
5. Tighten all the bolts of the assembled pieces including the connector plate, head-end stand, and kickplate structure.