NOTI143US - R00.doc Translation of the original instructions 10/25
4.
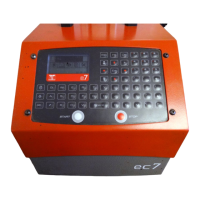
MARKING MACHINE
4.1. Positioning and clamping of the part to be marked
Even if the part is not submitted to high forces, it is necessary to immobilize it in order to
reach an optimal marking quality.
Depending on the type of parts and the working conditions, the clamping system can vary
from the simple manual fastening of the part against an angle iron (bracket) to the
mechanical, magnetic or pneumatic fastening.
When using a marking gun, place the universal non-skid support against the surface to
be marked and manually hold the gun during the marking.
The fastening device should maintain the part so that the stylus movements are parallel
to the surface to be marked.
For the portable type machines, if the marking is always conducted on the same type of
parts, we advise you to make a customized tooling to always keep the same marking
position.
4.2. Machine adjustment
The marking quality highly depends on the part to be marked ; a smooth and flat surface
is much easier to mark than a rough and irregular surface.
It is generally necessary to adapt the marking force to the height of the character. The
smaller the character is, the lower the impact has to be to obtain a good legibility. The
software also enables to choose various widths for the marking matrix.
To obtain a good marking quality, it is fundamental to adjust the force and the distance.
When using marking guns, the distance between the stylus and the part can be modified
by adjusting the position of the front plate.