§9 - LUBRIFICAZIONE
DEGLI ARGANI
§9 - LUBRICATION
OF WINCHES
16
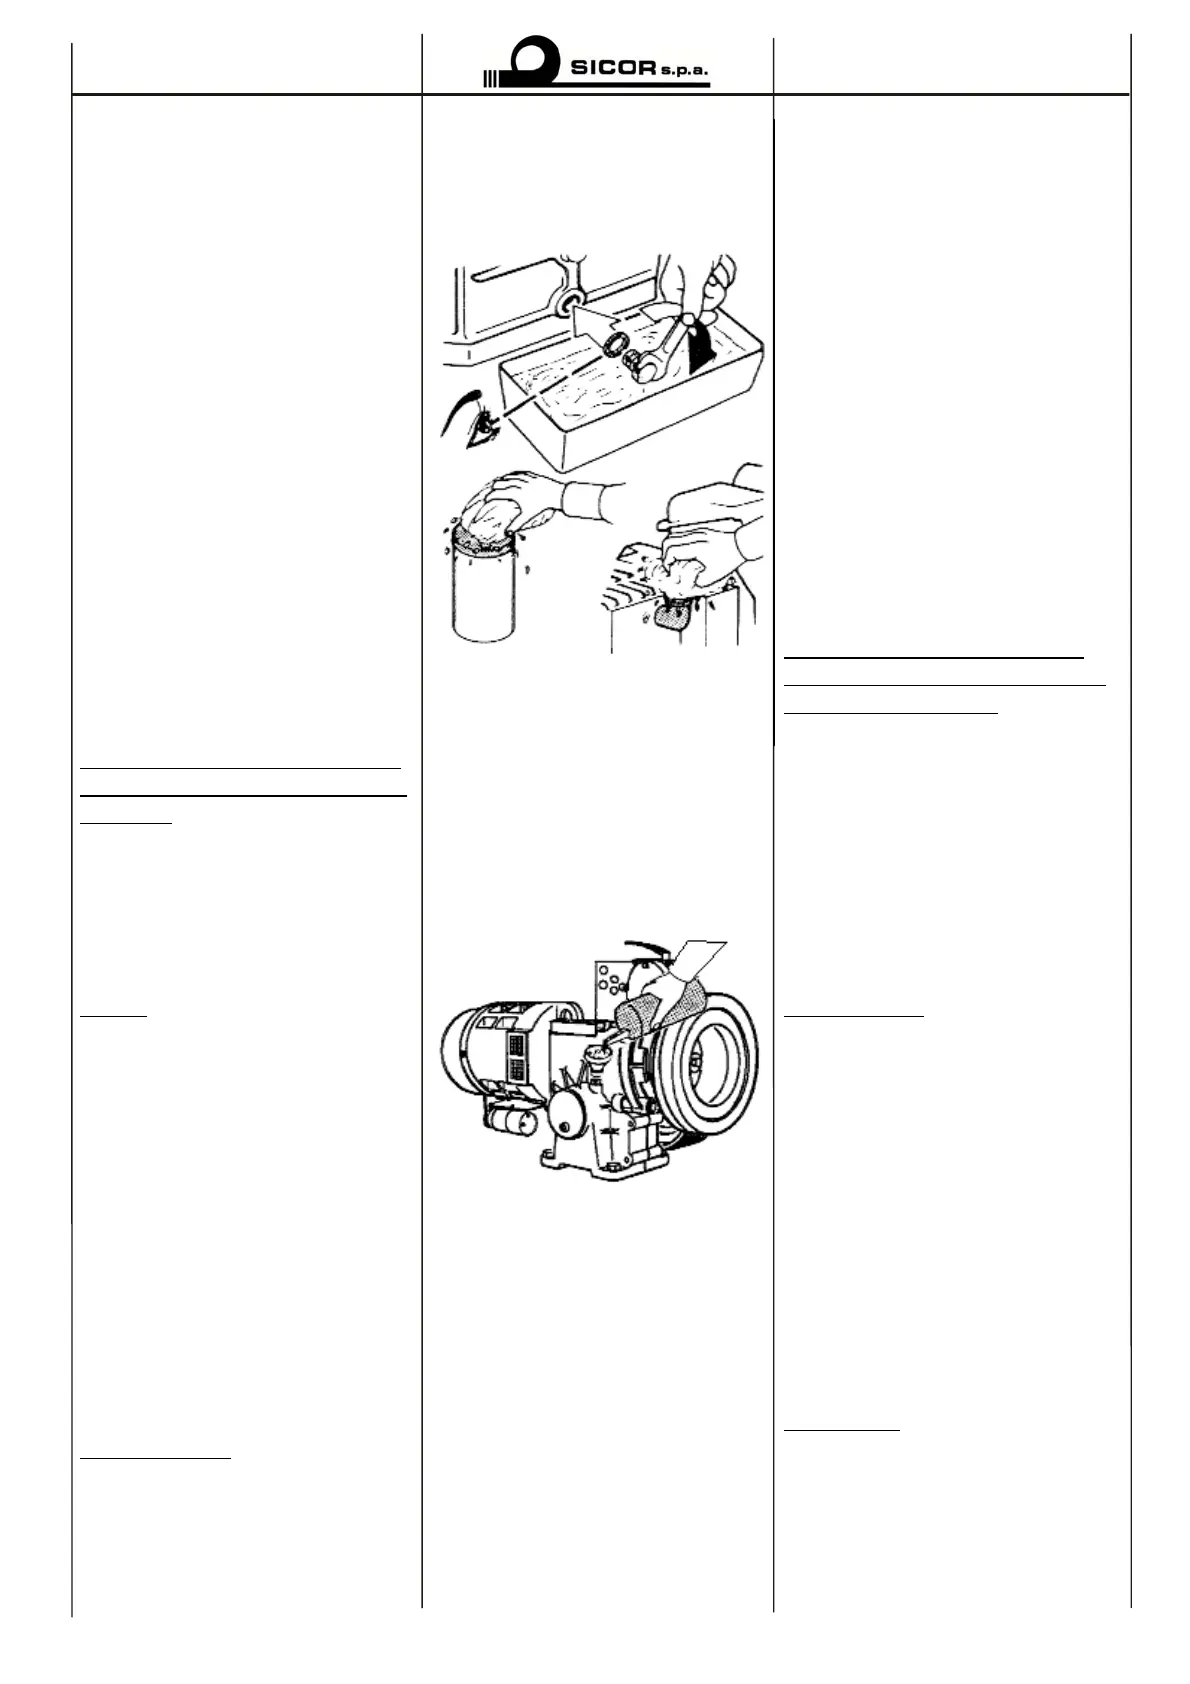
-togliere il tappo di carico
dell’olio,
-posizionare sotto il tappo di scari-
co dell’olio un contenitore di recu-
ero dell’olio esausto, svitare e to-
gliere il tappo di scarico ed atten-
dere qualche minuto finché il ser-
batoio si sia svuotato interamente.
- sgrassare accuratamente il tappo
di scarico e le zone attorno alla sua
sede,
- riavvitare il tappo dopo averne
riempito il filetto con silicone re-
sistente a temperature superiori a
120 °C e serrare a fondo,
- pulire bene la superficie del co-
erchio e del convogliatore del
contenitore dell’olio nuovo. Allo
stesso modo pulire il tappo di ca-
rico e le zone prossime allo stesso
er eliminare la possibilità di
intro-durre nell’argano dello
sporco o residui di calcinacci.
Il mancato rispetto di questa istru-
zione può causare gravi danni alla
macchina.
- Versare l’olio con un convoglia-
tore pulito sino al raggiungimento
del livello indicato sull’oblò ( vedi
ag. 15 ),
- riposizionare il tappo di carico.
OTA
Il tipo d'olio deve essere uguale a
quello indicato a pag.15.
9.2 CONTROLLO DEL
LIVELLO DELL’OLIO
Il controllo del livello dell’olio è
immediato, essendo verificabile
attraverso il coperchio dell’olio.
ell’eventualità in cui si rilevasse
insufficienza d’olio, provvedere ad
un rabbocco con lo stesso tipo
d’olio già presente dentro
l’argano. Per il rabbocco seguire i
unti descritti precedentemente.
ATTENZIONE
L'olio esausto deve essere conse-
gnato ad un'agenzia autorizzata al
suo smaltimento.
on disperdere nell'ambiente.
- Remove the oil filler cap.
-Place a container under the drain
lug to collect the old oil. Unscrew
and remove the drain plug, and
wait a few minutes for the oil to
drain completely.
Use a rag to clean carefully the
drain plug and the areas around its
seat.
- Screw the plug back onto the unit
after filling the thread with heat-
resistant silicon (120°C up); tighte
down the plug completely.
- Thoroughly clean the top of the
cover and the spout of the contai-n
of new oil. The same way clean the
filler cap and the area around the fi
hole to prevent dirt or crusty
deposits from entering the unit.
Serious damage to the machine
may be caused if the cleaning pro-
cedure is not followed.
- Pour the oil through a clean spout
until the oil level in the unit
reaches the level that is visible on
the cover ( see page 15 ).
- Replace the filler cap.
IMPORTANT
The new oil must be the same as
the one indicated on page 15.
9.2 CHECKING THE OIL LEVEL
The oil level can be checked easily
through the cover oil.
If the level is low, top-up with the
same type of oil that is present in
the unit. To top-up, follow the pro-
cedure indicated above
WARNING
The used oil must be delivered to a
firm that is authorized for its
disposal.
Do not release oil into the environ-
ment.
 Loading...