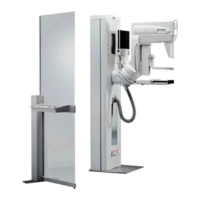
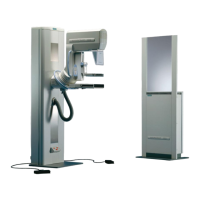
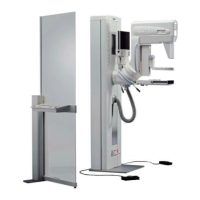
M300/1000/3000/3000 Nova SPB7-230.841.03 Page 2 of 6 Siemens AG
Service Rev. 02 04.04 CS PS 24 Medical Solutions
3 - 2 Procedure - Potentiometer R863
• Unhook (e.g. by long-nose pliers) the lower end of the spiral spring from the rectangular
bracket (Fig. 2). Unwind the cord counter-clockwise.
• Unhook and detach the noose on the other end of the cord from the hex socket head
screw on the slide (this screw is secured by Loctite and should not be turned), unwind the
cord clockwise.
• Unscrew and remove the two Allen screws fixing the carrier bracket of the potentiometer
to the upper slab (1/Fig. 4).
• If necessary, loosen upper cable clamp to enable more free movement of the
potentiometer.
• Carefully loosen the securing radial grub screw of the Teflon pulley by means of the
supplied Allen key 1.3 mm (1/Fig. 6); pull the pulley off the shaft of the potentiometer.
The grub screw is tiny and can get lost easily. Loosen only, don't remove this screw.
Having removed the pulley, adjust the grub screw so that it will enable a somewhat tight
fitting of the pulley onto the shaft of the new potentiometer.
• Pull the carrier bracket with ball-bearing off the shaft of the potentiometer. It may be a bit
difficult if shaft scratched. Note on which side of the bracket the Seeger circlip ring was
placed.
• Unscrew and remove the potentiometer from its metal enclosure, if any; note down the
numerical and color coding and de-solder the wires (Fig. 3). As help here the usual
coding (observe the reality, it can differ!).
Fig. 3
Resistor: 1 - with 2 x grün/green, or orange wire
Sliding contact: 2 - with 1 x weiß/white, or grey wire
Resistor end: 3 - with2 x gelb/yellow, or violet wire
1
 Loading...