© Siemens plc 1999© Siemens plc 1999
G85139-H1751-U529-D1G85139-H1751-U529-D1
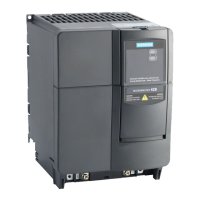
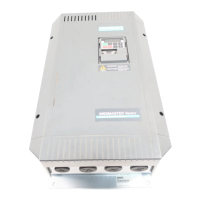
Power and Motor Connections - MICPower and Motor Connections - MIC
ROMASTER Vector - FraROMASTER Vector - Fra
Ensure that the Ensure that the
power source power source
supplies the supplies the
correct voltage and correct voltage and
is designed for is designed for
the necessary the necessary
. Ensure that the appropriate circuit breakers with the specified current rating are connected. Ensure that the appropriate circuit breakers with the specified current rating are connected
between the power supply and inverterbetween the power supply and inverter
(see section 8)(see section 8)
Fit the earth braid strap, supFit the earth braid strap, sup
plied with the uplied with the u
nit, between the PE faston connector and the mountinnit, between the PE faston connector and the mountin
surface. Ensure there is a good electrical connection between the mounting surface and the earth strap.surface. Ensure there is a good electrical connection between the mounting surface and the earth strap.
Connect the power Connect the power
input directly to input directly to
the power terminals the power terminals
(1 phase) or (1 phase) or
L/L1, N/L2, L3 L/L1, N/L2, L3
and earth (PE) as shown in Figure 2.2.1, using a 3-core cable for single phase units or a 4-core cable forand earth (PE) as shown in Figure 2.2.1, using a 3-core cable for single phase units or a 4-core cable for
three phase units. For the cross-section of each core see section 8.three phase units. For the cross-section of each core see section 8.
Use a 4-core screened Use a 4-core screened
cable to connect the cable to connect the
motor. The cable is motor. The cable is
connected to the motor connected to the motor
terminals U, V, Wterminals U, V, W
and the earth (PE) shown in Figure 2.2.1.and the earth (PE) shown in Figure 2.2.1.
For operation with cables longer than 25m see section 1.3.4For operation with cables longer than 25m see section 1.3.4
If required, secure Faston If required, secure Faston
connectors to the connectors to the
braking resistor leads braking resistor leads
and fit the connectors and fit the connectors
to the B+/DC+to the B+/DC+
and B- terminals at the rear of the inverter.and B- terminals at the rear of the inverter.
These connections have to be made with the inverter dismounted from the mounting surface. CareThese connections have to be made with the inverter dismounted from the mounting surface. Care
must be taken routing the leads must be taken routing the leads
through the moulded clips to prevent trapping through the moulded clips to prevent trapping
and chafing when theand chafing when the
unit is mounted and secured to the selected surface. Connect the control leads as shown in Figuresunit is mounted and secured to the selected surface. Connect the control leads as shown in Figures
2.2.4 and 2.2.6.2.2.4 and 2.2.6.