Appendix M: Retrofitting onto a CL-5 Cooper
Siemens Industry, Inc. 80
Cooper Regulator Connection Notes:
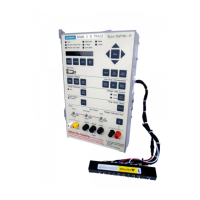
1) The control cable signals comprise the “Cooper Retrofit Cable” which connects
between the Cooper regulator (back panel) and the MJ- control panel.
2) The MJ- contains all the necessary interface circuits for connecting directly to the
Cooper regulator back panel – no external circuit board is needed.
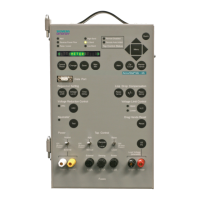
3) “TB-2” refers to the Terminal Block 2 – located inside the Cooper control panel
enclosure.
4) For Cooper regulators, (Cooper) TB-2 “VS” provides the “L” bushing voltage.
5) For Cooper regulators, the “S” bushing voltage is derived from the (optional)
“differential PT.”
6) The connection from (Cooper) TB-2 “V7” to (MJ-) P2A “P2” is only needed if
the regulator has a differential PT (for detecting the “S” bushing voltage).
* Typically, VM will be jumpered to VS inside the Cooper Control box.
Optionally, the jumper from P2B -11 to P2B-12 can be removed from the MJ- and VM can be
connected to P2B-11, U6 to provide a separate motor voltage to the MJ.
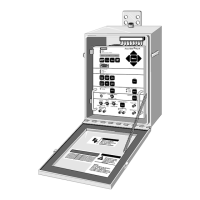
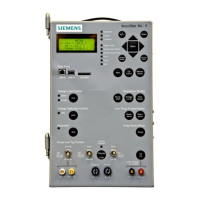
M: RETROFITTING AN MJ-XL or MJ-4A/MJ5 CONTROL PANEL ONTO A COOPER
VOLTAGE REGULATOR (CL-5 and earlier)
Retrofit Kit Contents
- Instructions and drawing 21-116-601-233
- Cooper Hinges (2), part 21-116-601-229
- Cooper fanning strip wiring harness (1), part 21-116-601-233
- Metal Bracket (1), part 21-116-601-230
- Nylon spacer (1)
- Panel locking screw (1)
- Philips-head screws (6)
- Fuses: 6A(2), 0.75A(1)
 Loading...