Mounting
4.3 Mounting instructions
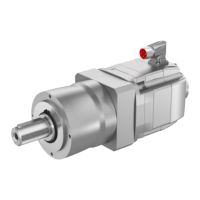
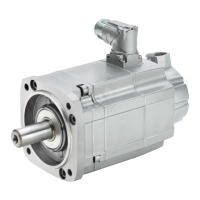
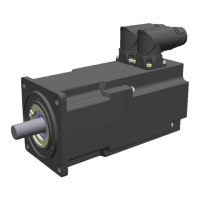
1FK7 G2 synchronous motors
56 Operating Instructions, 05/2021, A5E50907562B AA
4.3 Mounting instructions
Damage to the motor due to runout on the shaft extension
Runout and thrust on the shaft extension of the motor can damage the motor.
• Mount the motor without runout and thrust on the shaft extension.
Observe the technical data on the rating plate on the motor enclosure.
• Observe the data on the rating plate, as well as the warning and information plates on the
motor.
• Check the permissible ambient conditions (e.g. temperature, installation altitude) at the
installation location.
Their use is prohibited in hazardous zones.
• Thoroughly clean the shaft extension of corrosion protection. Use commercially available
solvents.
• Ensure sufficient dissipation of heat. See Chapter "Mounting conditions (Page 58)"
• If the motor is installed vertically with the end of the shaft facing up, ensure that no liquid
can enter the upper bearing.
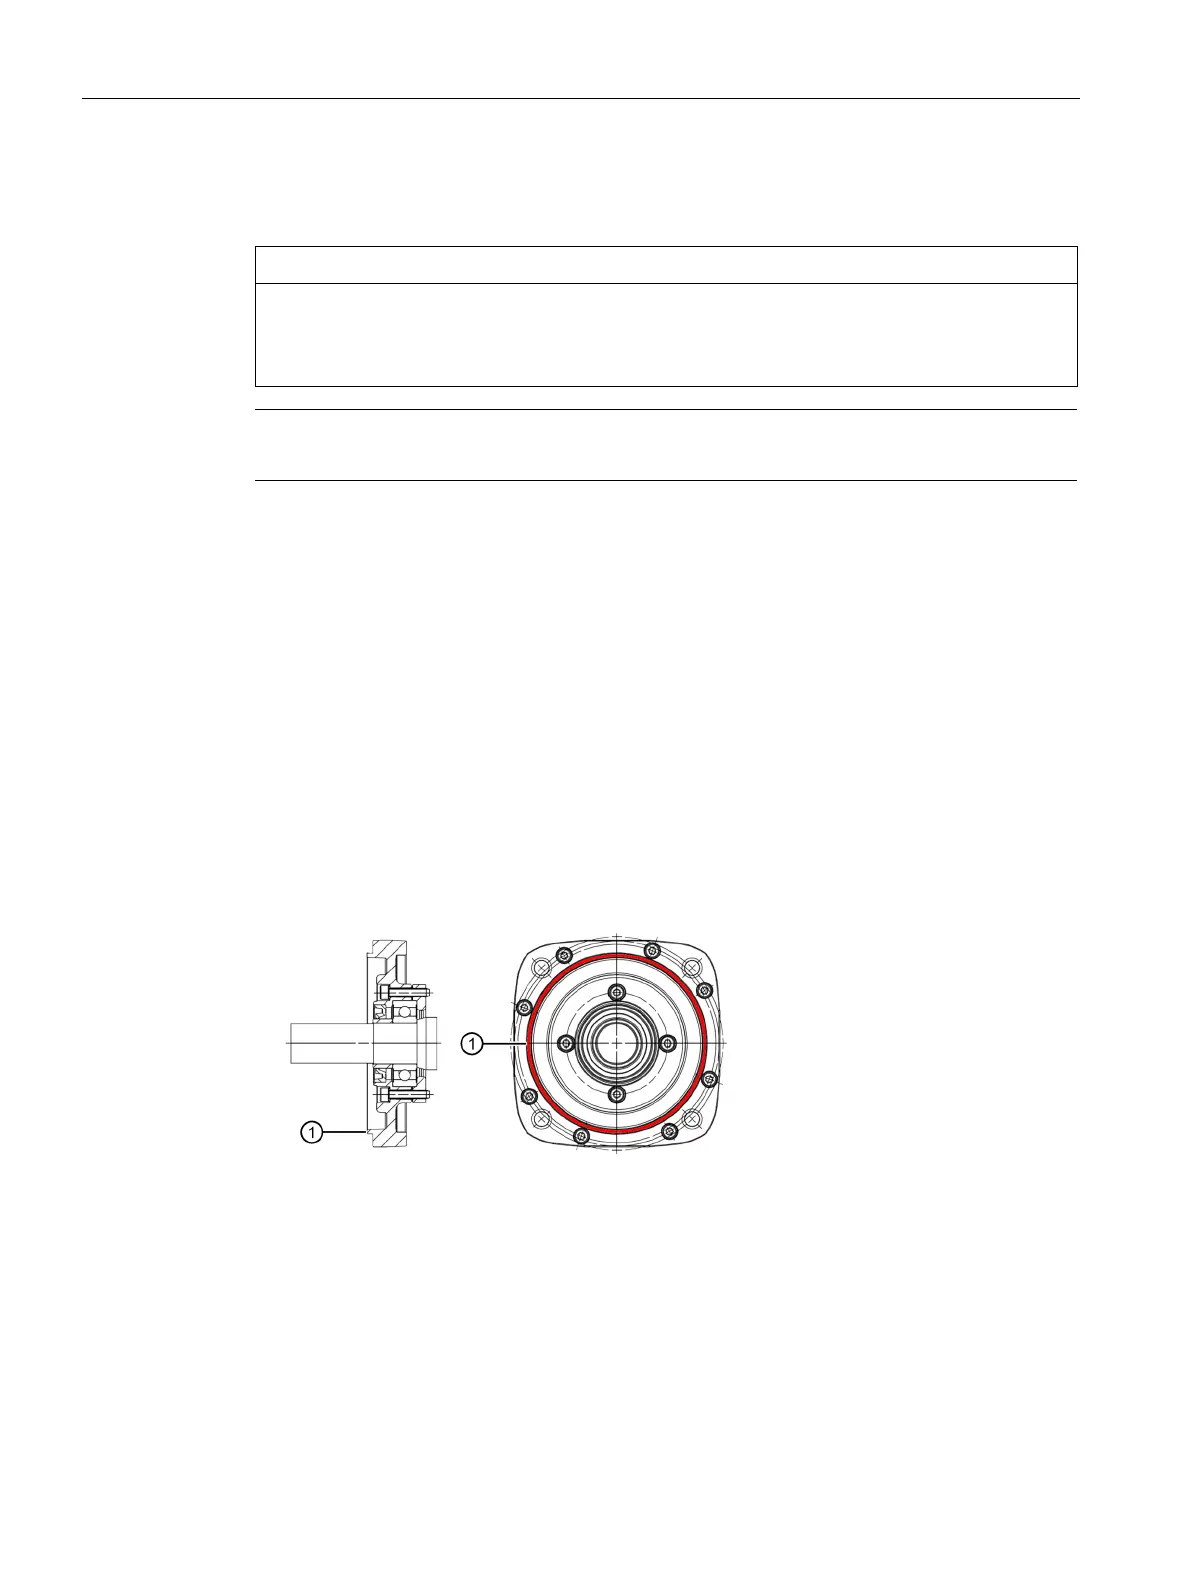
• If fluid media come into contact with the DE flange, a special flange seal is required.
The motor is sealed via the machined flat contact surface of the centering edge on the DE
flange, e.g. with an O ring. The sealing is on the circumference. Sealing at the flange
contact surface of the motor is not envisaged.
Figure 4-1 Position of the sealing surface on the face of the centering edge
• Ensure that the flange is in even contact with the mounting surface.
• Use hexagon socket head cap screws with a property class of at least 8.8.
• When tightening the fastening bolts avoid any uneven stressing.
• Observe the tightening torques of the fastening bolts of the motor flange. See the
"Tightening torques for fastening bolts" table.
• After installation, remove the lifting eyes or tighten them.