Installation
3.2 Fitting the CU to the PM
Getting Started
Getting Started, FW V4.5, A5E03404762A AB
15
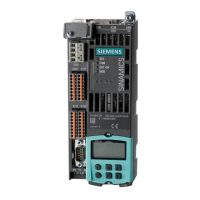
Table 3- 1 Description of interfaces
No. Description No. Description
①
Optical PC connection
⑨
HTL Encoder connection
②
Status LEDs
⑩
Digital Inputs 0 and 1
③
24 V DC supply IN
⑪
Digital Inputs 2 and 3
④
24 V DC supply OUT
⑫
Digital Inputs 4 and 5
⑤
USB connection, Address DIP-switch (PROIFBUS)
and Bus termination switch
⑬
SSI Encoder or Analog Inputs 0 and 1 (depending on
type of CU)
⑥
PROFIBUS IN or PROFINET P1
⑭
PE grounding terminal
⑦
PROFIBUS OUT or PROFINET P2
⑮
Mains supply connection
⑧
Digital Outputs 0 and 1
⑯
Motor, brake and temperature sensor connections
3.2 Fitting the CU to the PM
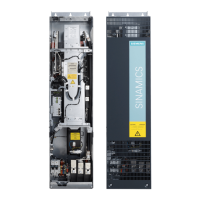
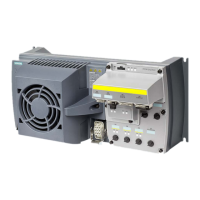
Fitting the Control Unit to the Power Module
The inverter is delivered as two separate components - the Power Module (PM) and the
Control Unit (CU). The CU must be fitted to the PM prior to any further commissioning taking
place.
CAUTION
Seals fitted correctly
It is important that when assembling the Power Module and the Control Unit that all the
seals are fitted correctly to ensure IP65 rating.
TN and TT mains supplies
The SINAMICS PM250D Power Module with the Class A integrated mains filter is only
suitable for operation on TN and TT mains supplies.
The CU is fitted to the PM as shown in the diagram below.
 Loading...