4 Measuring Cycles for Turning Machines 08.96
4.1.2 L972/L982 Measure tool
Example: Calibrate tool probe and then measure a tool T3 as shown in Fig. 4.5
%MPF 9721
:
:
N3 G53 X595 G18
N4 G53 Z250 D9 Call calibrating tool
N5 R22=1 R23=0 R25=0 R27=2 R28=1
R30=2 R33=0.004 R36=1 Parameter definition for L972
N6 L972 1st call calibration cycle X axis
N7 G53 G0 Z200
N8 R30=1 Parameter definition
N9 L972 2nd call calibration cycle Z axis
a
a
a
a
a
a
a
a
a
a
a
a
L10
N10 G00 G53 Z520
N11 G53 X575
N12 T3 Call the tool to be measured
N13 Z250 D20
N14 R11=0 R22=1 R23=1 R25=0 R27=1 R28=1 Parameter definition
R30=2 R33=0.004 R36=1 R37=0.8
N15 L972 Measure tool in minus X direction
N16 G00 Z400
N17 R30=1 Parameter definition
N19 L972 Measure tool in minus Z direction
N20 G00 G53 Z250 D0
N21 G53 X560
M30
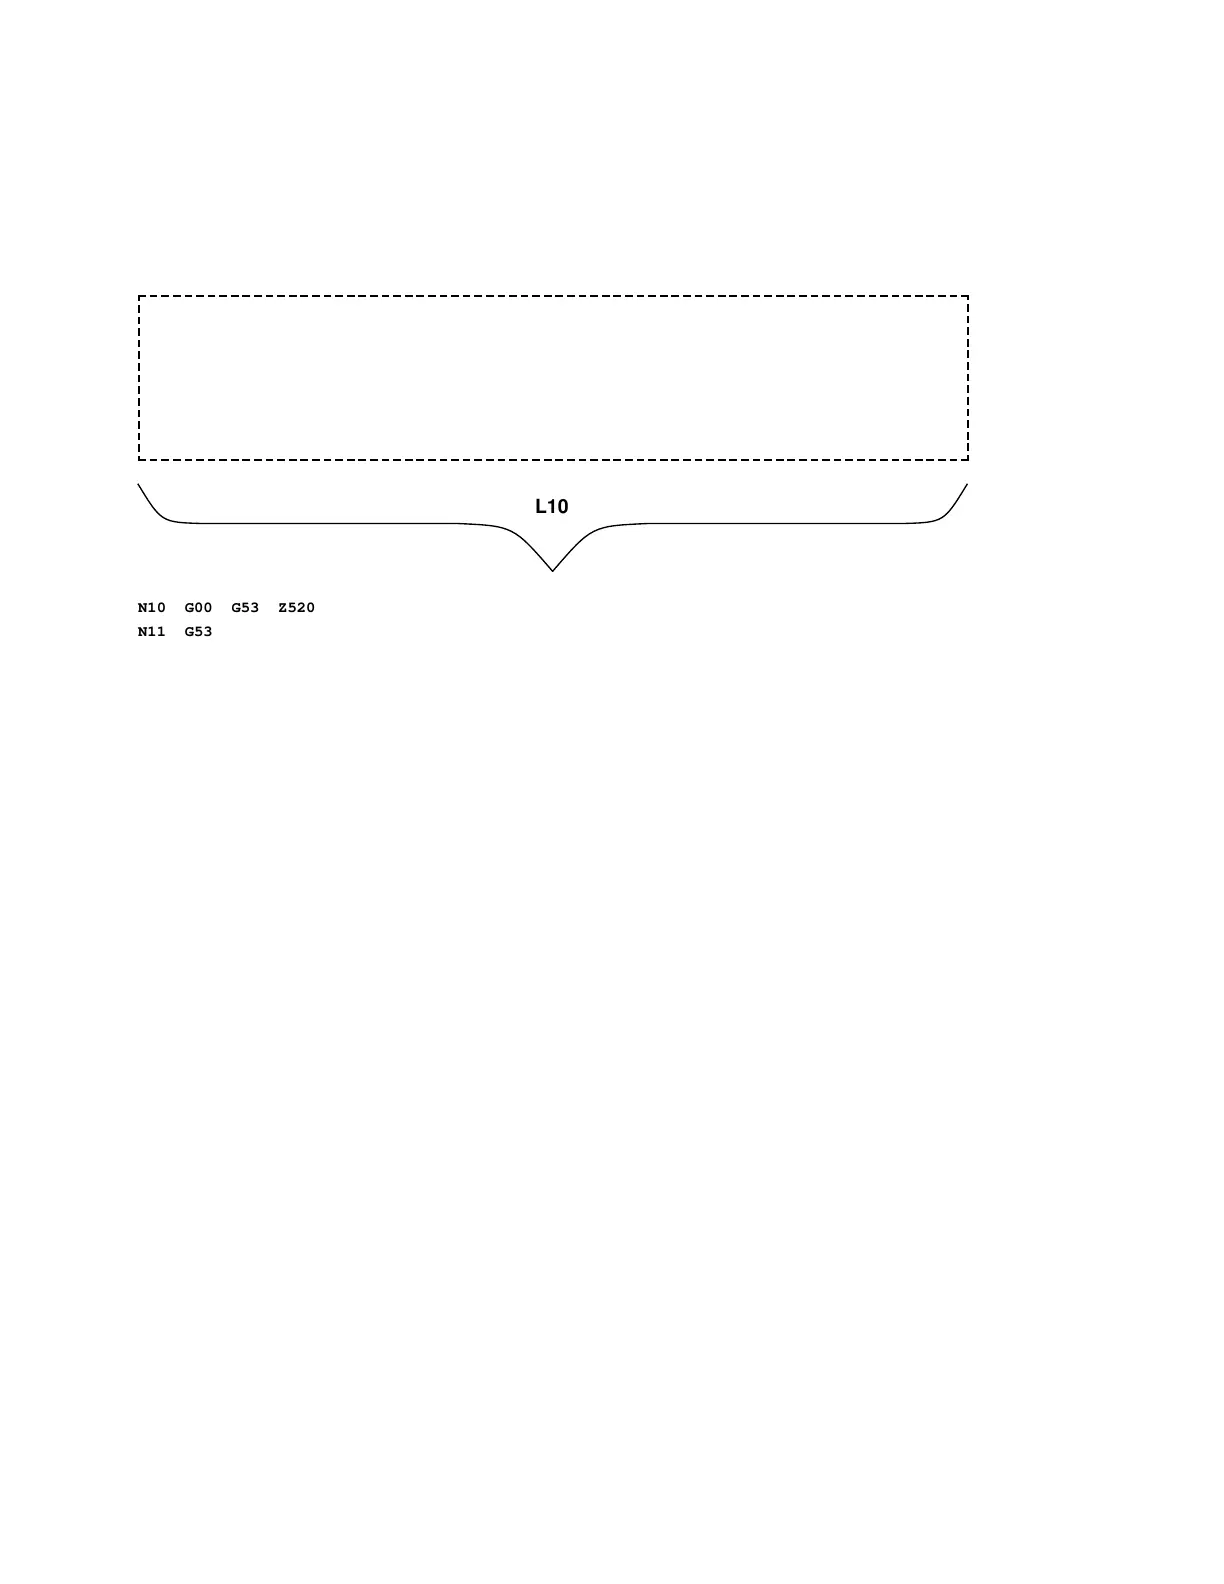
Subroutine L10 can be used instead of blocks N3 - N9 (machine-specific calibration program,
see Section 4.1.1).
For further simplification, the tool measurements can be performed with the measurement
variant ”Automatic tool measurement”.
This measurement variant is described in the following Section 4.1.3.
4–16 ©
Siemens AG 1990 All Rights Reserved 6FC5197- AB70
SINUMERIK 840/850/880 (BN)
 Loading...


