Sinclair ZX Spectrum Service Manual
Spectrum For Everyone https://spectrumforeveryone.com/
56
10 SUPPLEMENT NO 2
Introduction
Conversion Procedure - Spectrum to Spectrum+
Assembly of the Keyboard for the Spectrum+
Keyboard Operation
Spectrum+ Keyboard - Top Membrane Diagram
Spectrum+ Keyboard - Lower Membrane Diagram
10.1 INTRODUCTION
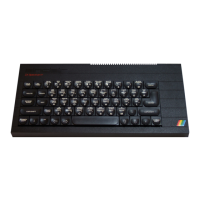
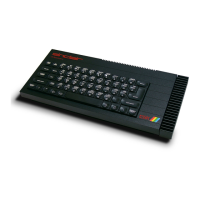
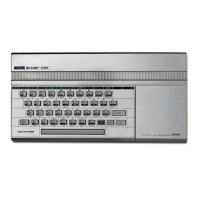
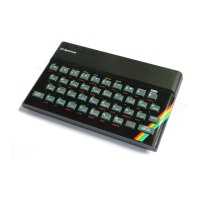
The ZX Spectrum+ is basically the same as the 48k ZX Spectrum with a different keyboard and case, and a
reset button. The board circuitry is similar apart from the reset button and the fitment of an extra resistor.
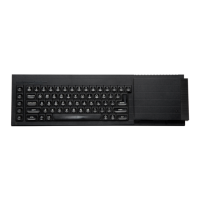
The layout of the keyboard is different, which because of its complexity now needs a five-layer membrane.
The spring action of the keys is provided by a bubble mat.
10.2 CONVERSION PROCEDURE – SPECTRUM TO SPECTRUM+
1. Remove board from the early version case.
2. Change heatsink (on Issue 1 and Issue 2 boards only), retaining the triangular insulator, if originally
fitted.
3. Connect the reset switch across C27 on the top side of the board.
4. Test keyboard, especially STOP.
5. If STOP does not work, connect a 22k resistor across R68. (On the Issue 1 board, connect a 22k
resistor between pins 1 and 5 of RP1, on the reverse side of the board).
6. Fit four rubber feet to the underside of the case.
7. Fit board to case bottom.
8. Press the reset switch into the recess in the side wall (ensure that the leads are not trapped).
9. Fit foam pads: one to the top of the modulator; and on Issue 3 (and higher issue boards), two on
the top of the heatsink. These are to protect the membrane tails from chafing.
10. Drop folding legs into slots. Sit the springs on top of the legs.
11. Connect the keyboard flextails.
12. Fit the top cover, taking care not to crease the tails.
13. Test.
14. Fit warranty seal, if applicable.
For details, see the ZX Spectrum+ upgrade instructions, which accompany the upgrade kits.
 Loading...