- 9 -
LOOPER THREADING
Warning: Before contriving please adjust main control switch to (OFF).
Correct threading is important otherwise uneven stitches or thread breakage may result.
A convenient threading chart is placed on the front panel inside the front cover.
In addition, each thread guide is colored for
threading indication.
To help in threading, tweezers can be found in
the accessory box.
Threading must be carried out in the following
sequence.
1. FIRST……...Upper looper
2. SECOND…..Lower looper
3. THIRD……...Right needle
4. FINALLY……Left needle
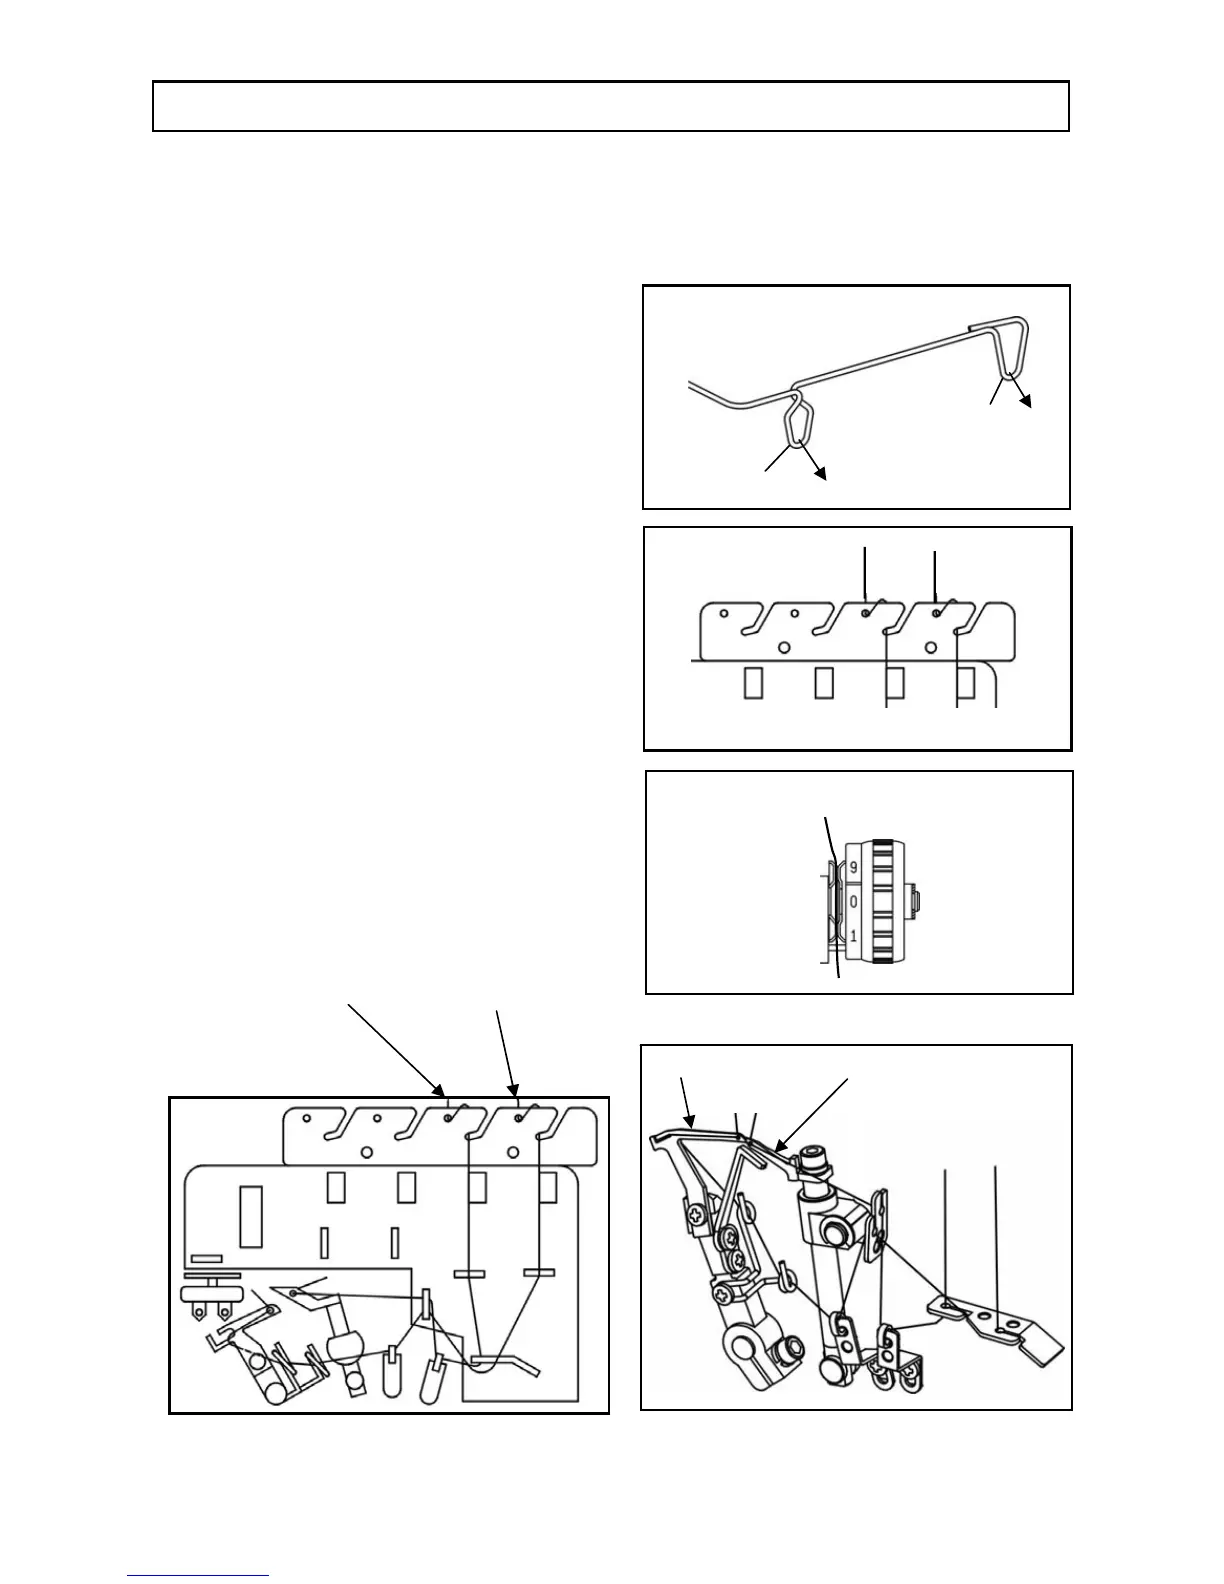
1. Open the front cover and free arm.
2. Turn the handwheel toward you until. the
looper comes to best position for threading.
3. Pass the upper looper thread and lower
looper thread as illustrated.
Important: The thread must lie correctly
between the two discs inside the tension
dials.
4. Pull out the thread end about 10 cm (4")
long from the looper eyes. Raise the
presser foot and place threads under it,
then lower the presser foot.
Upper looper thread Lower looper thread
○
4
○
5
○
6
○
8
○
9
○
11
○
10
○
3
○
5
○
6
○
7
○
7
○
8
○
9
○
10
○
11
○
2
8
7
6
5
8
5
2
3
4
6
7
Lower looper
Upper looper
○
2
2
○
1
1
3
○
3
Thread between two discs
 Loading...