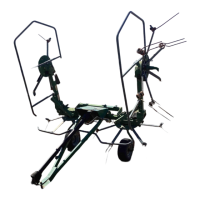
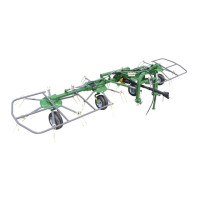
ASSEMBLY STEPS
11
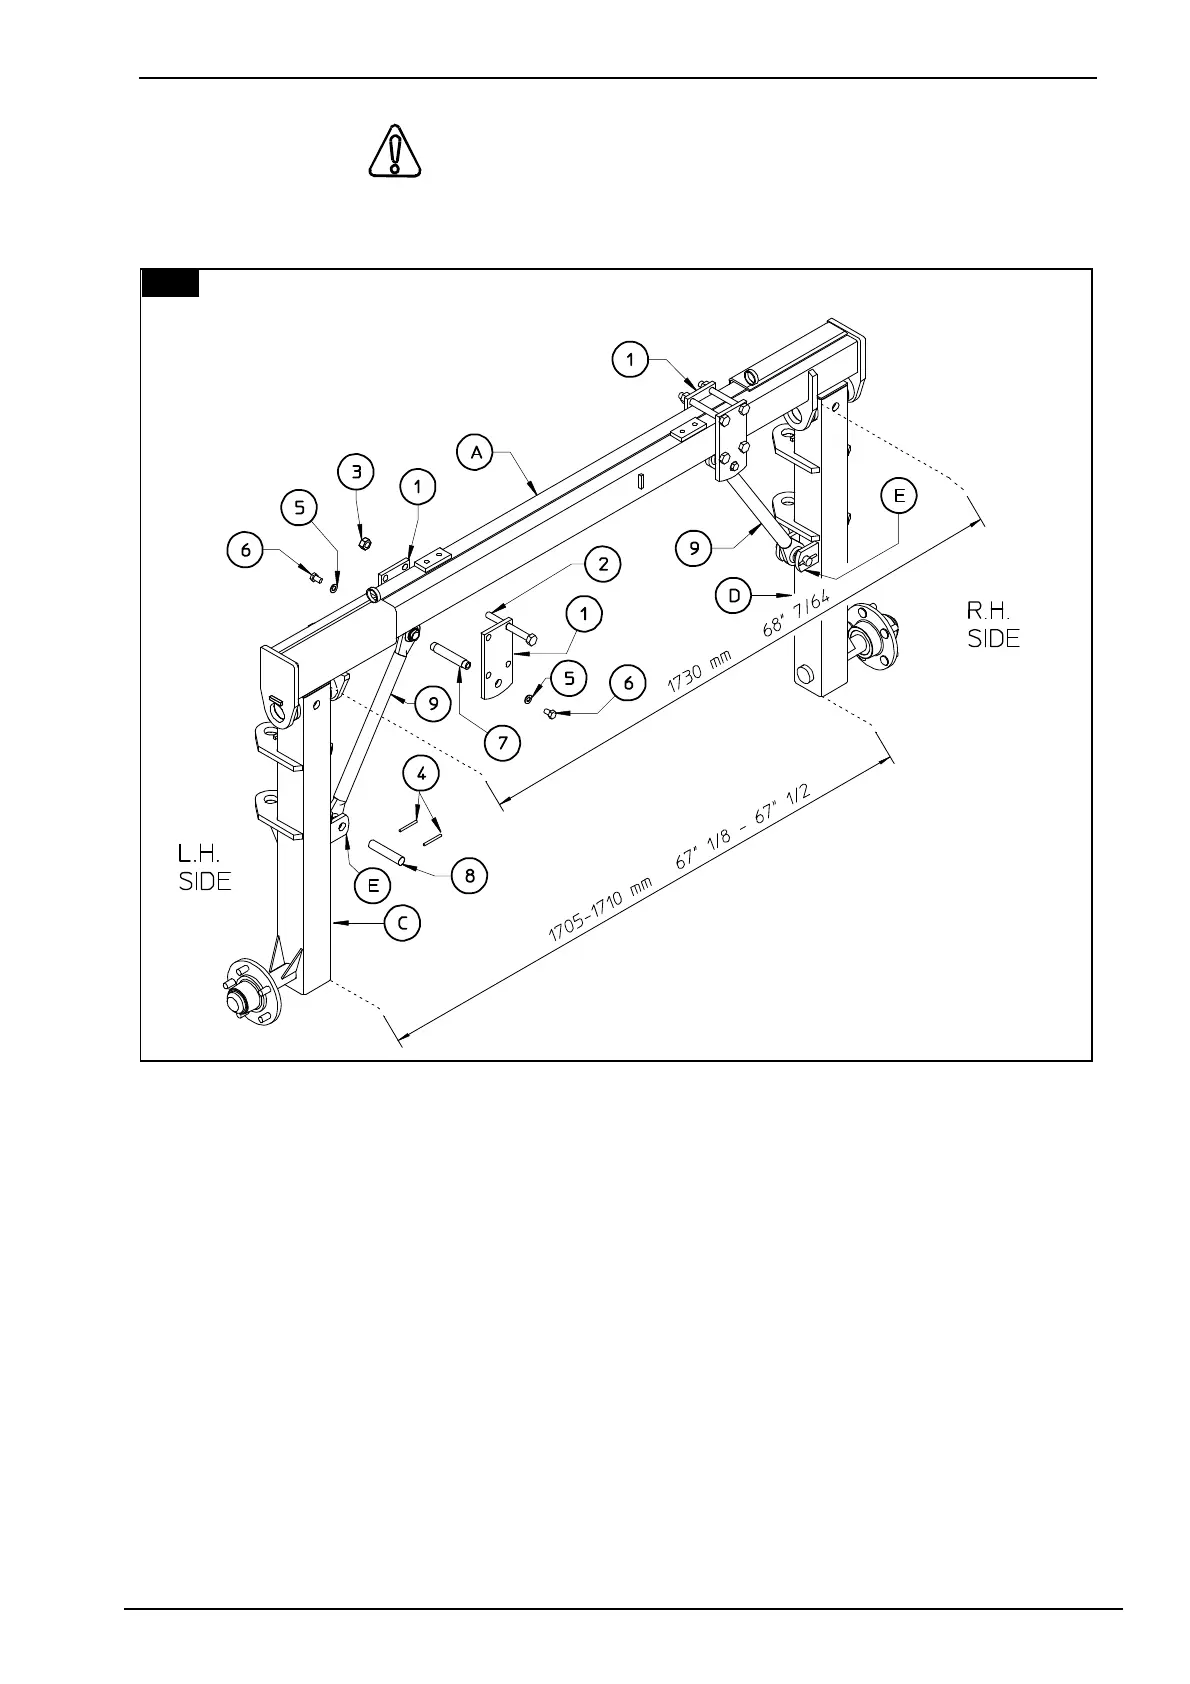
3. ATTENTION
Attach plates 1 to cross member A. This is done in the following manner:
a) Insert screws 2 in the two upper holes of plates 1. Fasten screws 2 with nuts 3 without fully
tightening them, so that plates 1 are straddling cross member A.
b) Insert pin 7 in one of the joints of tie rod 9.
c) Insert pin 7, supporting tie rod 9, between plates 1.
d) Now insert screws 2 in the lower holes of plates 1. Fasten with nuts 3, without fully tightening.
e) At this point, insert the other joints of tie rod 9 between the welded plates E (LH support C
and RH support D) and fasten with the pins 8 and spring pin 4.
f) Check that the plates and tie rods are in the correct position, and then fasten pins 7 to plates
1 using washers 5 and screws 6.
g) Securely fasten plates 1 by fully tightening nuts 3. For this step you will use:
3