ASSEMBLY STEPS
17
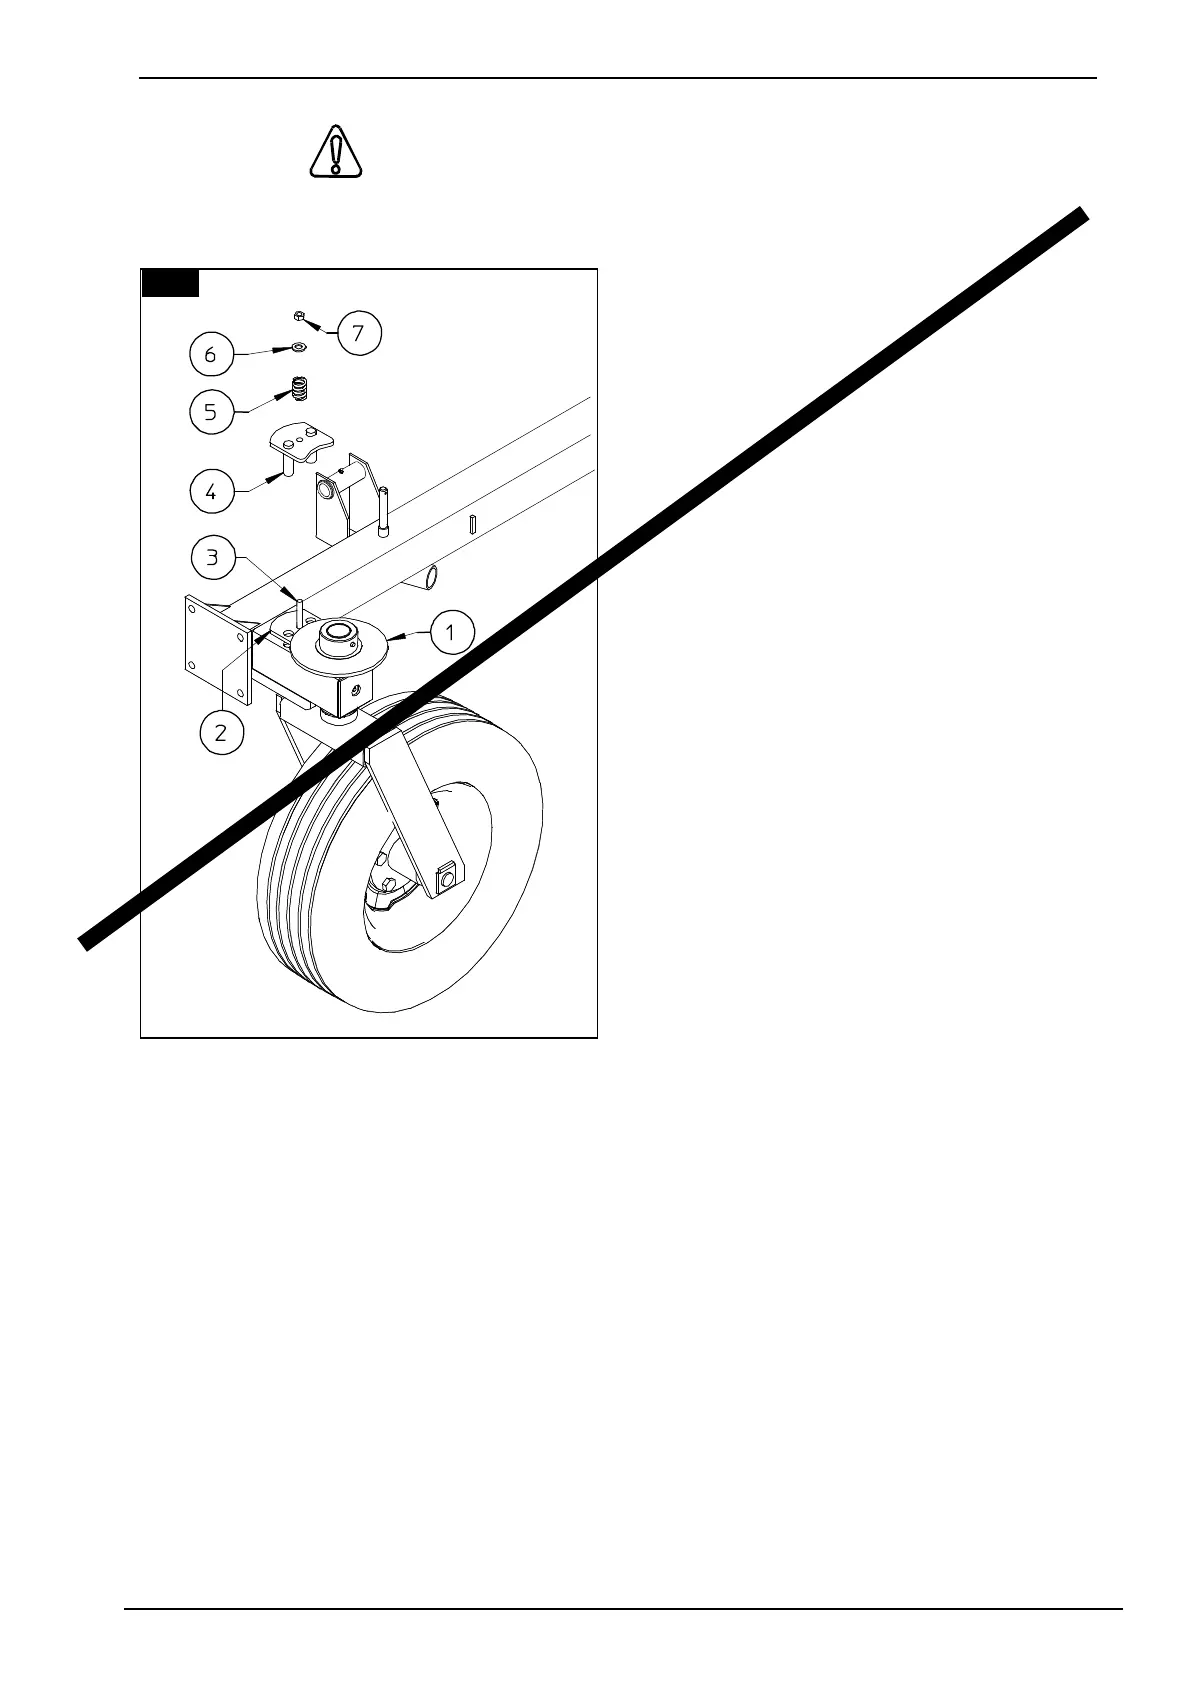
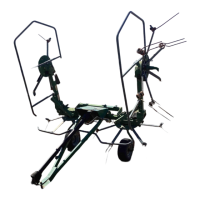
12. CAUTION
Place plate 2 with screw under flange 1 as shown in the illustration. Place upper plate 4 over
screw 3, followed by spring 5 and washer 6,
and tighten with nut 7.
NOTE: nut 7 should be tightened so as to
allow the bracket to pivot freely.
In this step, you will use:
Item 5:
2 - springs D 5-30 x 45
(D 13/64" - 1" 3/16" x 1" 25/32")
Item 6:
2 - washers D 12-36 x 2.5
(D 15/32" - 1" 27/64" x 3/32")
Item 7:
2 - nuts M 12
(15/32")
SEE PAGE 53
12