ASSEMBLY STEPS
31
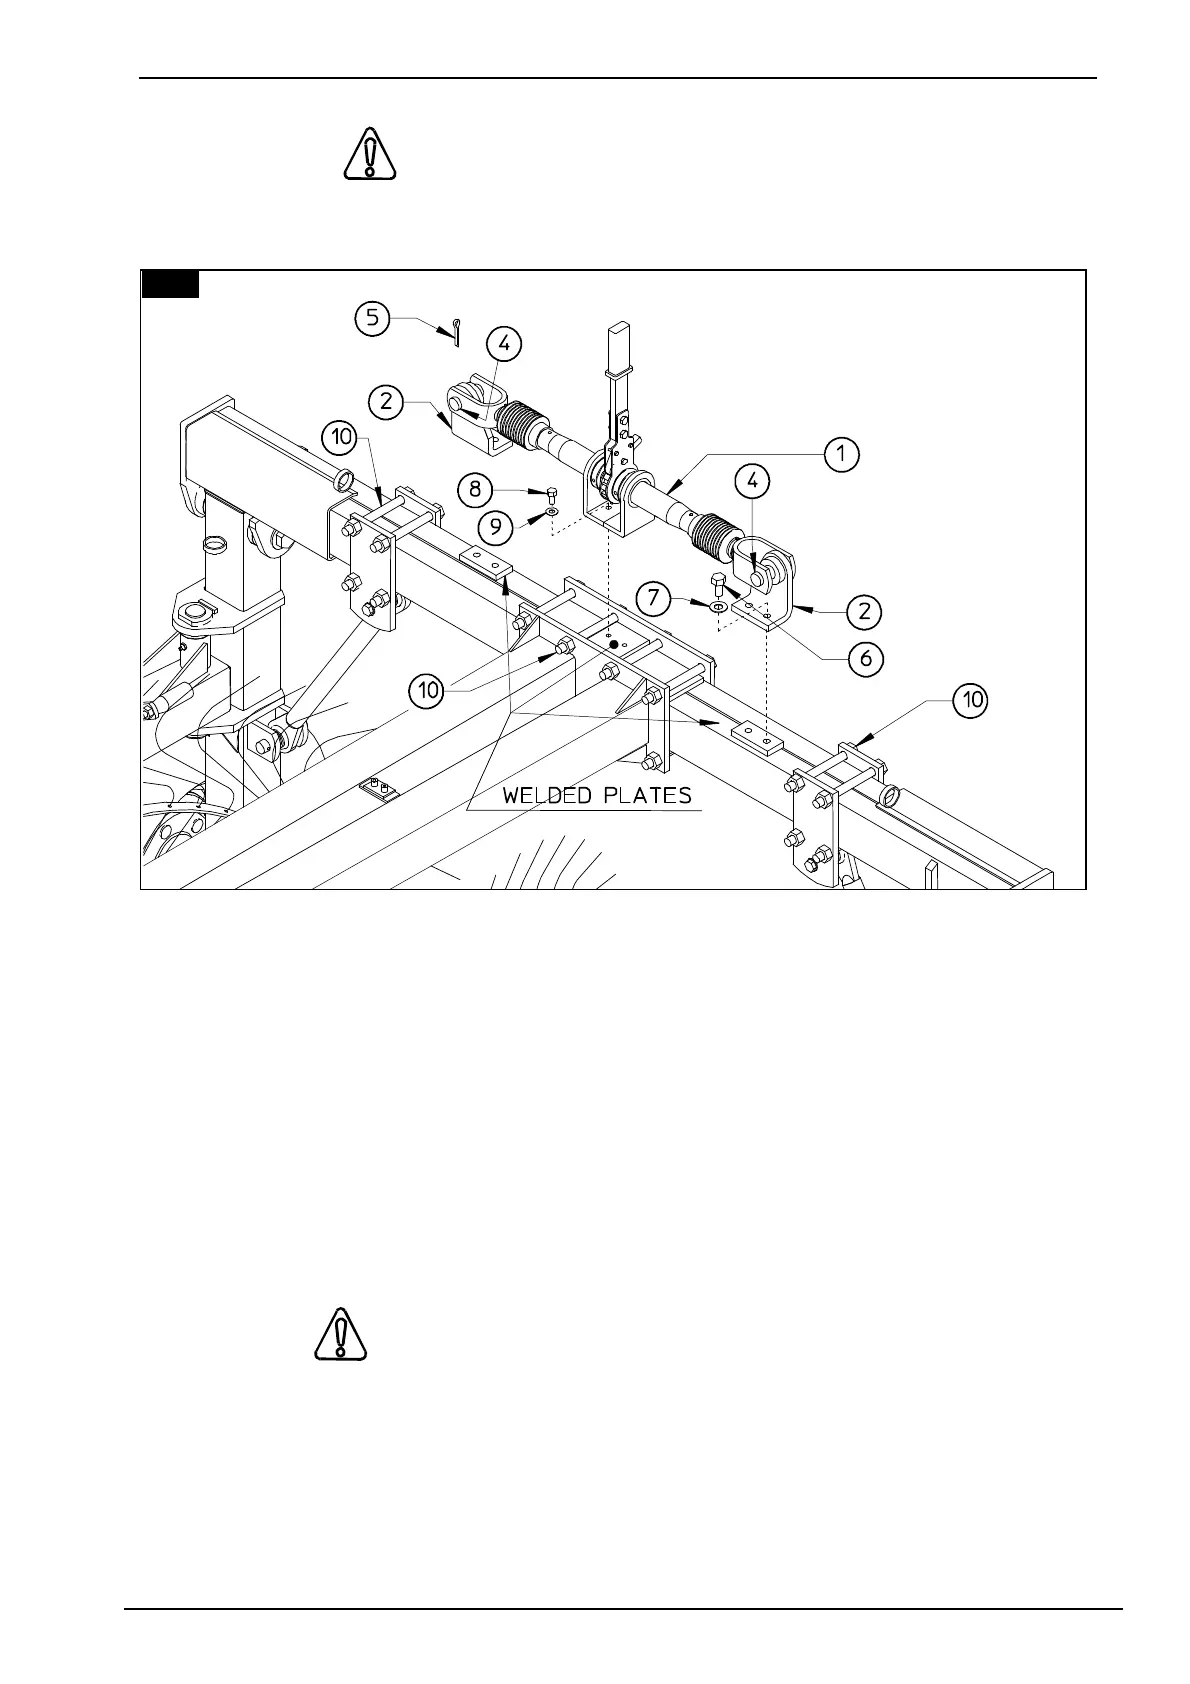
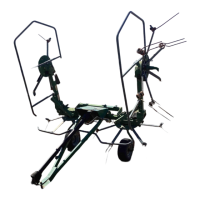
29. CAUTION RATCHET LINK (OPITIONAL)
Attach the support 2 to the welded plates without tighten the screws 6 and washers 7. Mount the
assy 1 to the machine with pins 4 and split pins 5, screws 8 and washers 9. Then tighen the
screws 8 and 6.
Item 6:
4 - screw M 14 x 25
(35/64" x 31/32”)
Item 7:
4 - washer D.15
(37/64”)
Item 8:
2 - screws M 10 x 25
(25/64" x 31/32”)
Item 9:
4 - washer D.10,5
(13/32”)
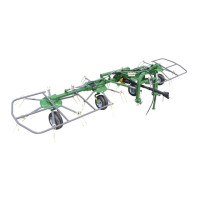
REAR OPENING STARTS AT 72" TO A MAXIMUM OF 84" AND THIS ALLOWS TO OBTAIN
WINDROWS FROM APPROXIMATELY 3' AND 2" TO A MAXIMUM OF 5' AND 2".
WARNING !!!
REMEMBER TO LOOSEN THE SCREWS 10 BEFORE USING RATCHET LINK OPENING
ONCE ADJUSTMENTS ARE MADE, FASTEN ALL SCREWS 10.
29