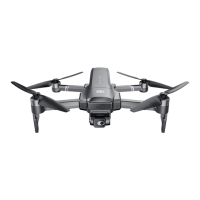
13
— Pick up the aircraft from the bottom, head
of the aircraft facing down and follow your
body for a complete circle (360°).
Now remote control makes "DI"sound.
— White light + red light (front) of the aircraft--
Solid on.
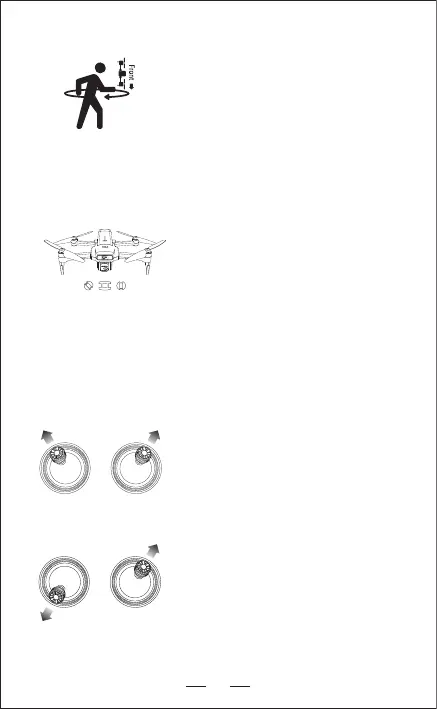
Step 6: Compass Calibration--Part 2
Step 7: GPS Searching(DO NOT use GPS Mode
indoor)
— Reposition the aircraft on a horizontal surface.
— Blue light (rear) + White light (front) of the
aircraft keep slowly flashing. It means the
GPS enters into the state of Satellite Search.
— It takes a few minutes to complete this step.
— Blue light (rear) and White light (front) of the
aircraft shows Solid on, this means the GPS
satellite searching is successful.
NOTICE: Fly in open areas, tall structures and large metal structures may
affect the accuracy of the onboard compass and GPS system.
Please search the GPS signal in the open areas.
— Push the joysticks into the 11 & 1 o’clock
position.
— Blue light (rear) + White light (front) of the
aircraft: Keep flashing quickly.
— App Drone Status: “Gyroscope calibrated”
Step 8: Calibrate Gyroscope
— Push the throttle lever of the remote control
to the "7" o'clock position and push the
direction lever to the "1" o'clock position.
— Blue light (rear) + White light (front) of the
aircraft: Keep flashing quickly.
Step 9: Reset to factory Setting / Level
calibration
APP Status: Please place the aircraft on a level ground and hold the aircraft
stationary until the head of the pendant recallocates.
App Status: “Reset to factory Setting / Level level calibration”
Precautions: Please put the aircraft on the horizontal ground for the restore
factory setting.Otherwise it may affect the flight attitude.