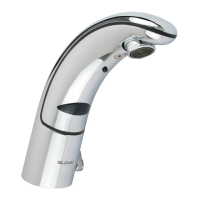
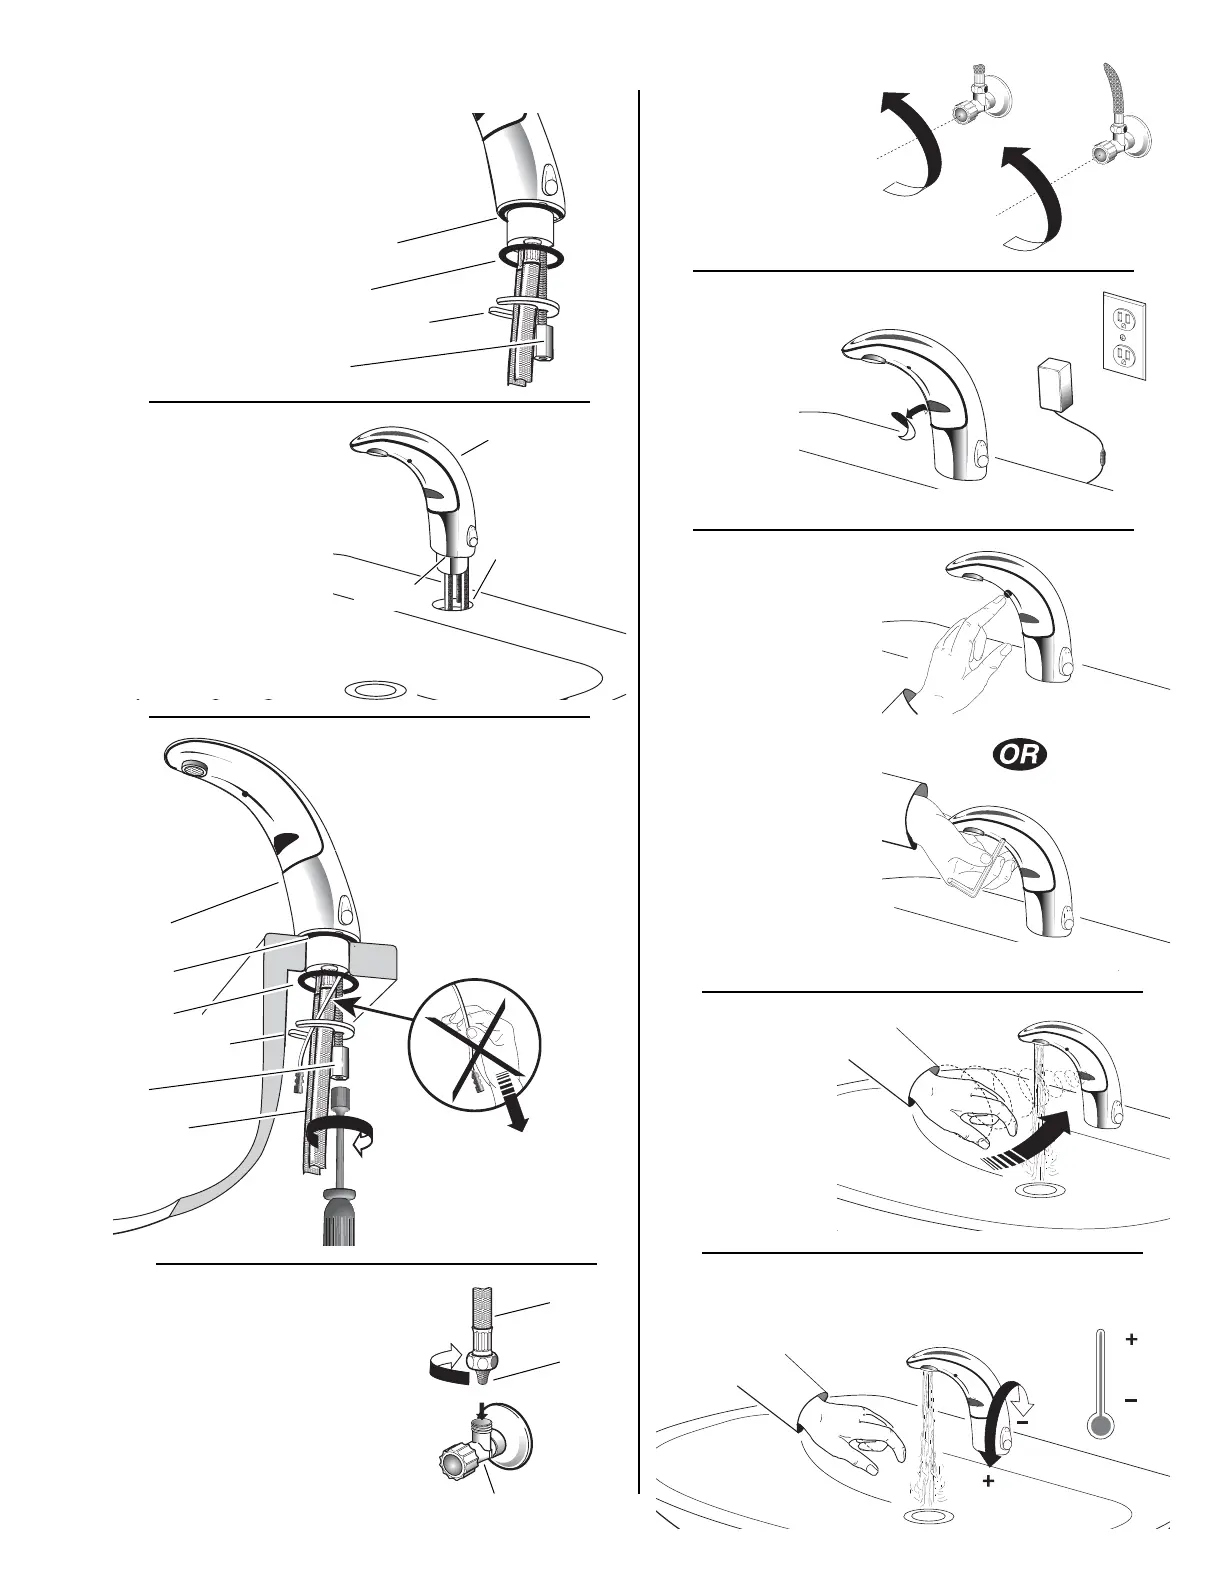
Step 2
Install Faucet with O-ring
into the center hole in
deck or lavatory —
1-33/16"
(30
mm)
min.
hole
required.
Note:
If installing the
Faucet on a three (3)
hole sink, a Trim Plate
should be installed at
this time.
FAUCET
CENTER HOLE IN
DECK OR LAVATORY
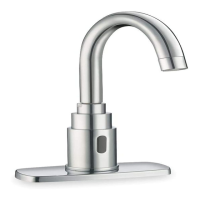
Step 1
Remove all
Mounting Hardware:
• Nut
• Faucet Retainer
• Gasket
Do Not remove the
O-ring from base of
Faucet.
FAUCET INSTALLATION
Step 3
Slide Gasket over Flex
Hose(s).
Secure Faucet to deck
or lavatory with Faucet
Retainer and Nut.
GASKET
FAUCET RETAINER
FAUCET
FLEX HOSE
NUT
MODELS
POWERED
BY
PLUG-IIN
TRANSFORMER
ONLY
DO
NOT
pull or crimp AC
Power Line.
GASKET
FAUCET RETAINER
NUT
O-RING —
DO NOT REMOVE
O-RING
O-RING
Step 4
IMPORTANT:
Flush dirt, debris, and sediment
from Supply Line(s)
before
Connecting Flex Hoses.
Install Strainer and Flex Hose onto
Supply Stop.
Tighten the Flex Hose (with
Strainer in place) securely to the
Supply.
SUPPLY LINE/STOP
STRAINER
FLEX HOSE
Step 5
Open Supply Stops.
Step 6
Remove sticker
from sensor.
For EAF 100
Models, Plug
Transformer
into receptacle.
Step 7
Press button one (1)
time, then immediately
step away.
Faucet will run for four (4)
seconds and the range
will automatically adjust
to it’s environment.
Wait ten (10) seconds
after water shuts off
before using Faucet.
If Faucet does not
function, refer to the
Troubleshooting section
of this instruction
manual.
IC
MODELS
STANDARD
MODELS
Transformer must be within 24” of Faucet.
Step 8
Activate Faucet and
check for leaks.
Step 9
—
ISM
Models
Only
SET
TEMPERATURE
Adjust Lever.
3