10
– English
SETTING DATE/TIME
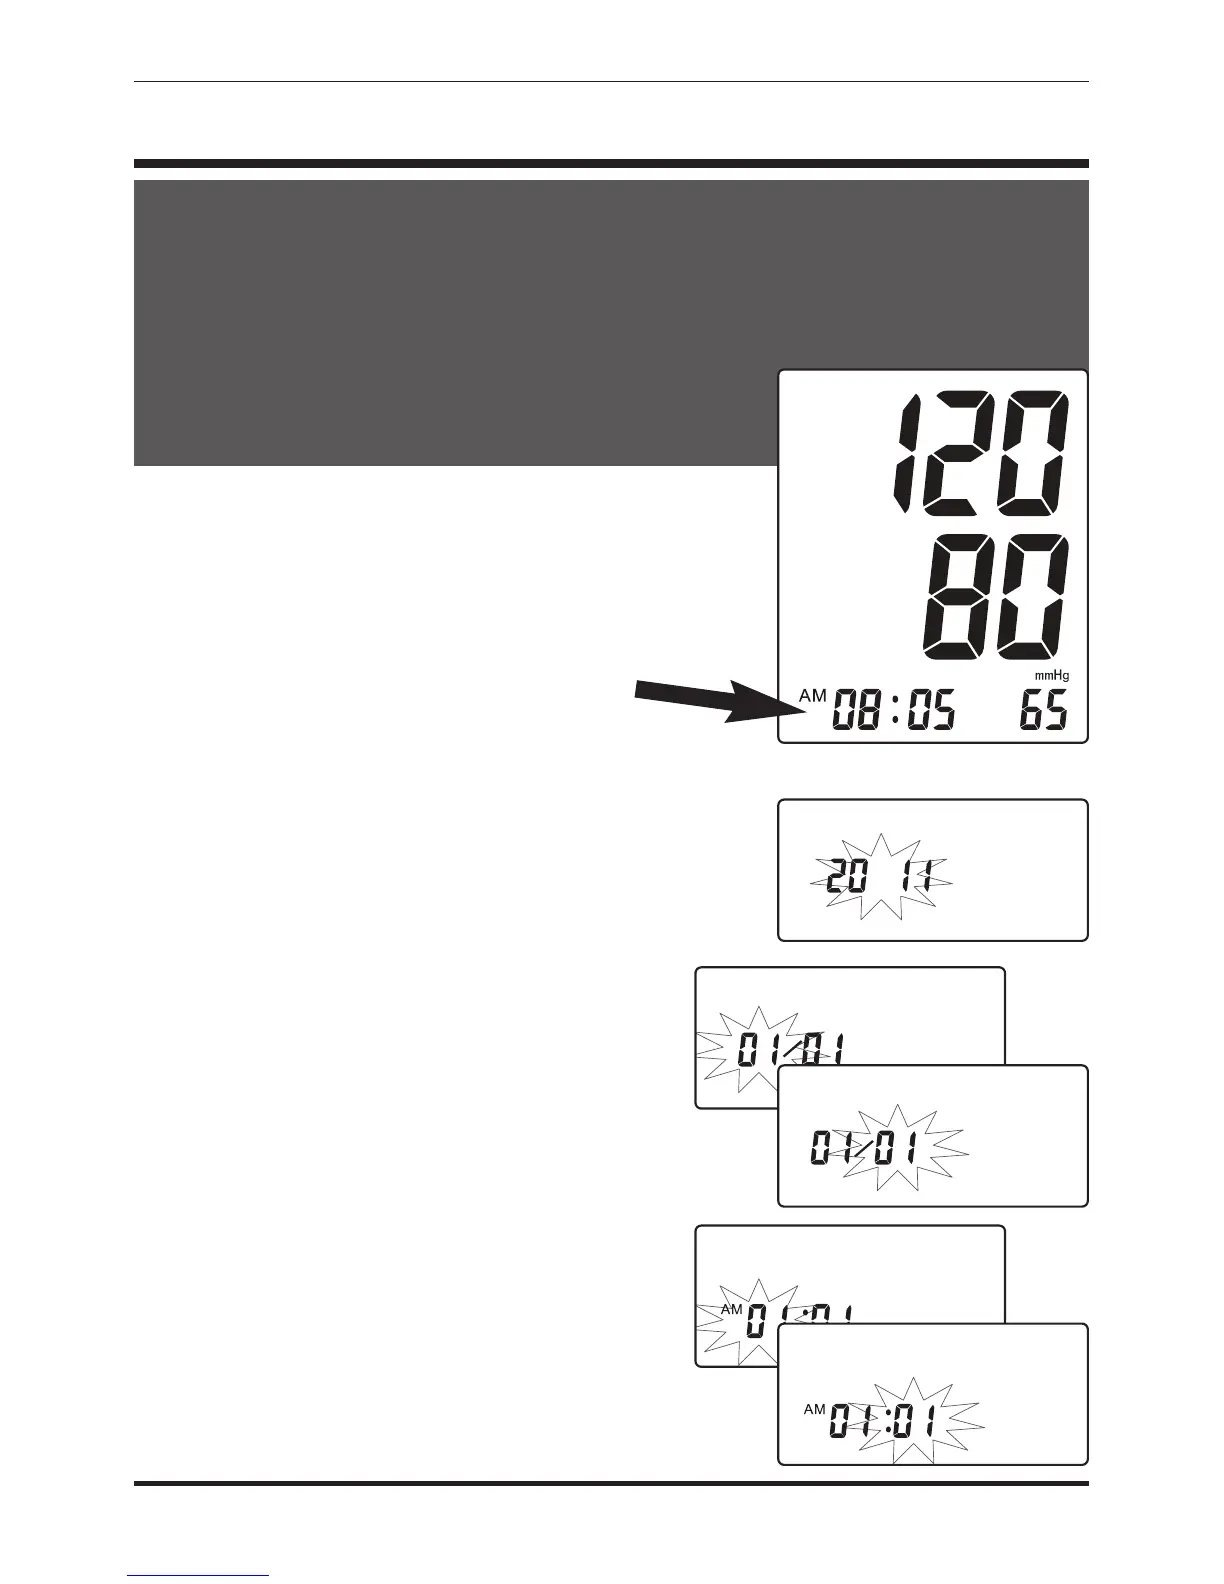
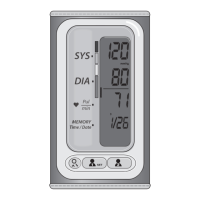
The date/time feature is on the bottom left of the
display screen, Fig 1. The display will remain in
the ‘time’ mode except during memory review,
when the display will alternate between time and
date to display when the measurement was taken.
1. When the batteries are rst installed, the year
will begin to ash.
2. Press the MEM button to advance the year
until the desired number appears. To scroll
through the numbers quicker, hold down the
MEM button as the numbers advance.
3. Press the SET button to conrm the year
entry.
4. Next, the month will blink. Repeat steps
2 and 3 to set the month, date, hours
and minutes.
5. After setting the minutes, the unit will
automatically exit out of the date/time
setting mode and is ready to take a
measurement.
If at any time you wish to reset the
date/time information, press and hold the
SET button for approximately 3-4 seconds until the
year begins ashing, then repeat steps 2 thru 5.
IT IS NECESSARY TO SET THE DATE AND TIME FOR THE UNIT
EVERY TIME BATTERIES ARE INITIALLY INSTALLED OR REPLACED.
IF YOU CHOOSE NOT TO SET THE DATE AND TIME, YOU MAY
PRESS THE START/STOP BUTTON TO FORWARD THROUGH THE
TIME AND DATE FEATURE WITHOUT
SETTING A PREFERENCE.
Fig. 1
Year
Month
Date
Hour
Minute





 To Next Page