in a zone, sometimes overlapping or sometimes not. High
winds can serve to dry out plant and soil to increase the need
for water. For optimum results considering the many unique
variables in each zone, users should periodically station plant
life health and water usage, especially after initial controller
setup, so proper adjustments can be made.
THIS COMPLETES PROGRAMMING FOR AUTO ADJUST.
RETURN THE DIAL TO THE RUN POSITION.
Step 3: Activating the SLW Series On-Site Weather Station:
Verify the time and date are
set and the ZIP Codes or
Latitude are set on the
SmartLine
®
Controller before
proceeding with SLW weath-
er station activation.
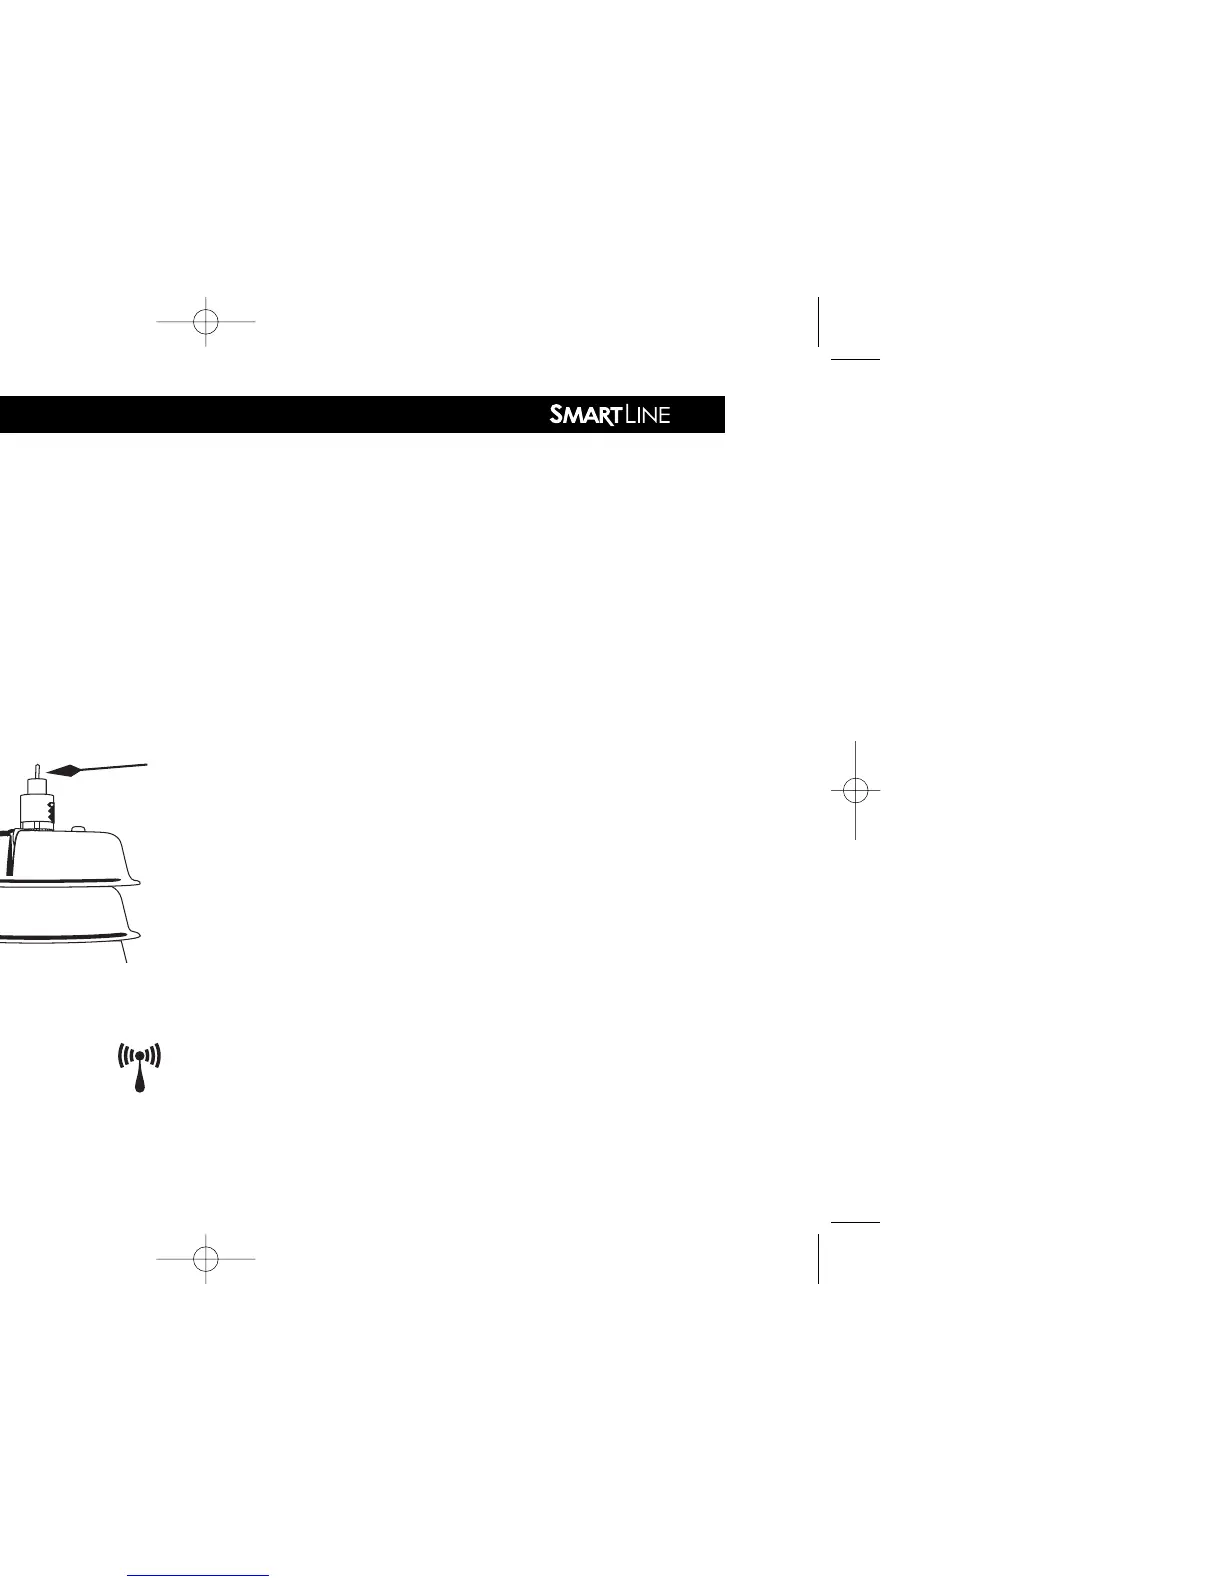
On the SLW weather station,
press and hold down the
Rain Sense test tab in the
center of the rain sensor for 15 seconds.
On the SmartLine
®
controller, verify that the antenna
icon appears on the bottom line of the LED display. The
antenna indicates communication has been established.
The SLW weather station provides rain and freeze
pause functions to prevent watering during periods of rain and
freezing weather. The rain override will pause watering after a
minimum of 1/8
th
inch of rainfall is received (the factory set-
ting of 1/8
th
inch can be changed incrementally up to 1 inch
by sliding the rain sensor into the desired position). The SLW
weather station will also pause watering when the outside tem-
perature drops to 37 degrees Fahrenheit (1.5 degrees Celsius).
The Sensor LED will display RED during these rain or freeze
periods. 24VAC power to the valves is reconnected when the
temperature is again above 37 degrees F (1.5 degrees
Celsius). However, after a rain event, the SmartLine
®
controller
will continue to pause watering for 48 hours after the rain sen-
sor has disengaged, in order to prevent over-watering.
Step 4: MODE Button:
Press the MODE button on the control panel to place the
SmartLine
®
controller in the Auto Adjust mode. A GREEN LED
on the Auto Adjust position will confirm that you have communi-
cated with the SLW weather station. If there is no SLW weather
station installed or ZIP Code or Latitude or time/date setting,
pressing the MODE button will flash the Auto Adjust LED to RED
and then return to the Standard mode. When this occurs, you
can press and hold the MODE button to see a scrolling mes-
sage indicating the reason Auto Adjust mode is not available.