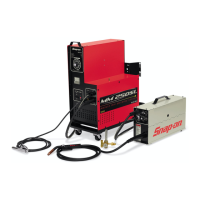
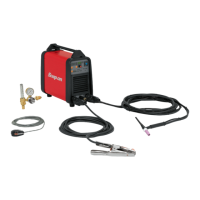
14
TIG AC Welding Mode Basic Setup
• With High Frequency Start
• Using On/Off Button
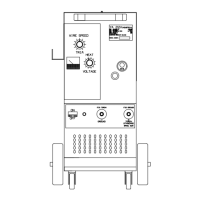
Push the procedure selector switch (Left Hand Down
Arrow). This push-button selects the welding procedure
(MMA of TIG). When selected, one of the following LEDs
lights:
B , C , or D
Then push the Mode Key E
(Right Hand Down Arrow).
When selected, one of the following LEDs lights:
F,G,H,L,M,N. Continue to push the button until the L LED
lights along with the G LED.
L - LED. TIG welding with arc started with
high frequency.
G LED. Continuous 2-stage TIG welding
(manual).
Push the P – Selector (Right Arrow) until the Q –
LED current frequency display lights.
adjusted from 50 – 150 Hz.
Turn the AA - Knob watching the Z - Display.
Set the current frequency to “60” Hz.
Push the P – Selector (Right Arrow) until the R – LED
wave balance display lights.
R - LED
settings, balance = 0; Cleaning from 1-8, Penetration from
1-8.
Turn the AA - Knob watching the Z - Display.
Set the wave balance to the “0” position.
Push the P – Selector (Right Arrow) until the O –
LED electrode diameter display lights.
Displays the electrode diameter. The choice of
electrode diameter ranges from 1mm to 4mm.
Turn the AA - Knob watching the Z - Display.
Set the electrode diameter to the size recommended in
Table “A”. EX.(3/32” = 2.4 mm).
Push the P – Selector (Right Arrow) until the S
– LED slope up display lights.
S - LED
Slope up. This is the time in which the current, starting from
the minimum, reaches the set current value. (0-10 sec.)
 Loading...