Machine Assembly
22 23
01
/06
2.2.1 A150/A250/A250T/F250/A350/A350T/F350
2.2 Scenario 2: Enclosure Installed on the Machine
If you already have the Enclosure installed on your machine, move the toolhead
and platform to proper places as illustrated above that are convenient for
detaching, demonstrated in 3.2 Change Machine Functions in the Quick Start
Guide of the Enclosure.
Turn off the machine. Refer to Chapter 2.1 to install the Dual Extrusion Module,
and then follow Steps 01-06 to install the Filament Holder and the Filament
Tube Holder.
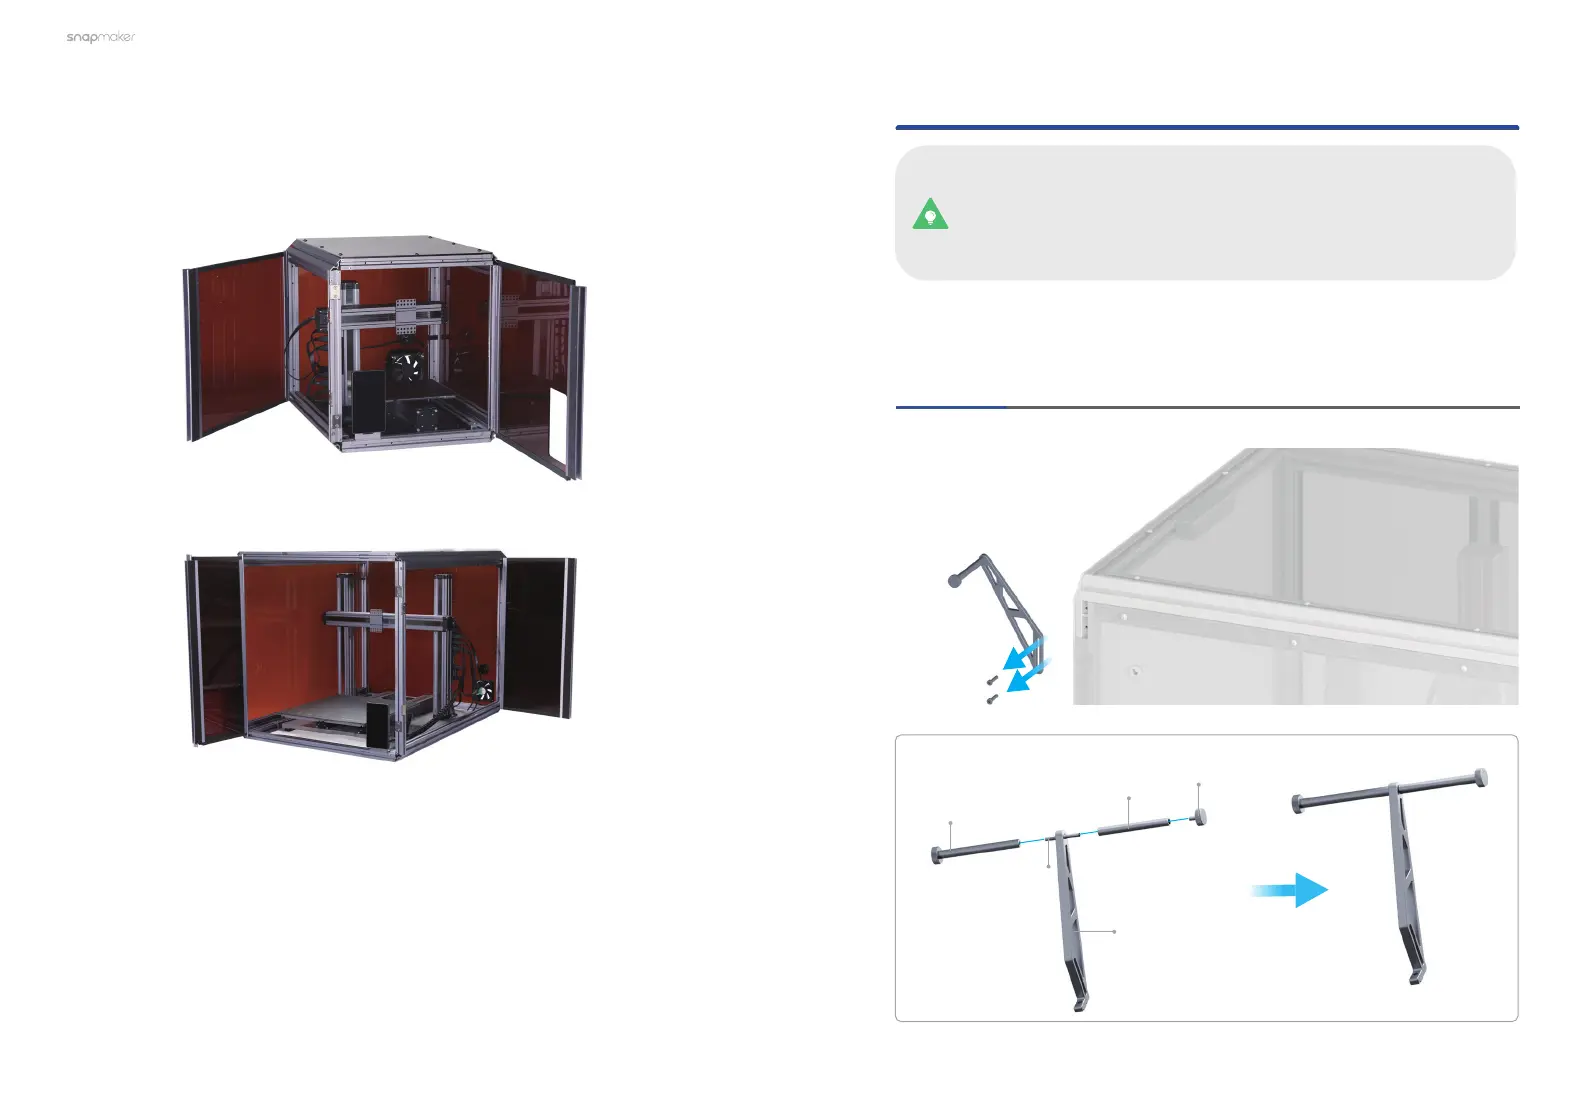
This guide takes the Enclosure of Snapmaker A350/A350T/F350
as a demonstration to describe how to install the Filament Holder
and the Filament Tube Holder. All steps demonstrated apply to the
Enclosure of Snapmaker A150, A250/A250T/F250.
Detach the original Filament Holder from the Enclosure,
and then install the new Filament Holder as illustrated.
Original Filament
Holder Tube
×1
Filament Holder
Tube
×1
New Filament
Holder Sheet
×1
Double End Studs
×1
Thumb Screw
×1