3D Printing
54 55
You can also click to import your own files and configure the
parameters.
Build Plate
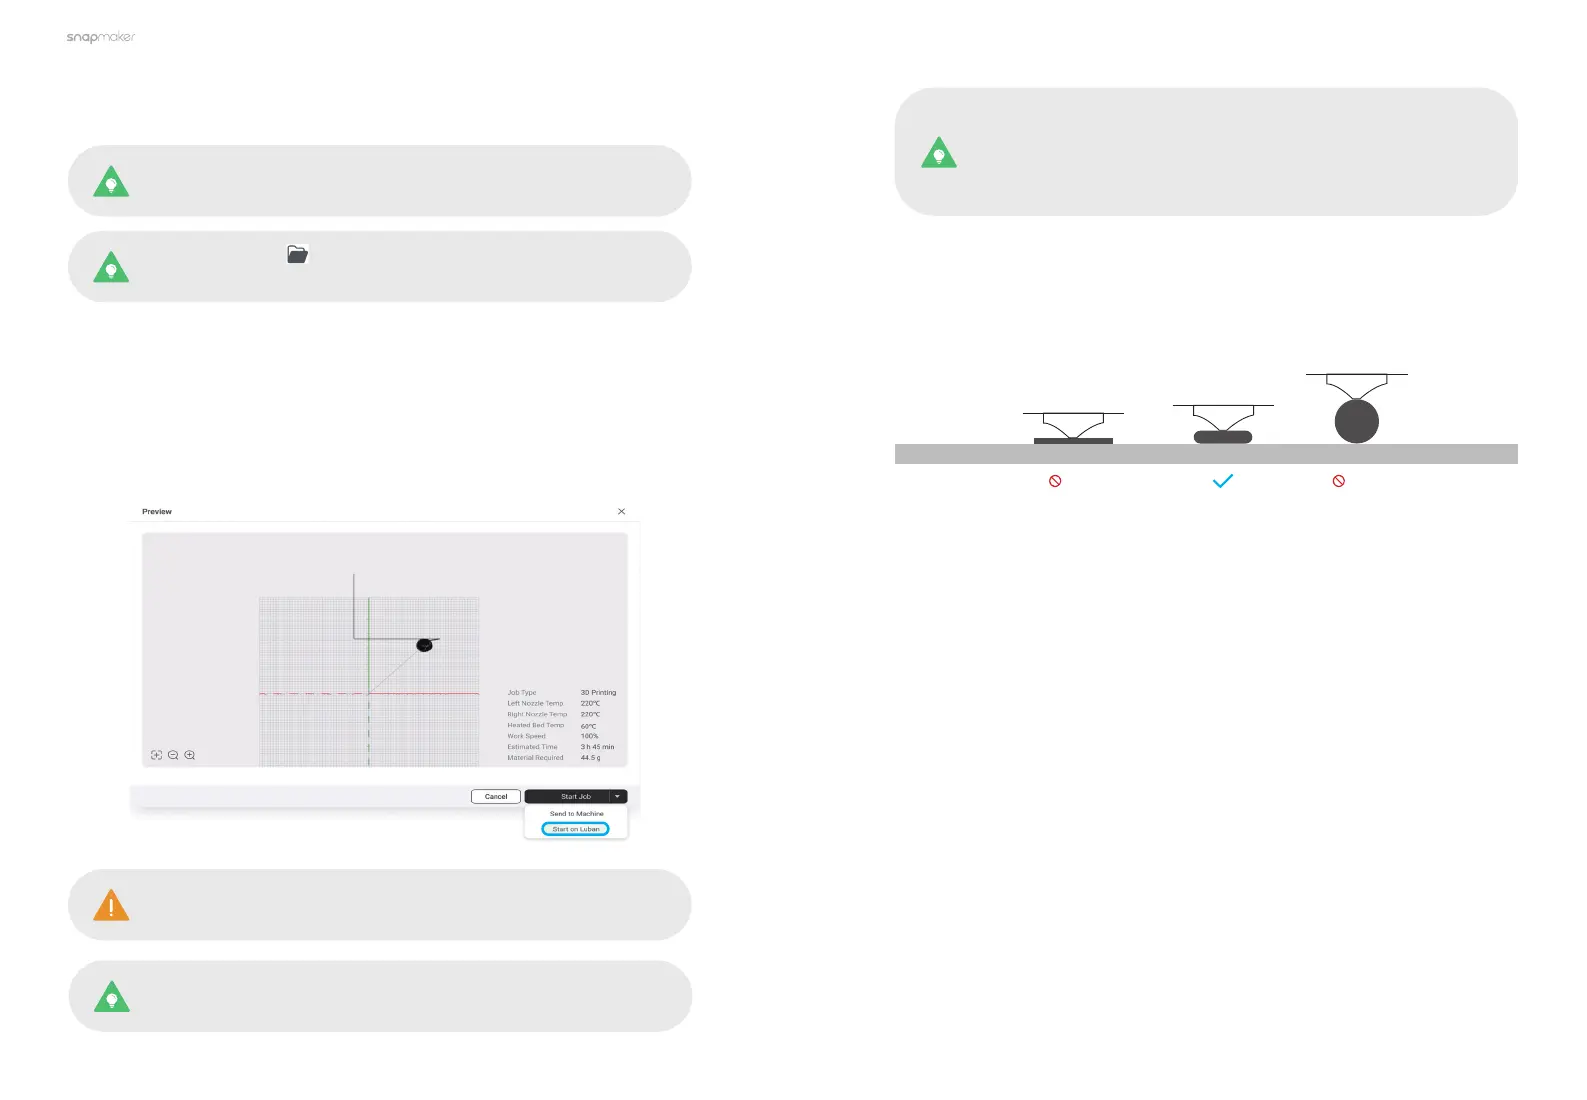
Too Low Too High
4. Follow the Beginner's Guide to get familiar with the basic operations. During
this process, Luban will automatically load the test model and generate the
G-code file.
If the Beginner's Guide does not pop up or quits unexpectedly, you
can click Help > Beginner's Guide in the menu bar.
5. After the G-code file is generated, click Export > Load G-code to Workspace
at the bottom-right corner.
3.4.2 Start Your First Print
1. In the Preview window, click Start Job > Start on Luban to create your first
print! If the Wi-Fi network is unstable or disconnected during the printing, the
ongoing printing process will not be affected.
Keep the front cover of the Dual Extrusion Module closed
throughout the printing process.
You can also send the G-code file to your machine at Workspace
or via the USB flash drive.
After the printing starts, you need to pay close attention to the
first layer adhesion to detect any problems in time to avoid
wasting filaments. In case of poor adhesion, you can try the
following solutions:
Solution 1: Adjust the Z Offset during printing to slightly reduce the distance
between the nozzle and the build plate. However, please note that the nozzle
may fail to extrude successfully or even damage the build plate and itself if too
close to the build plate.
Solution 2: Stop the current printing and remove the print from the Print Sheet.
Then, swipe left on the Home Screen, tap Calibration and redo the Leveling
and Z Offset Calibration. The machine will run the calibration processes in Auto
Mode by default.
If the calibration results remain unsatisfactory, you can try the following
operations:
- Heated Bed Leveling: Switch to Manual Leveling, increase the calibration
points or the bed temperature, and then redo the calibration.
- Z Offset Calibration: Select a different mode, and then redo the calibration.
Solution 3: Apply an even layer of water-washable adhesive (like PVP glue
sticks) on the printing area to improve the first layer adhesion. After the printing
you can wet the cloth with water to wipe off the residual adhesive on the Print
Sheet.