Machine Assembly
1312
MACHINE ASSEMBLY
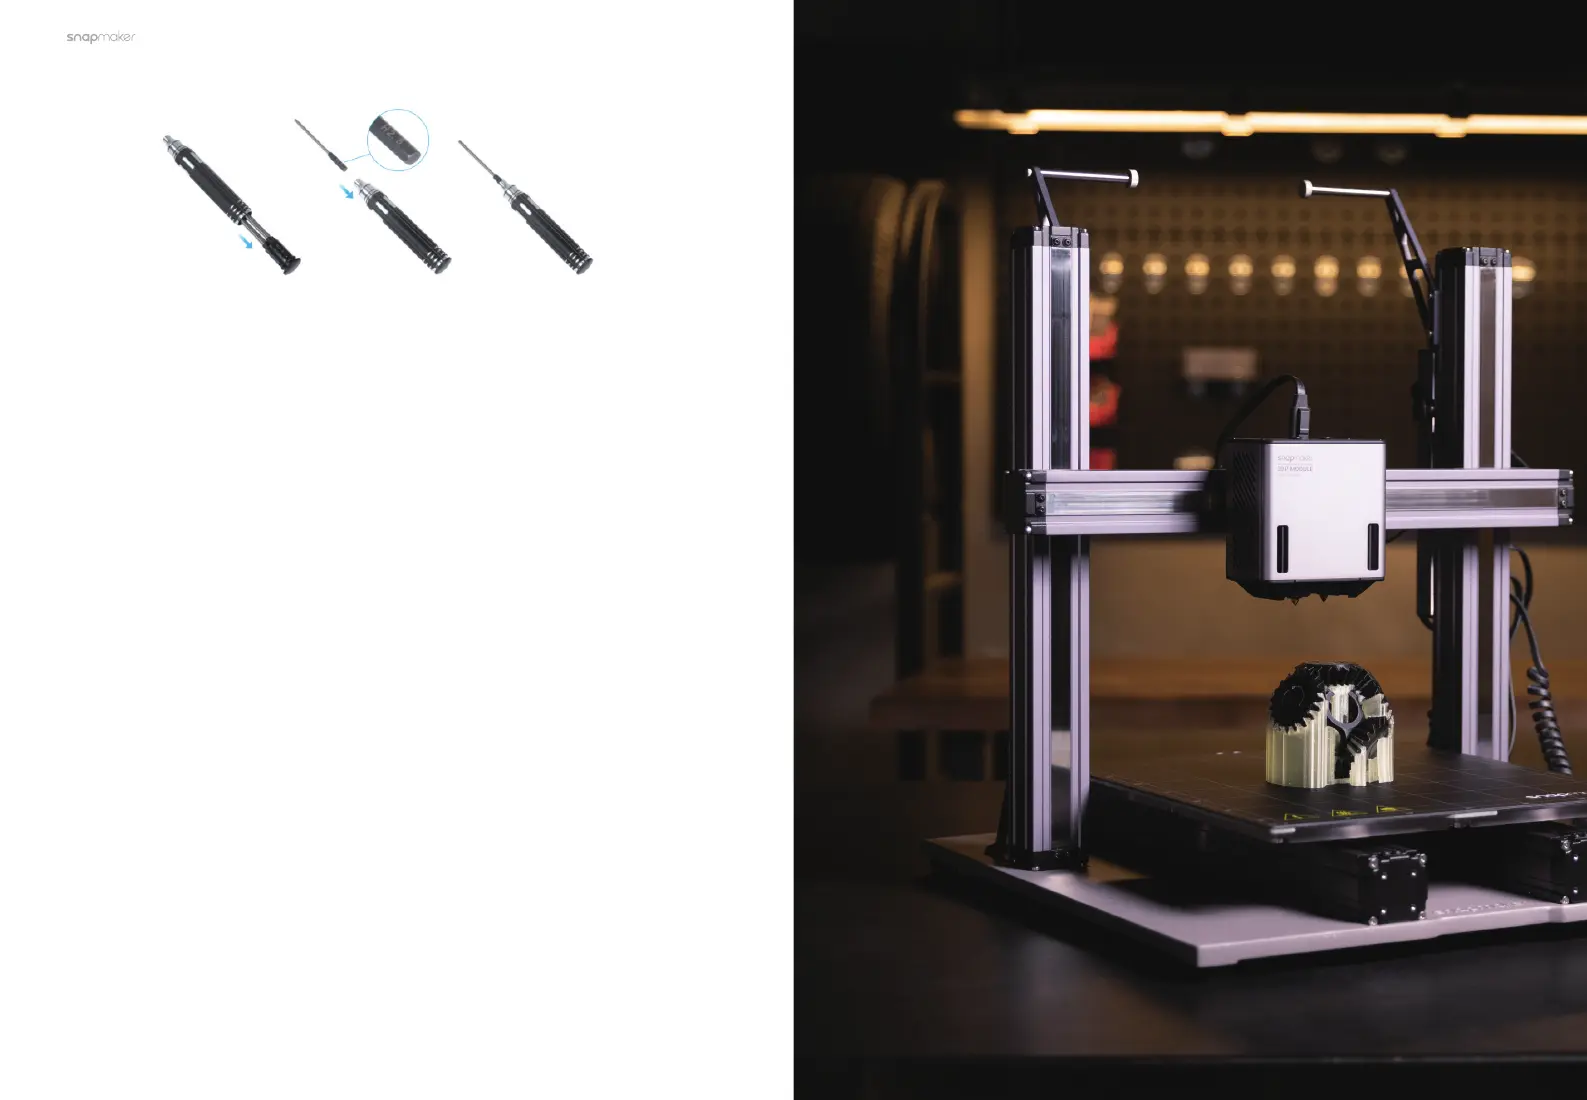
1.8.2 Get the Screwdriver Ready
Get the screwdriver ready. The screwdriver head H2.5 is used for assembling the
machine. The other heads are used for maintenance. Before use, ensure that the
screw bit holder is put back into the handle.
1.9 About this Quick Start Guide
In the chapter of Machine Assembly, to describe how to assemble the machine
under the two scenarios of the machine without the Enclosure and with the
Enclosure installed, this guide takes Snapmaker 2.0 A150 and A350T as a
demonstration. While in the chapter of 3D Printing, all steps demonstrated on
Snapmaker 2.0 A350T apply to all the other compatible machine models.
This Quick Start Guide is intended to guide you through the assembly of Dual
Extrusion Module and the first-time operation with concise instructions and
graphics. Only one of the workflows has been described for you to get started, for
other workflows and more information about Dual Extrusion Module, refer to our
online User Manual: On the navigation bar of the Snapmaker official website (https://
support.snapmaker.com/), click Support > Product Support > Snapmaker Dual
Extrusion 3D Printing Module > User Manual.