8
PSX-NL4 Network Module - Operation Manual
Section 2 – Initial Configuration
i The PSX-NL4 is shipped with DHCP enabled as default. If the PSX-NL4 is being connected to a DCHP network, or if the PSX-NL4 has been
preconfigured for your network, this section may be skipped. If the network is not DHCP, the PSX-NL4 must have the IP settings configured.
A Network Scan Tool used for finding LSP devices is available at http://www.lifesafetypower.com/support/software-firmware-downloads.
2.1 Preparing to configure the PSX-NL4
In order to perform the initial configuration of the PSX-NL4, you will need the following:
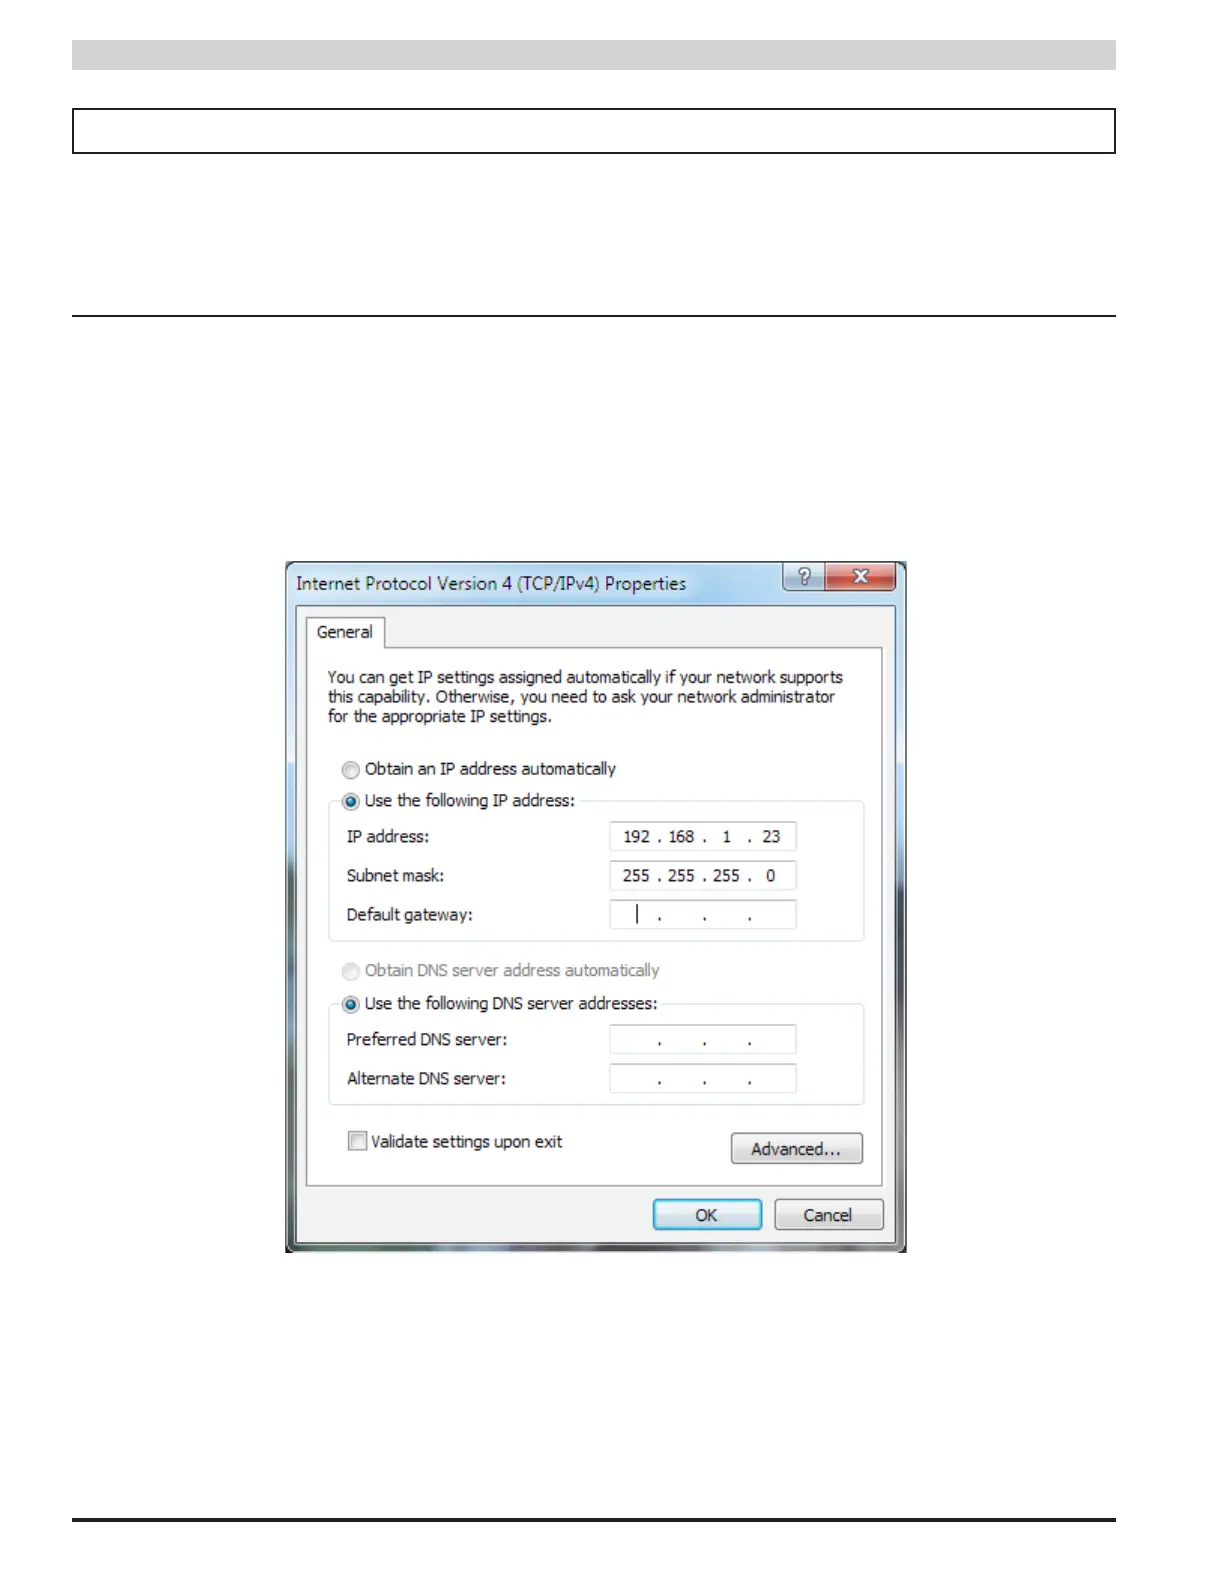
• A computer (PC or Mac) set to a static IP address in the subnet 192.168.1.xxx, where xxx is a subnet address (0 to 255) not
being used by any other device on the network. Do not use 192.168.1.9 or the final IP address you will be setting the PSX-
NL4 to. See Figure 2.1.
• A web browser installed on the computer.
• An Ethernet cable long enough to reach between the computer and the PSX-NL4.
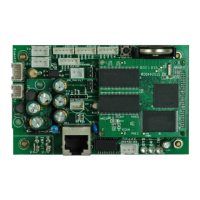
• The PSX-NL4 to be configured must be wired into the system and powered. After powering the PSX-NL4, wait for the PSX-
NL4 to initialize - when ready, the yellow SYS LED will be lit steady.
Figure 2.1 - Example of a PC Ethernet Port Settings Window
After the PSX-NL4 is powered within the system and initialized, connect the Ethernet cable between the Ethernet ports of the computer
and the PSX-NL4.