Instruction Manual INOXA SERIES
6
GB
7. ELECTRODE INSTALLATION
NOTE: numbers shown below are referring to Fig. 1-2 chapter 6
COMMANDS DESCRIPTION to Page 4-5.
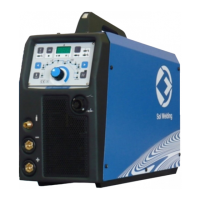
7.1 ELECTRODE HOLDER CONNECTION
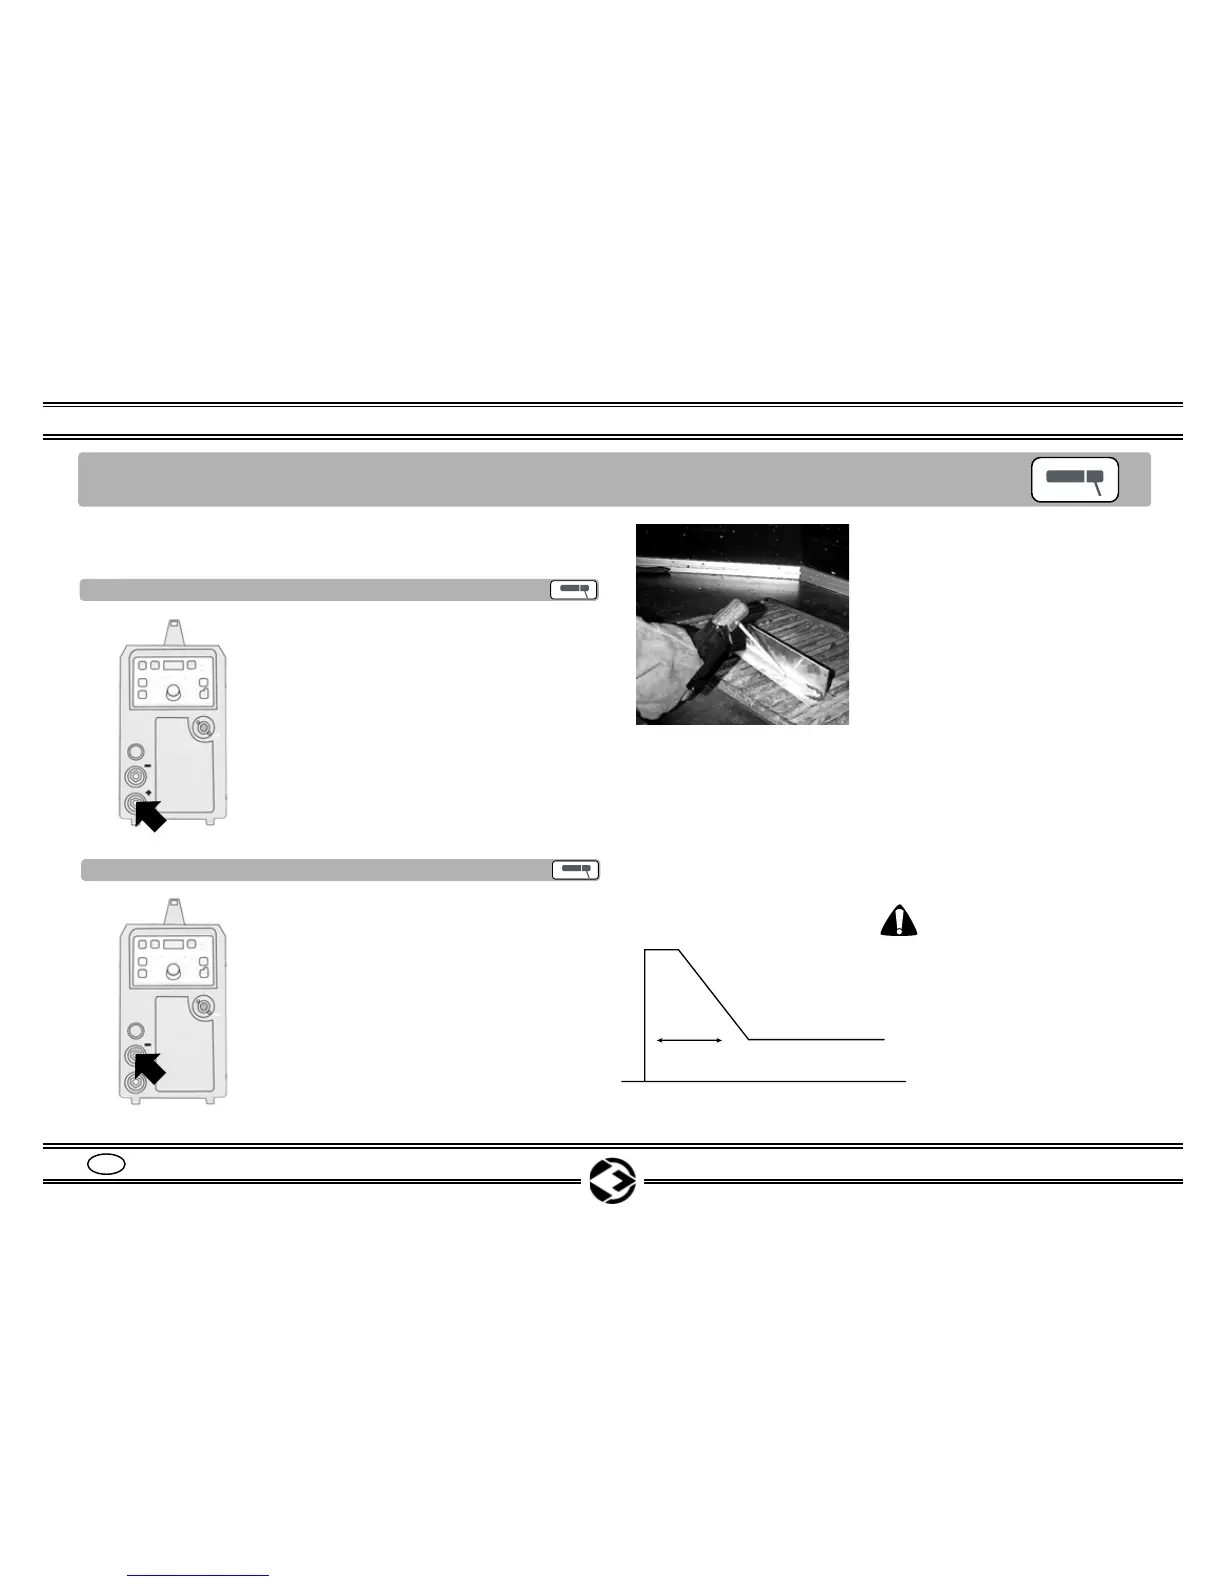
7.2 CONNECTION TO BASE MATERIAL
In ELECTRODE mode, consider
that functions:
HOT START
ARC FORCE
ANTI STICKING
are all automatic and pre-set for the
electrode that needs to be welded.
HOT START: improves the start, during the arc starting procedure,
the current increases in percentage its value for 0,3 sec.
ARC FORCE: improves the stability of the arc during welding, the
current increases automatically during the transfer of the material.
ANTISTICKING: after 2 sec. of short circuit between the electrode
and the base material, the generator turns OFF. See page 17.
1. Connect the positive power cable (+)
of the ELECTRODE HOLDER to socket
(16).
2. In case reverse polarity electrodes are
used, connect the ELECTRODE
HOLDER to socket (17).
Negative polarity (-).
1. Connect the ground cable to socket
(17). Negative polarity (-).
2. Secure the other end of the ground
cable to the base material, making sure
that a good electrical contact is esta-
blished.
3. In case reverse polarity electrodes are
used, connect the ground cable to socket
(16). Positive polarity (+).
16
17
ATTENTION! If the generator
is connected to the COOLER
UNIT, it is necessary to con-
nect the By-pass tube (23A)
to the quick release connec-
tors (23).
It is also possible to connect
a TIG water cooled torch.
See page 8