Physical Layout Editor
1. If you are a registered installer, access the monitoring platform site
creation page at https://monitoring.solaredge.com/solaredge-
web/p/home#createSites. If you have not yet signed up, go to
https://monitoring.solaredge.com/solaredge-
web/p/createSelfNewInstaller.
2. Fill out all required information in the screen, which includes information about
your installation, as well as details about its logical and physical mapping.
Using a Paper Template
Fill out the Physical Layout Template (downloadable from the SolarEdge
website http://www.solaredge.com/files/pdfs/physical-layout-
template.pdf)using the detachable 2D barcode stickers on each power
optimizer. Once the form is completed, use the Mapper to scan the 2D
codes and create the map in the monitoring platform. Optionally, you can
send the sticker sheet to SolarEdge Support for physical layout creation.
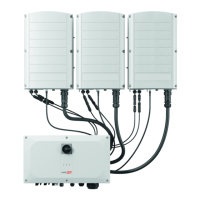
Three Phase Inverter with SetApp Configuration PN: SEXXK-XXXXIXXXX
45 Reporting and Monitoring Installation Data