14 Procedure | Labstamp User Guide | PN: 1202.D
Figure 3-19 Tattoo Complete
3.11. APPLY THE TATTOO
3.11.1 Ensure that the ID has been selected and the RESTRAINT
CARTRIDGE STATUS light is green.
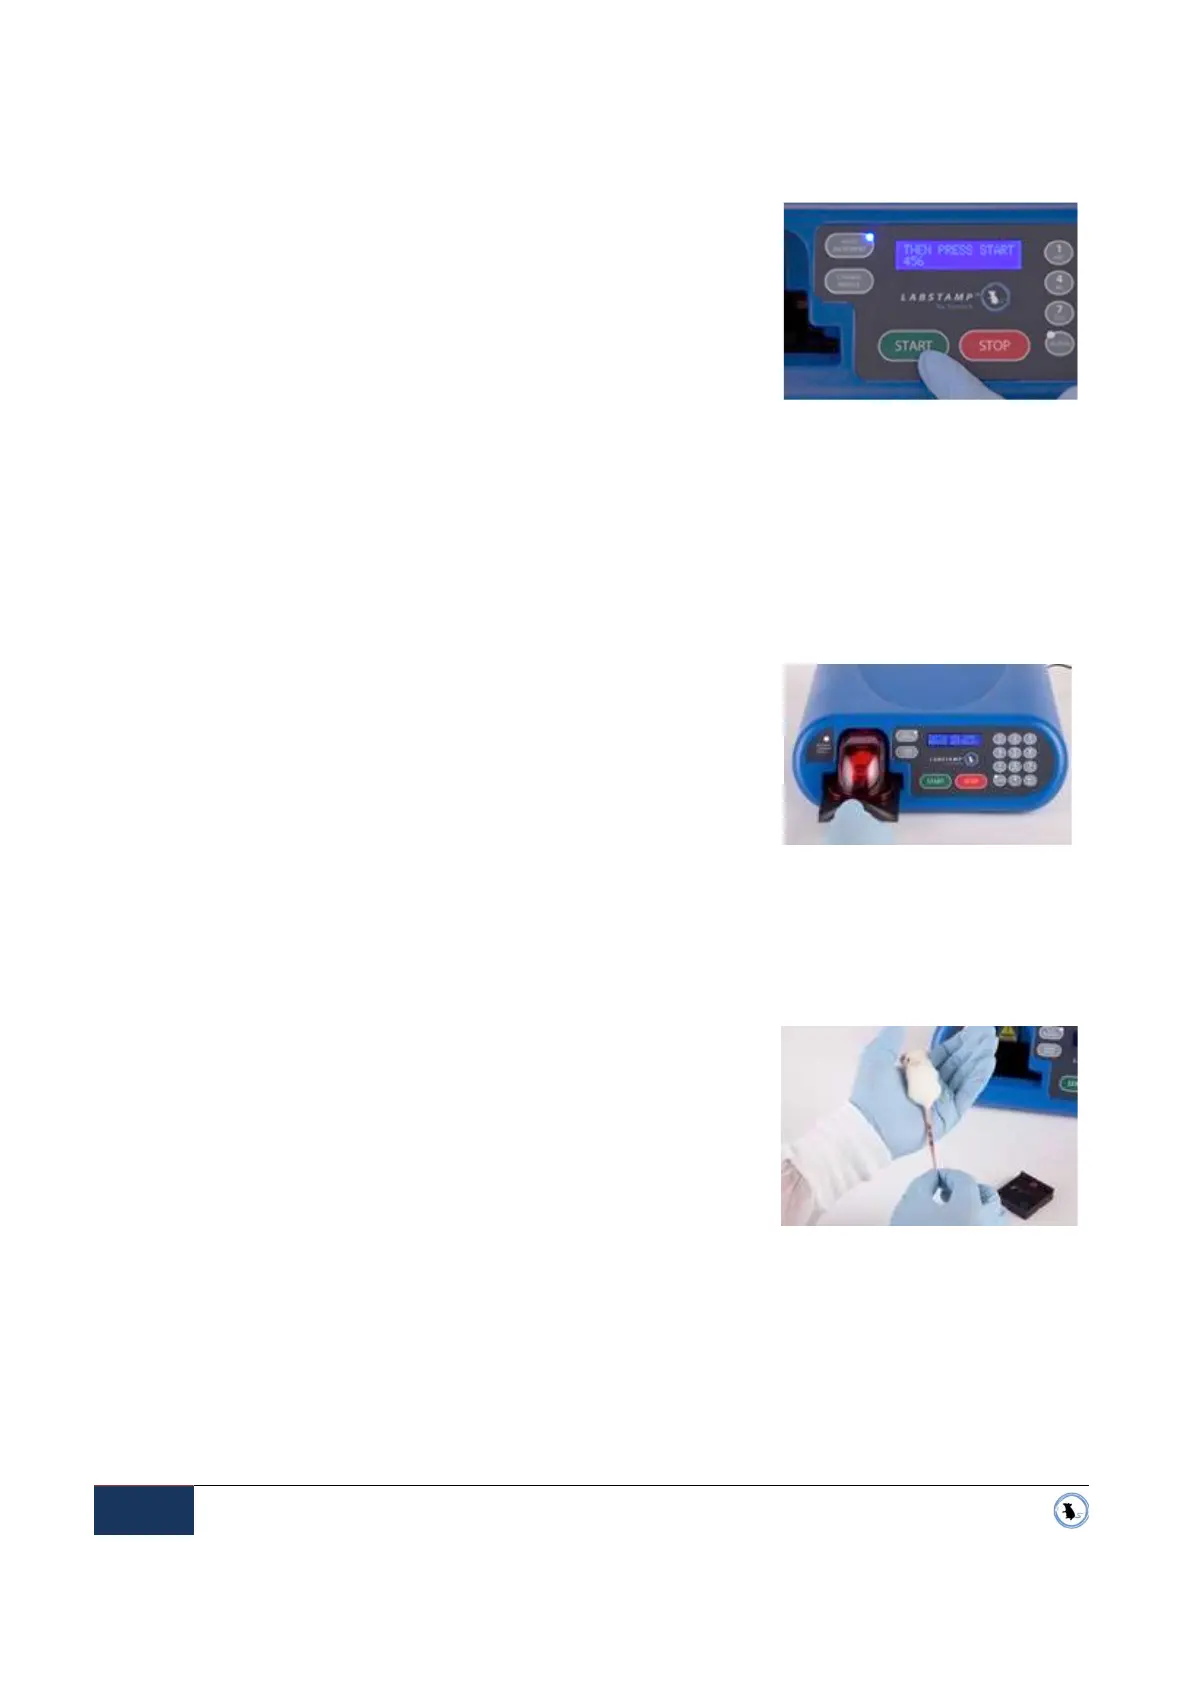
3.11.2 Press the START button to begin tattooing. See Figure 3-17
Start Button. The button will beep when it has been pressed,
and the Applicator Machine will begin to tattoo.
NOTE: When the machine begins to tattoo, the RESTRAINT CARTRIDGE STATUS light
will begin to flash red. Do not attempt to remove the Restraint Cartridge from the Applicator
Machine while the light is flashing red.
NOTE:
While one animal is being tattooed, you can use a second Restraint Cartridge to
prepare the next animal for identification. However, for the comfort of the mouse, animals
should not be left for more than a couple of minutes with the tail grippers restraining the
mouse.
3.11.3 After tattooing is complete and the RESTRAINT CARTRIDGE
STATUS light returns to green, remove the Restraint
Cartridge by sliding it straight-back and out of the Applicator
Machine. See Figure 3-18
3.11.4 Remove the Tail Cover by lifting it straight-up off of the Restraint Cartridge platform.
3.11.5 While holding the tail gently, remove excess tattoo ink by wiping the newly tattooed tail with
either a cotton-tipped applicator or a piece of gauze saturated with Tail Oil.
3.11.6 To return the mouse to their cage, place the Restraint
Cartridge in the cage and depress the tail gripper buttons on
the red dome in order to release the mouse from the
Restraint Cartridge.
When finished, clean the Labstamp components as needed, and proceed
with the next mouse, See Cleaning & Maintenance below for detailed
instruction on cleaning the System.
IMPORTANT: If the Labstamp machine is to be moved or transported after the tattoo session has
been completed, it is advisable to park the machine tattoo head in the Needle Change position.
Simply press the CHANGE NEEDLE button on the front panel of the Applicator Machine. This will
lock the tattoo head in place and prevent compromising the critical alignment and calibration of the
machine. For questions, please contact SOMARK for further assistance.
Figure 3-17 Start Button
Figure 3-18 Removing the Restraint