15 Cleaning & Maintenance | Labstamp User Guide | PN: 1202.D
Section 4 Cleaning & Maintenance
For best results and to preserve the life of your Labstamp System, please ensure the
following:
4.1. AT LEAST EVERY 10 TATTOOS
4.1.1 Clean the Needle Cartridge.
4.1.1.1 Press the “Change Needle” button. Wait for the tattoo head to
emerge. Gently wipe the needle tips with a cotton-tipped applicator
coated in tail oil, alcohol or other cleaning agent. Press the “Change
Needle” button to retract the tattoo head.
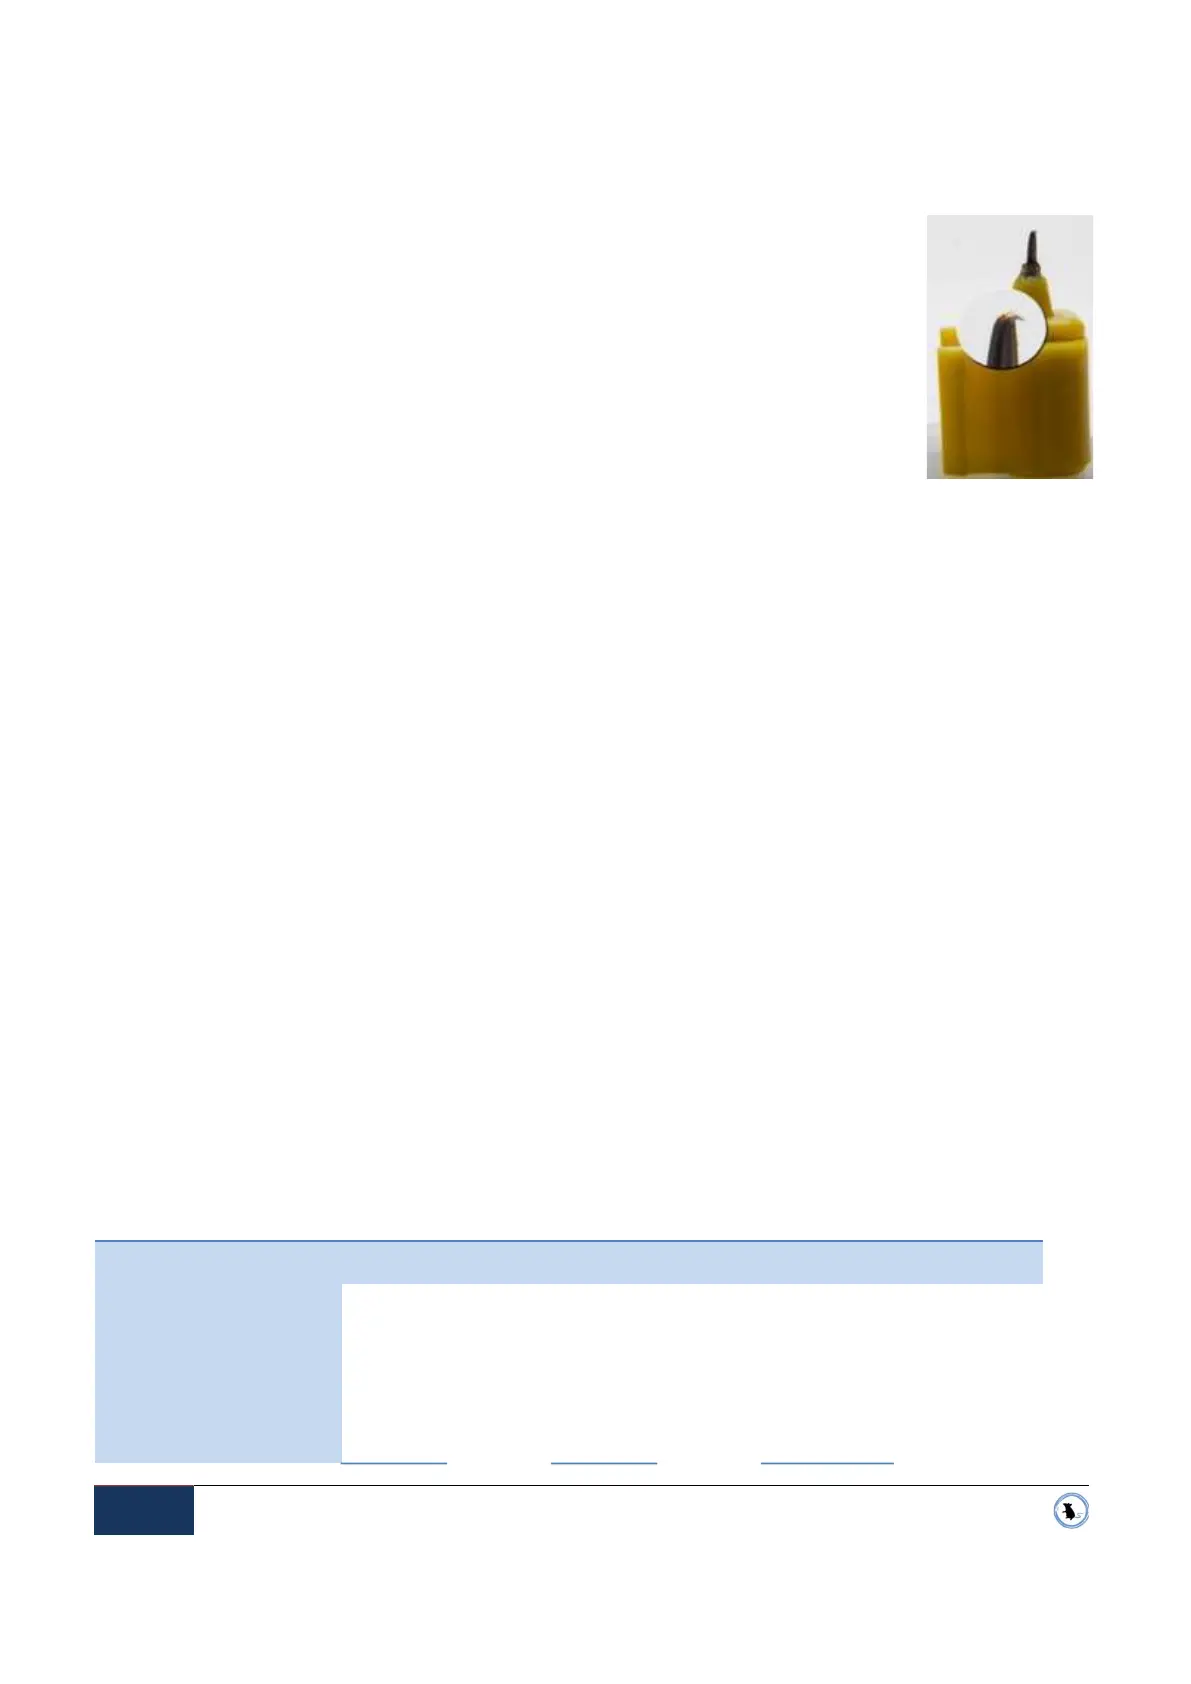
4.1.2 Inspect the Needle Cartridge to check for damaged or J-Hooked needles. See Figure 4-1
J-Hooked Needle
4.1.2.1 Press the “Change Needle” button. Wait for the tattoo head to emerge. Using the
forked-end of the Tail Gauge, push it onto the mid-section of the Needle Cartridge. The
tangs of the fork will depress the clip arms to release the Needle Cartridge from the
tattoo head. See Figure 3-9 Tail Gauge Fork-End
4.1.2.2 Inspect the Needle Cartridge to check for damaged or J-Hooked needles.
See Figure 4-1
J-Hooked Needle
4.2. AFTER EACH TATTOO
4.2.1 Replace the Ink Slide.
4.3. AFTER EVERY 50 TATTOOS
4.3.1 Replace the Needle Cartridge at least after every 50 tattoos.
4.4. AT THE COMPLETION OF THE SESSION
4.4.1 Wipe down the Applicator Machine, all Restraint Cartridge
components and Tail Gauge thoroughly according to your laboratory guidelines. Clean the
needle cartridge with a cotton-tipped applicator coated in tail oil, alcohol or other cleaning
agent.
Note: Do not spray into the Applicator Machine port in the front nor into the air vents to the rear of the System.
CLEANING METHODS
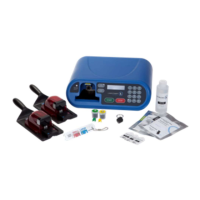
Acceptable cleaning methods for each Labstamp component are listed below:
ETO
Irradiate
Autoclave
VHP
Spray/wipe
Chlorine
dioxide gas
Applicator machine •
• • •
Restraint cartridge • • • • •
Ink slide (single-use)
•
• • •
Needle • •
• • •
Figure 4-1
J-Hooked Needle