7 Procedure | Labstamp User Guide | PN: 1202.D
Section 3 Procedure
3.1. PREPARING WORKSPACE
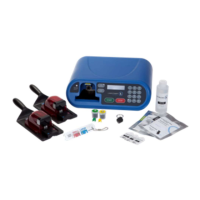
3.1.1 Set-up the tattooing area with the supplied Applicator
Machine, Restraint Cartridge(s), Tail Gauge, Ink Slides
(keep in foil pouch until ready to tattoo), Needle
Cartridge(s), and Tail Oil. See Figure 3-1 Labstamp
System
3.1.2 Obtain a small dish, cotton tipped applicators, and gauze.
3.1.3 Plug the SOMARK provided power supply into the Applicator
Machine, and plug the power supply into a power outlet. Using
the power switch located on the rear of the machine, turn on
the Applicator Machine. See Figure 3-2 Power Switch.
3.1.4 When ready to tattoo, open the foil pouch containing the Ink
Slides.
Note: Once opened, Ink Slides must be used
or re-sealed within twenty-four (24) hours.
3.1.5 Pour a small amount of Tail Oil into the dish.
3.2. RESTRAINING THE MOUSE
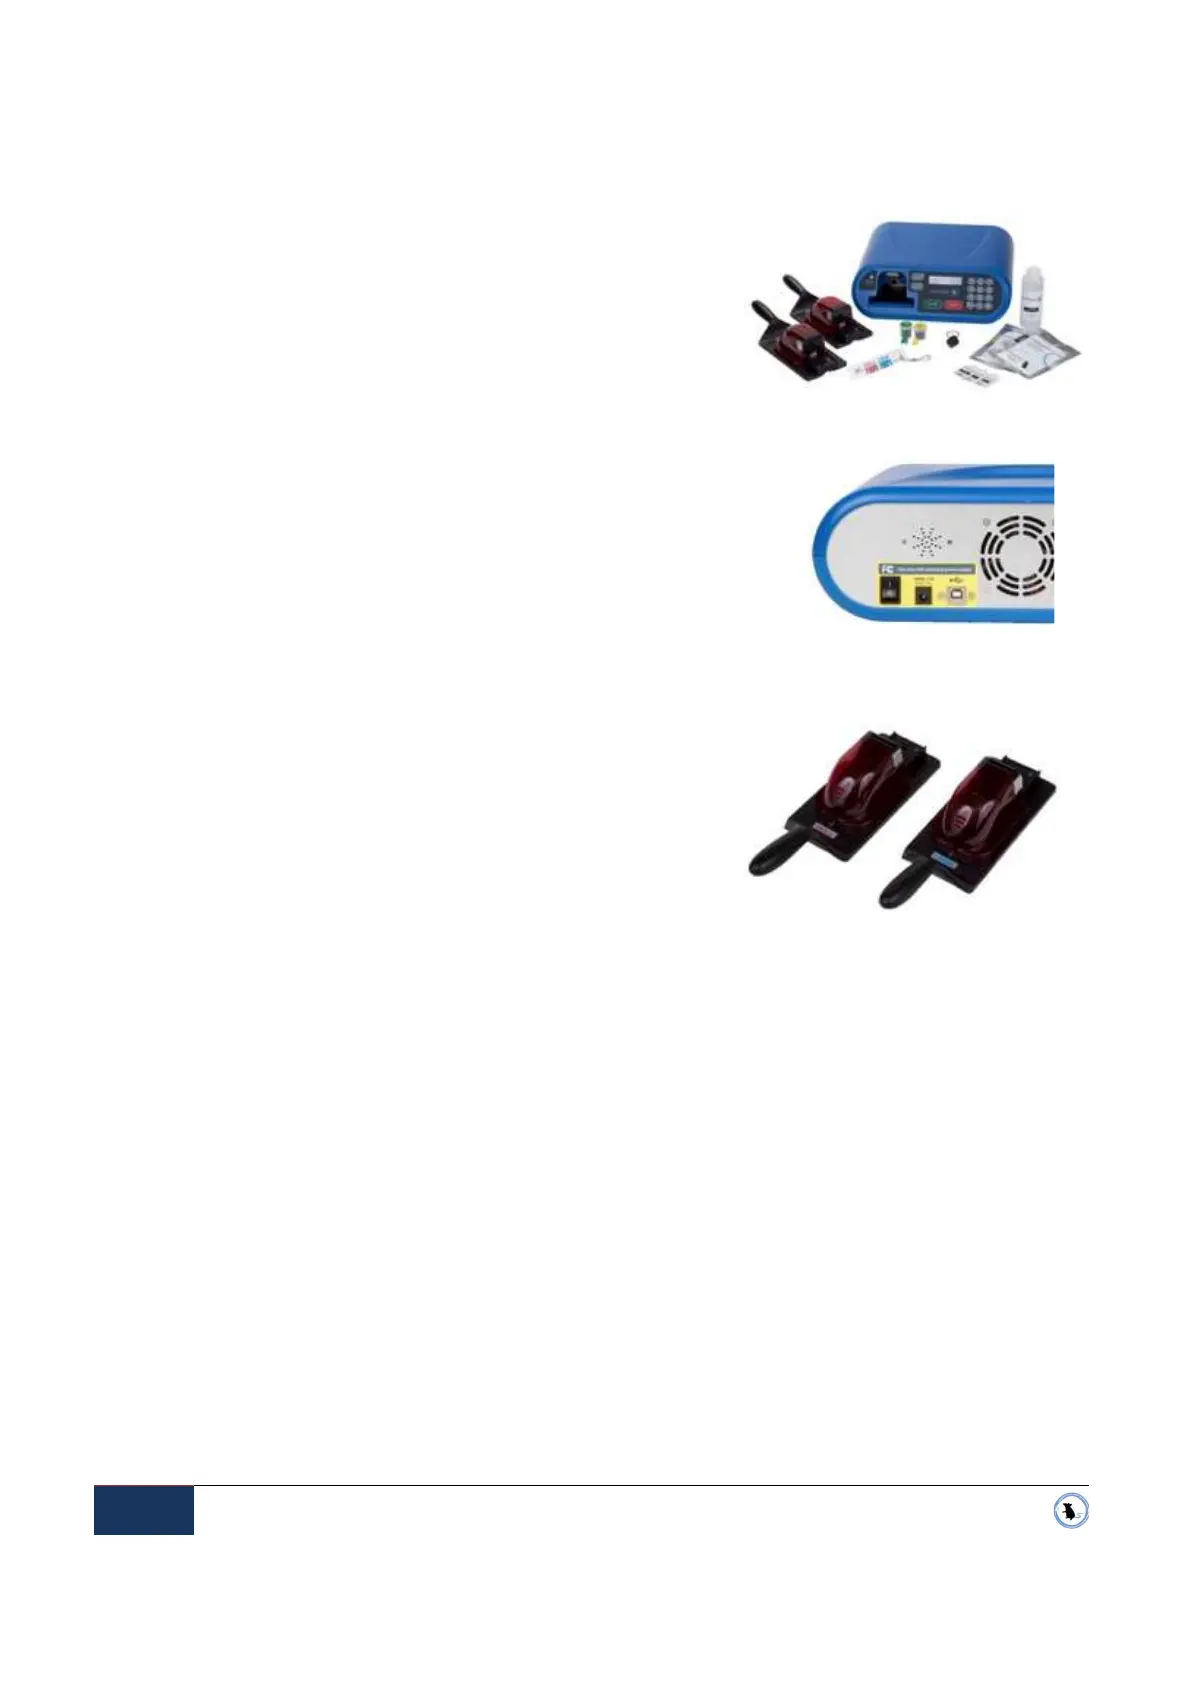
3.2.1 Make an initial selection of the Restraint Cartridge
(SMALL or LARGE) based upon whether mice are young
or adult. See Figure 3-3 Restraint Cartridges
3.2.2 Remove the Red Dome and Tail Cover from the Restraint Cartridge. (Remove the Tail Cover by
lifting it straight-up off of the Restraint Cartridge platform.) Pick-up a mouse by the tail and place
it on the Restraint Cartridge platform with the head facing toward the handle.
Figure 3-1 Labstamp System
Figure 3-2 Power Switch
Figure 3-3 Restraint Cartridges