1
EN - EXAVIA installation and operating guide - SOMFY
EN
Translated version of the manual
Contents
Safety instructions 2
- Important information 2
- Condition of the gate to be motorised 2
- Electrical installation 2
- Cable run 3
- Safety instructions relating to installation of the
motorisation 3
- Safety instructions relating to use 3
- Safety instructions relating to maintenance 4
- About the batteries 4
- Recycling and disposal 4
- Regulations 4
- Risk prevention 4
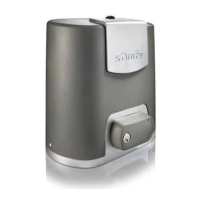
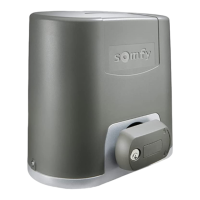
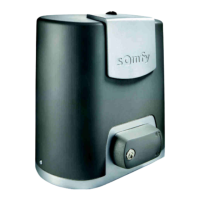
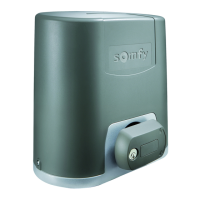
Product description 6
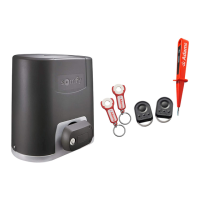
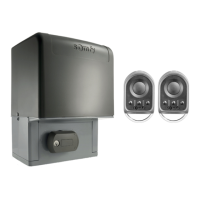
- Contents of the pack 6
- Product description 7
- Space requirements 7
- Field of application 7
- General view of the installation 8
- Presentation of the control electronics 9
Prerequisites for installation 9
- Pre-installation checks 9
- Electrical pre-equipment 10
- Cables required 10
- Tools required for installation (not provided) 11
- Hardware required for installation (not provided) 11
1 Installation 12
1.1 Measuring the dimensions 12
1.2 Fastening the pillar brackets 13
- Marking the AM and AH axes 13
- Drilling the pillars 13
- Securing the pillar mounting bracket 14
1.3 Fastening the motors 14
- Checking the position of the knob 14
- Moving the opening stop 14
- Fitting the cylinder onto the mounting bracket 15
1.4 Fastening the gate leaf brackets 15
1.5 Installing the control unit 17
- Position of the control unit 17
- Installing the sealing strip 17
- Checking the position of the antenna 17
- Securing the control unit 18
1.6 Connecting the motors 19
1.7 Connecting to the mains power supply 19
2 Commissioning and standard use 20
2.1 Switching the installation on 20
2.2 Adjusting the opening stop 20
2.3 Gate travel auto-programming 21
2.4 Closing the control unit 22
2.5 Stand-by/Reactivating the control electronics 22
2.6 Opening and closing the gate completely 22
2.7 Obstacle detection 22
2.8 User training 22
3 Wiring the accessories 23
3.1 Photoelectric cells 23
3.2 Flashing light 23
3.3 Battery (depending on the pack chosen) 23
3.4 Offset antenna (option) 24
3.5 Video entry phone (option) 24
3.6 Key contact (option) 24
3.7 Area lighting (option) 24
3.8 Solar power (option) 24
4 Advanced parameter settings 25
4.1 Pedestrian opening 25
- Pedestrian opening operation 25
- Activating the pedestrian opening 25
- Deactivating the pedestrian opening 25
4.2 Automatic closing 26
- Automatic closing operation 26
- Activating automatic closing 26
- Deactivating automatic closing 27
5 Programming the remote controls 28
5.1 Description of the remote controls 28
- Possibilities for programming the 2-button remote control
28
- Possibilities for programming the 4-button remote control
28
- Using a 3-button remote control 28
5.2 Adding a remote control 29
- 2- or 4-button remote controls 29
- 3-button remote control 29
5.3 Deleting a remote control 29
6 Troubleshooting guide 30
6.1 Assistance 30
6.2 Replacing the remote control battery 30
6.3 Clearing the settings 31
6.4 Unlocking/locking the motors 31
6.5 Diagnostics 32
7 Technical data 33